In June Google effectively shuttered Google Map Views and a legion of 360˚ panorama photographers started the painful struggle to move from Map Views, to a much more constrained and unfriendly Google Maps platform.
In the change over some things remained the same while many others changed. One thing that has remained constant is the requirement to add a specific set of MetaData to your panorama before loading it up to Google Maps.
A previous tutorial, Prepare 360˚ Panoramas for Google+ on Mac OSX, explained how to use ExifTool with pyExifToolGui to add the data to your image. However the recent release by Apple of El Capitan has for now broken the ability for the two applications to work together. Now this doesn't mean you can't use either program but you will have to work in a different way, just using ExifTool. Let me tell you it's super fast and efficient.
So let's get started with ExifTool by Phil Harvey.
STEP 1. INSTALL EXIFTOOL
1. Download the Mac OS X Package 10.05 (2.4mb) or visit the website http://www.sno.phy.queensu.ca/~phil/exiftool/

2. Once the .dmg has downloaded double click on it to extract the .pkg file
3. Double click the .pkg file to launch the installer
4. Step through the installer commands (note you will need administrator privileges to install the software) until the installation was successful screen is shown
5. Check the install by opening the Terminal application. In Spotlight type Terminal.
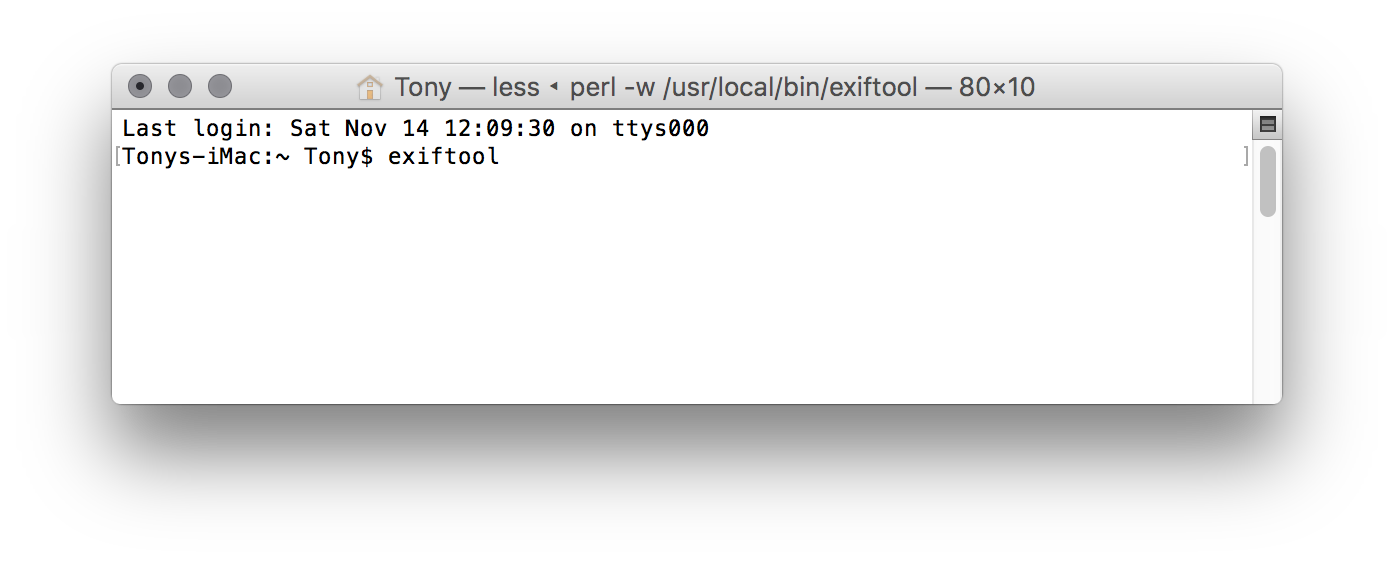
6. Launch Terminal and type in exiftool at the prompt
7. You will see the documentation for the ExifTool
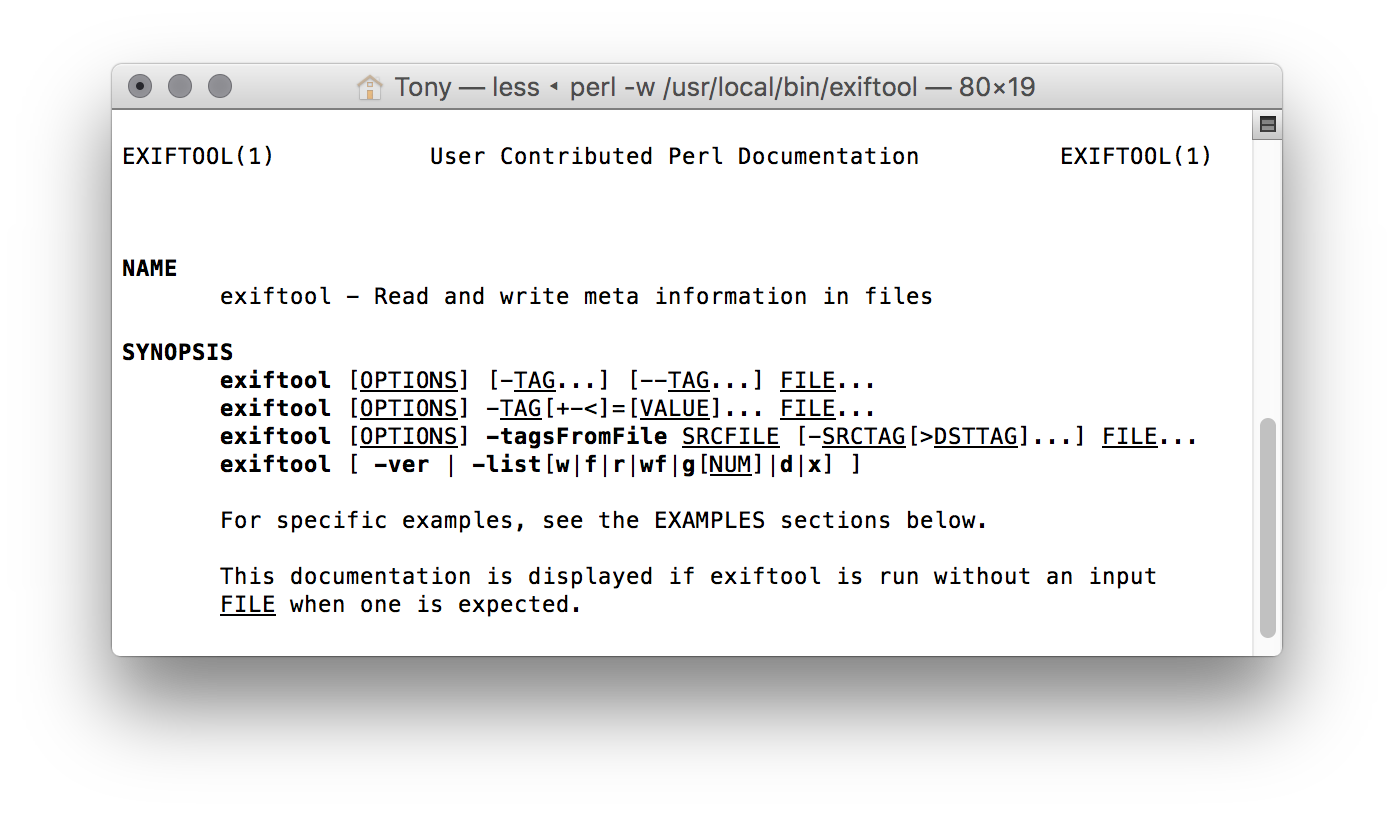
8. That's it ExifTool is installed
STEP 2. Getting our metadata ready
1. Prepare your Equirectangular panorama image, saving it as a JPG file. My personal preference is for a 6-8k x 3-4k pixel file exported from Photoshop using Save for Web at a setting of 90.
2. In order for it to be located on Google Maps and be seen as a 360˚ panorama not just an image we need to add "GPS/Location" and "GPano" data as follows:
- GPSLatitude
- GPSLatitudeRef (N | S | E | W)
- GPSLongitude
- GPSLongitudeRef (N | S | E | W)
- Cropped Area Image Height (pixels)
- Cropped Area Image Width (pixels)
- Full Pano Height (pixels)
- Full Pano Width (pixels)
- Pose Heading Degrees (0-360) (if left blank the center of the image will be used)
- Description
3. It's going to be convenient and faster if you create a single folder for your final panoramic images that way you won't have to be creating a url to the folder every time.
4. To get started make sure you have the following information, Latitude, Longitude and the respective references of the location of the panorama. Not required but good to have is the Pose Heading Degree (the Pose Heading Degree is the position on your panorama facing North) If you don't know which way is north it's not a big issue just use '0'
5. For the tutorial I'll be using this example of a printer inside the Newspaper building at the Historical Village of Hokkaido, in Japan.

This image is 8,000 x 4000 pixels and I know at 80˚ is North. I also know that the latitude is 43.047652 and the longitude is 141.498614 and the respective references are N and E.
I know the size because that's what I rendered it at. I determined the direction of north using the map option in PTGui Beta 5 to determine North and I got the latitude and longitude using the LatLong website. The advantage of using this website is because it not only gives us the GPS coordinates in decimal but it shows us the hemisphere. In this case the information we need is Latitude 43.047652 Longitude 141.498614 and Latitude Reference N and Longitude Reference E

6. Once we have the data we can now apply it to our image
STEP 3. Adding the MetaData to the image
1. Open the Terminal window and change to the directory where the image you want to publish is. In my case it's in a folder called Hokkaido Village on my desktop. The quickest way to change to the directory is to drag the folder with your image/s onto the Terminal window. This will display the path to the image.
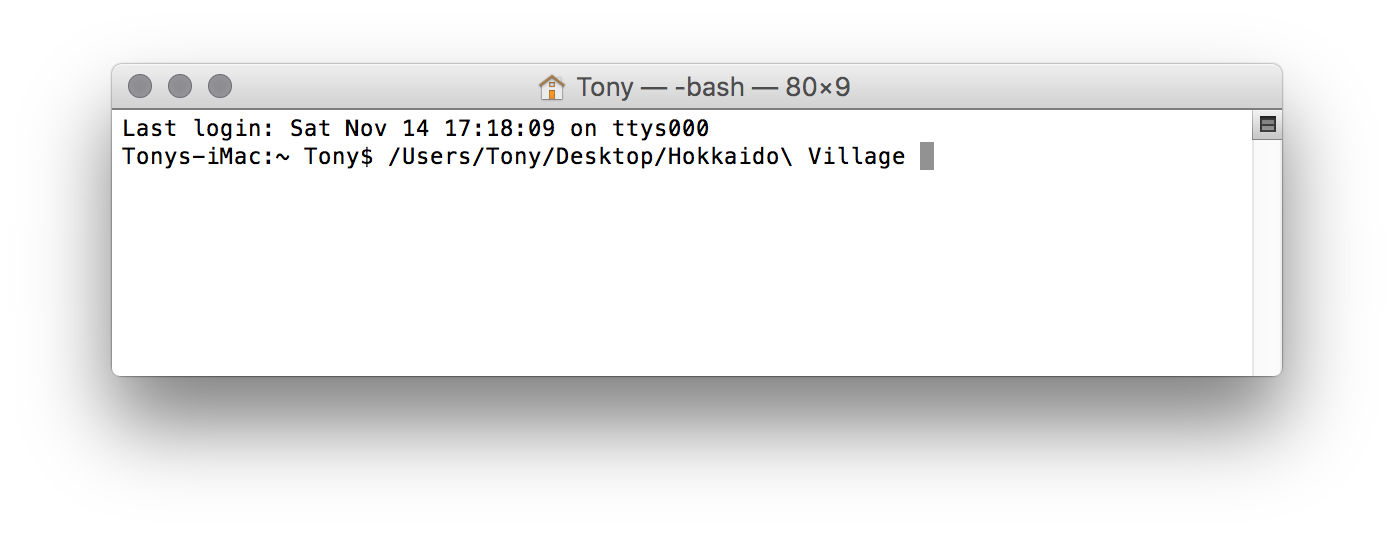
Next move the cursor, using the keyboard keys "< >", to the leading '/' and type 'cd' and a 'space' and then hit return.

Now any action you perform with ExifTool will be applied to the image/s within this folder.

To see the contents of the folder type 'ls' for list and hit return. There is one image called Hokkaido_Newspaper.jpg

7. The code I will use is this;
Tip: if your panorama name has spaces you will need to add special characters. i.e if the name was Hokkaido Newspaper.jpg it should be named Hokkaido\ Newspaper.jpg. A quick way to get the right name is to just drop the image onto the terminal and then copy and paste it into the code.
To add metadata to your own images just copy the code above and replace my metadata with your own as specified in step #2 "Getting our Metadata ready"
8. Adding the code to your images is as simple as copying the code, pasting it into the terminal window and hitting return.

The request is processed and the response '1 image files update' is displayed.

In the folder containing the original file there is now an additional file Hokkaido_Newspaper.jpg.original created by ExifTool as a backup.

If you would like to check the metadata in this or any other image you can use ExifTool to examine it. In the example below I've simply added the command 'exiftool -H Hokkaido_Newspaper.jpg'

Select return and all of the metadata associated with the image is displayed. In it we can see the entries we made in the code above.

Adding negative GPS values
Mitchell Lester just brought an issue to my attention and it's to do with negative GPS values. For instance the GPS coordinates for the Mai Tai Bar at the famous Royal Hawaiian Hotel in Honolulu is 21.276794, -157.828783
The -GPSLatitude=40.119319 -GPSLongitude=117.199199 values can be entered as positive as long as the -gpslatituderef=N -gpslongituderef=W values are correct. In this case "N" is a positive and "W" a negative value.
You can quickly check by right clicking on the image and selecting "Get Info". In the More Info section it should show the Longitude as -117199199.
Alternative Tools
An alternative tool you may want to take a look at is the PhotoLinker app. This is a paid application but seems to be very powerful.
