Overview
This tutorial shows how to place a ‘Floating’ nadir logo into a Pano2VR single node virtual tour.
Note: once you complete this tutorial there is another tutorial that uses the files created here to apply the Floating Nadir Logo universally across multiple nodes at Universal Floating Nadir Logo.
Update 8 May 2023: Added an update to the section “Add a modifier to resize the logo” when using Version 7
Update 17 June 2019: Added instructions on how to add a modifier to resize the logo as the viewer zooms in or out of the panorama.
Final Output
Tutorial Files
In the tutorial folder, Floating-Nadir-Logo, there is an Asset Folder with an equirectangular image and a sample .png logo file. There is also a Project folder with a Pano2VR project 'floating-nadir-logo.p2vr', a empty skin 'floating-nadir-logo.ggsk' and an Output folder called 'Floating-Nadir-Logo' with project files created from the .p2vr and .ggsk elements. (Figure #1)
Figure #1: Tutorial folder
Project Overview
In this tutorial we will modify the floating-nadir-logo.p2vr and floating-nadir-logo.ggsk skin by;
Adding a Point Hotspot to the project
Adding a Hotspot Template to the skin
Importing and attaching a .png logo to the Hotspot Template
Add a modifier to resize the logo as the fov changes
Note: this tutorial assumes a basic knowledge of Pano2VR V6
Note: click on any image to enlarge it
Getting Started
1. Download the zipped tutorial folder here
2. Double Click on the floating-nadir-logo.p2vr file to open the tutorial Pano2VR project (Figure #1)
Figure #1: Pano2VR tutorial project opened in Pano2VR V6.0.2
Adding the project point hotspot
Note: this point hotspot will define the position of the center of the nadir logo on the panorama.
1. In the Edit menu click on the ‘Viewing Parameters’ button and in the Default window change the Tilt to -90˚ (Figure #2)
Note: this will orientate the panorama so we are viewing the nadir and center it in the viewer
Figure #2: Second panorama selected and User Data panel open
2. Hover your mouse over the ‘Select Mode’ icon in the viewer to reveal the Viewer Mode options. Move the mouse down over the ‘Point Hotspot’ icon (Figure #3 & 4)
Figure #3: Hover over Select Mode icon
Figure #4: Move to Point Hotspot
3. Click once to action the Point Hotspot and then click twice in viewer window to add the Point Hotspot (Figure #5)
Note: this will position the Point Hotspot at the location of the Double Click and also open the Properties - Point Hotspot panel
Figure #5: Point Hotspot positioned in the Viewer window and the Properties - Point Hotspot panel is displayed
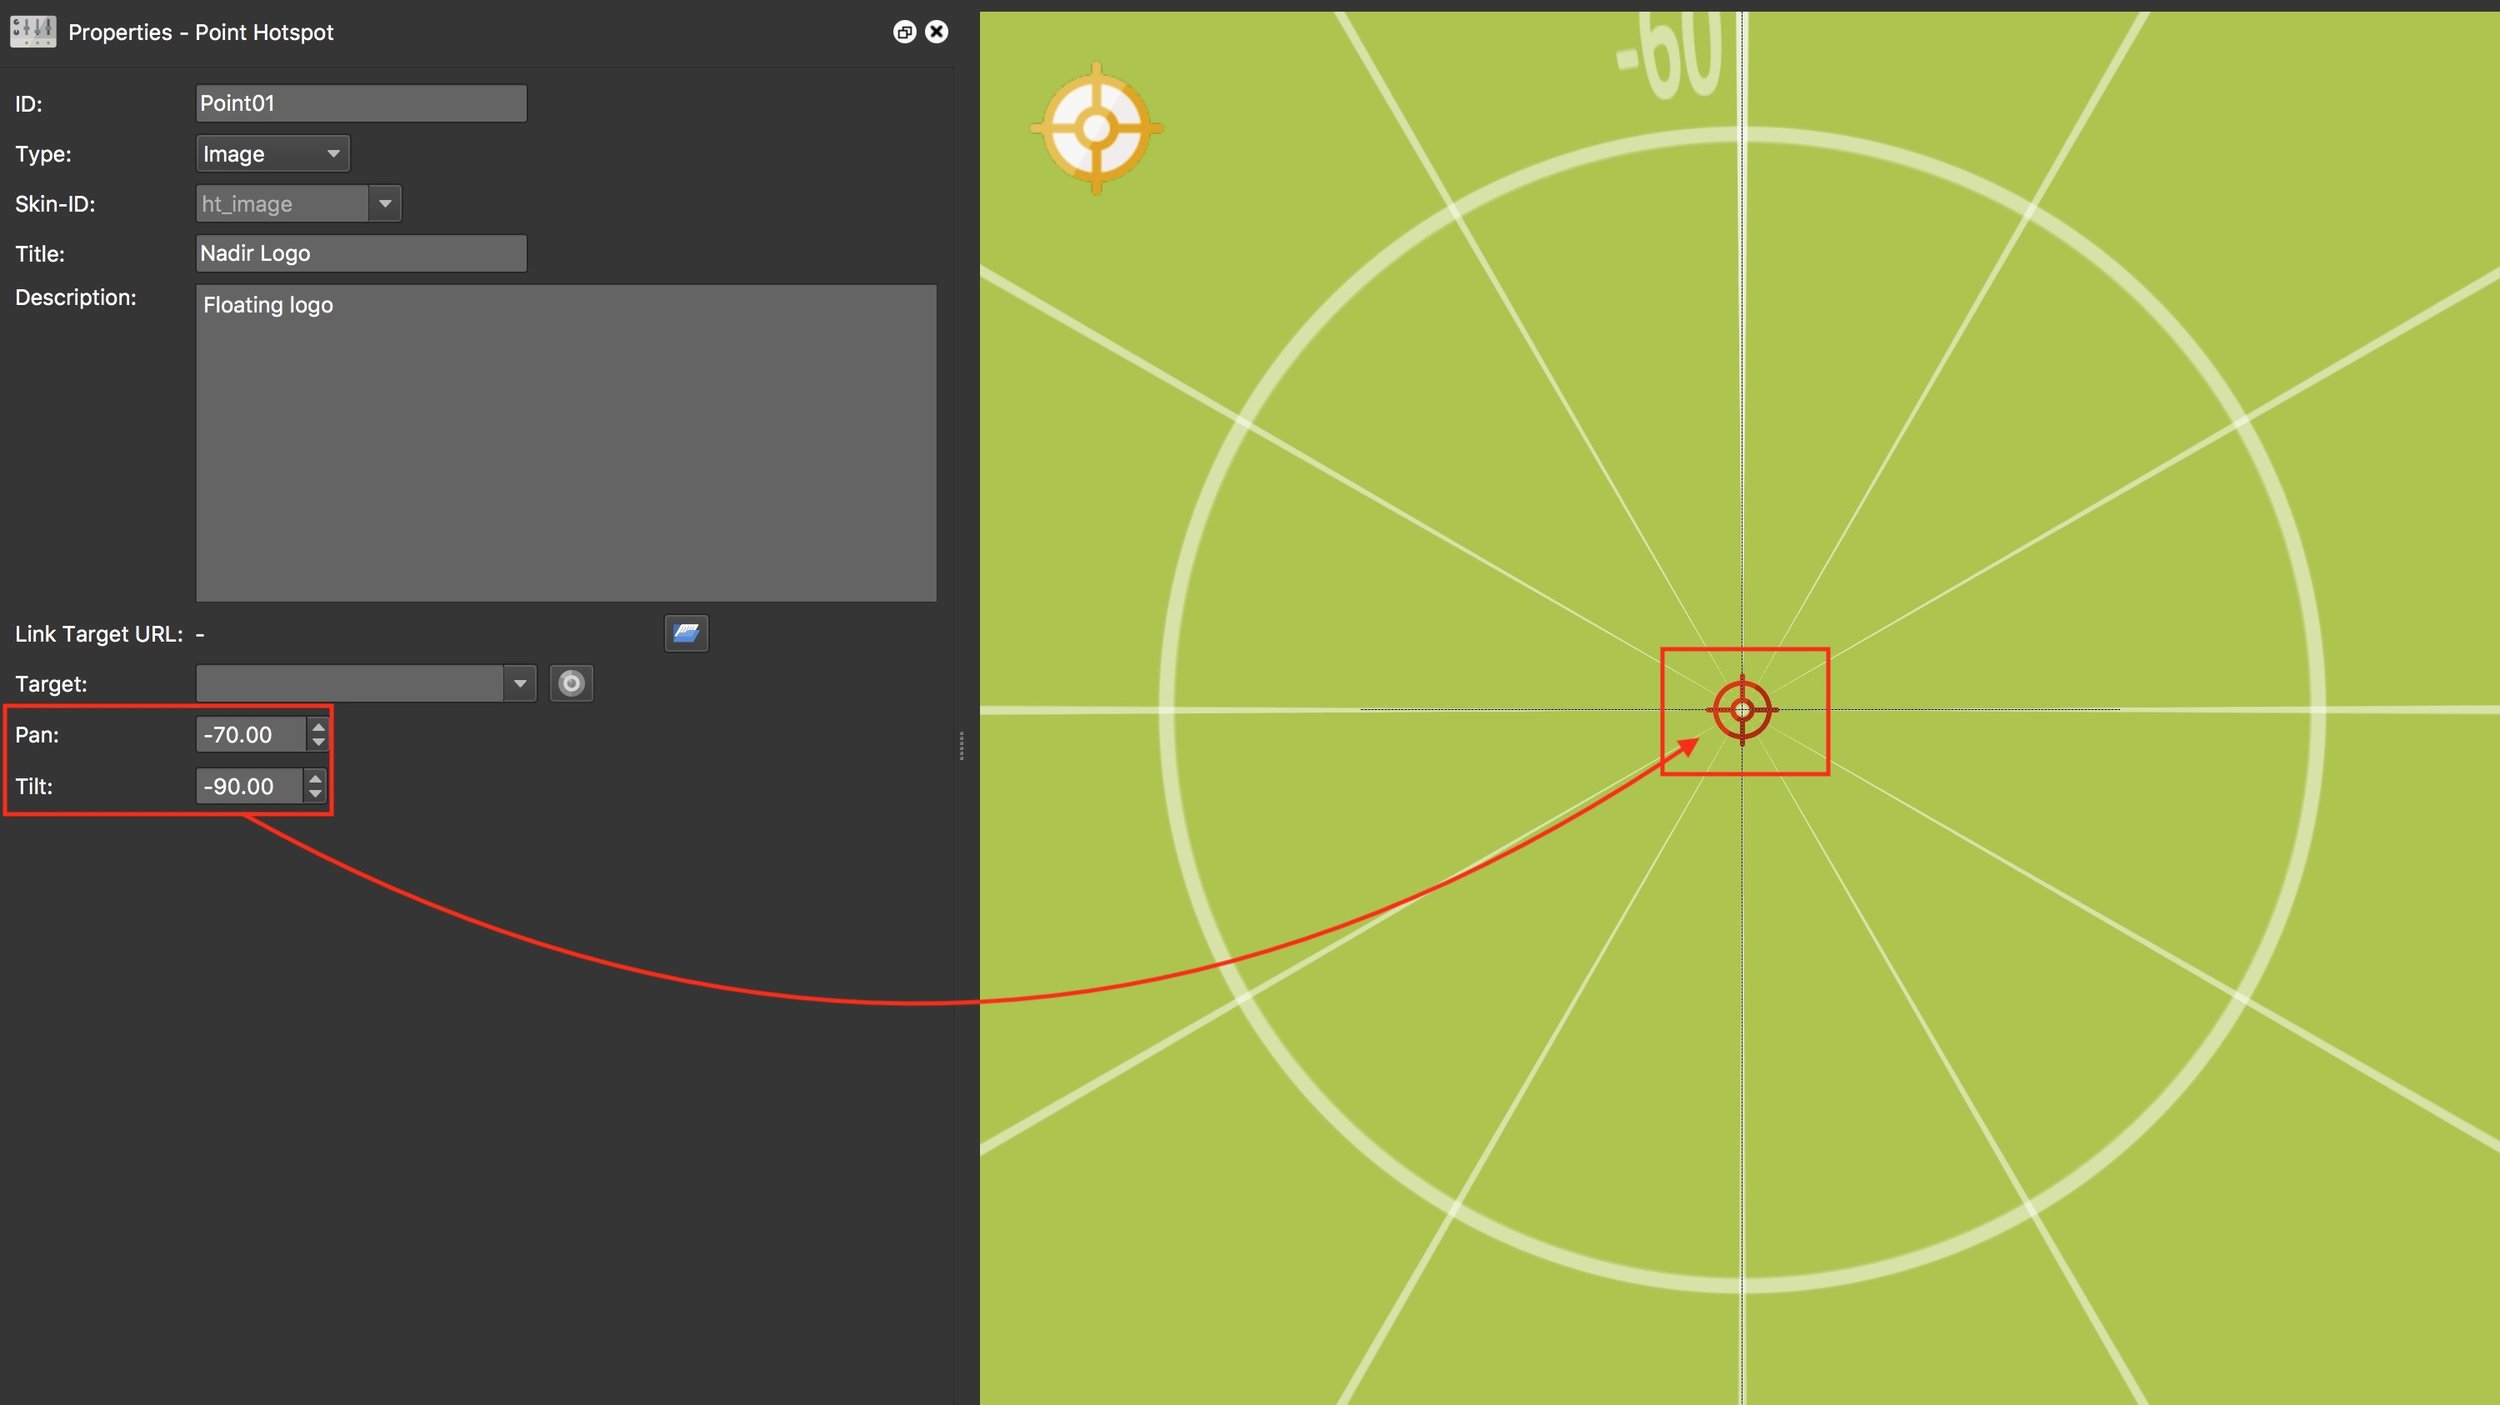
4. To accurately position the Point Hotspot change the Pan: and Tilt: degrees to -70.00˚ and -90.00˚ respectively. (Optional: Change the Type: to Image and add any additional information you may need to use in the skin.) (Figure #6)
Figure #6: Accurately position the Point Hotspot
5. Save the project
Adding the Hotspot Template and Logo
Click on the ‘Edit Skin’ button in the Output Panel to open the floating-nadir-logo.ggsk skin (Figure #7)
Figure #7: Open skin
2. Click once on the ‘Add Hotspot Template’ button and then click once inside the Canvas to place the Hotspot Template (Figure #8)
Figure #8: Hotspot Template added to the canvas
Note: In order to make it easier to align the logo to the template we will center the template in the skin
3. Right click on the template icon and select ‘Center Element in Canvas’ - Horizontal and then Vertical. In the Properties Panel | Position set the Anchor position to center. (Figure #9)
4. Click once on the ‘Add Image’ button and then click once inside the Canvas to open a system window. Browse to the tutorial folder and the Assets Folder. Highlight the red360logo.png and select ‘Open’. (Figure #10)
Figure #10: Selecting the logo image
5. The logo is added to the canvas (Figure #11)
Figure #11: Logo in the canvas
Note: the next step is to reduce the size of the logo and center it on the Hotspot Template
6. In the Properties Panel - Position set the Anchor to the center. Click on ‘Reset Size /2’ to reduce the overall size of the logo and Rt Click on the logo and repeat the ‘Center Element in Canvas’ both Horizontal and Vertical. In Appearance set the Hand Cursor: to checked (Figure #12)
Figure #12: Resized and repositioned logo
Note: the logo needs to be child of the Hotspot template in order to position it on the panorama
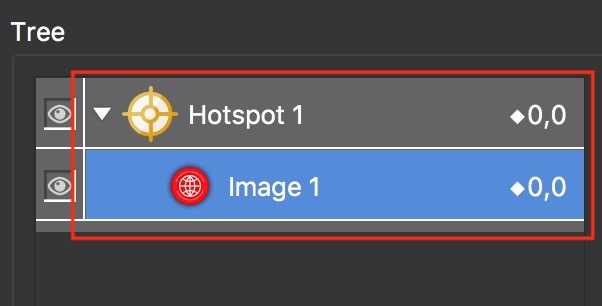
7. In the Tree, drag the image1 element onto the Hotspot1 element to make it a child element (Figure #13)
Figure #13: Image1 as a child of Hotspot1
8. Let’s change the ID: of the Hotspot1 element to something more representative of its function. With Hotspot1 selected change the Properties Panel - Position - ID: to ht_nadirlogo and with Image1 selected change the ID: to red360logo. I’m also going to add a Mouse Click action ‘Go to URL’ to the logo.(Figure #14)
Note: because we have changed the hotspot template ID we need to update the Point Hotspot ID as well.
Figure #14: Renamed ID’s and Mouse Click Action on the logo
Add a modifier to resize the logo
Note: if you are using a nadir logo to cover an object, such as a tripod, that’s visible in the panorama, we don’t want it to be visible if the viewer zooms in (changes FoV) on the panorama.
To avoid this we will add a modifier to the logo that will resize it in conjunction with the changes in FoV.
This tip was generously provided by Dizzz Gil, thank you.
1. With the ‘red360logo’ element selected click on the dropdown arrow on the Properties/Modifiers panel.
2. Click in an empty field to open the Modifiers Settings window and enter the following settings: (Figure #15)
Target: Scale
Source: 1/tan(FoV)
Factor: 1.000
Offset: 0.0
3. Click Ok, save and close the skin
Figure #15: adding a modifier to the logo
Note: If you are using V7 there has been a change in the Modifier “Source” options. 1/tan(FoV) has been replaced with Zoom. The modifier should be set to zoom as shown below. (Figure #15a)
Figure #15a: adding a Zoom modifier to the logo
Update Point Hotspot, Default View and publish the tour
In the Properties - Point Hotspot panel click on the dropdown arrow next to Skin-ID: and select ht_nadirlogo (Figure #16)
Figure #16: Skin-ID: update
2. In the Viewing Parameters panel click on the Reset button to set the initial view back to Default (Figure #17)
Figure #17: Viewing Parameters reset
3. Save the project
4. In the Output Panel - Output: click on the ‘Generate Output’ button to build the tour (Figure #18)
Figure #18: Generate Output button
Summary
When the viewer navigates around the panorama the nadir logo will remain in a set position and note rotate in conjunction with the panorama. The logo will also change size as the viewer zooms in or out. In addition when the logo is clicked a new window will open with the designated website displayed.
I hope you have enjoyed the tutorial and it has helped you to achieve the best possible project outcome. If it has please take a second to consider a donation so that I can continue to add more tutorials.


