When incorporating the Modular Sidebar Gallery into a new Pano2VR virtual tour project or when updating an existing project to the MSG Component is the best starting point.
This tutorial will take you step by step through the process of installing the component, creating your first Gallery project with multiple images, text and audio in multiple languages.
The component comes with a set of UI elements that you can use or replace with your own UI.
Note: this tutorial is designed for Pano2VR V7 or V8. You can download the software here. In following these tutorials a working knowledge of Pano2VR is an advantage.
Note: click on any image to enlarge it
Tutorial Files
The MSG_Component_Tutorial folder, contains a number of sub-folders: (figure #1)
Figure #1: Tutorial Folder
360_Assets: a test panorama
Component: MSG_COMPONENT_V1.ggskc
Output: output folder for the published tour
Project_Files: MSG_Component.p2vr and MSG_Component.ggsk
To_Upload: files that will be uploaded on publish
Tutorial_Assets: images, audio, video, text files. Language files.
Project Overview
In this tutorial, we will complete the following steps;
Step 1. Installing the Component ⇑
1. Unzip and Open the Tutorial Folder
2. Open the Tutorial_Assets folder
3. Open the 1. Component folder and double click on the 100826_MSG_COMPONENT.ggskc (figure #2)
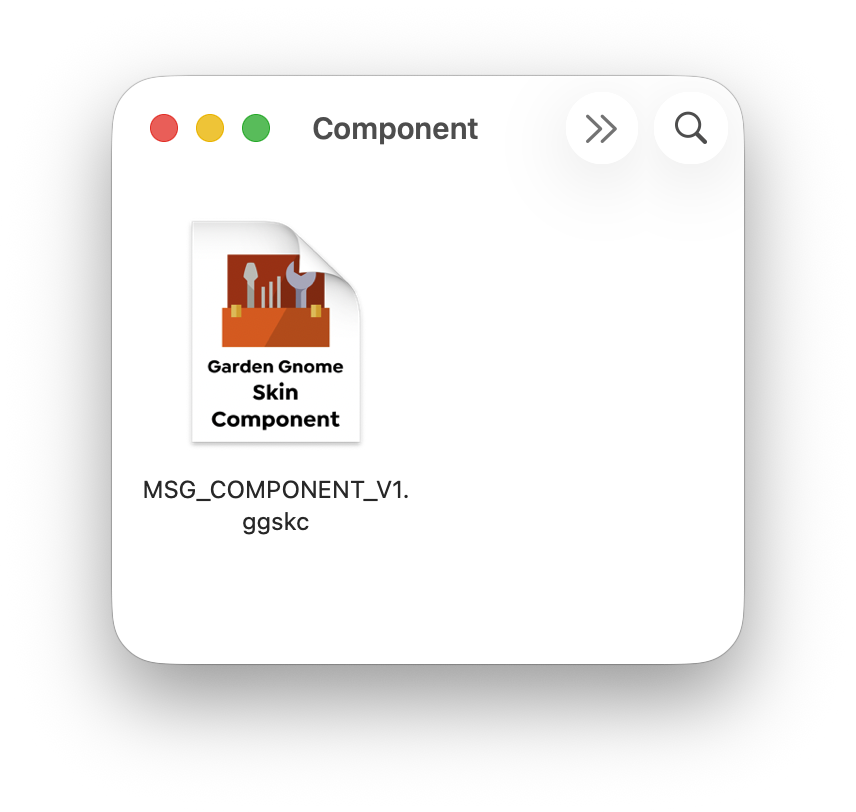
Figure #2: MSG Component
A new Pano2VR project window will open and a dialog box will ask to “Choose a category” (figure #3) from the dropdown menu select “New…” and give it the title MSG Component, (figure #4) select OK and a message saying “Component successfully copied!” (figure #5) will be shown.
Figure #3: Choose a Category
Figure #4: Create New Category
Figure #5: Success
4. Close the Pano2VR project
2. Apply the Component ⇑
1. In the tutorial folder open the Project_Files folder and double click on the MSG_Component.p2vr file (figure #6).
Figure #6: Project_Files folder
Note: This will lauch Pano2VR and you will see the project file, shown below configured with a single node and the red_watercolor.jpg panorama and an empty skin MSG_Component.ggsk (figure #7)
Figure #7: MSG_Component.p2vr
2. Click on the ‘Edit Skin’ button to open the skin
3. Click on the ‘Component Toolbox’ icon (figure #8)
Figure #8: Component Toolbox button
4. Locate the Category ‘MSG Component’ in the Category you saved it to. (figure #8)
Figure #8: Component Toolbox and
5. Double click on the MSG_COMPONENT_V1 in the Components Toolbox window to launch it.
Note: this will load a number of tree elements and variables into the skin. (Figure #9)
Figure #9: Component Tree elements loaded into the skin
Note: to see the Variables click in the canvas (figure #10)
Figure #10: Component Variables
6. Close the Component Toolbox
7. You can delete the msg_cp_properties element (it is only used to maintain variables in the component)
8. Save the skin as MSG_Component.ggsk (overwrite the original)
9. Close the skin
10. Save the project as MSG_Component_Loaded.p2vr
Step 2 - Adding a Point Hotspot and adding the Custom Properties ⇑
1. In the Viewer window add a single Point Hotspot and place it in the center of the window (figure #11)
Figure #11: Point Hotspot
2. If it’s not already active click on the Point Hotspot (it will turn red) (figure #11)
Note: In Properties - Point Hotspot and Custom Properties panels there are no entries. (figure #12)
Figure #12: Hotspot active and empty Properties panesl
3. In the Custom Properties panel click and hold the mouse down on the green + button. This will show the ‘Create Property from Skin Variable’ option.
4. At the bottom of the list select ‘all’ (figure #13)
Figure #13: Skin Variable list
Note: the Custom Properties panel will now contain all the properties we need to create our galleries (figure #14)
Figure #14: Custom Properties list
5. Save the project
Summary ⇑
At this point we have successfully set up the project and skin to use the MSG component. In the following pages we will create Galleries, Text, Web and Video popups using the component tools.
