Language Swap
The language component provides the ability to swap between two or more languages using a simple button and works with the ht_info Point Hotspot and the Information Popup component.
Swapping the language changes the language of the ht_info tt_information element, the information popup info_title, and info_text_body elements.
In addition, the component comes with a 'language_url.ggt' which allows an embedded tour to be set to a default language by adding "?lan={language id} to the end of the URL.
Working Component
Language Component Zip
The Language Component zip file contains everything you need to get started (figure #1)
Figure #1: Contents of the language Component zip file
There is an Assets folder with a 6x3-green.png test equirectangular image, the language_url.ggt template file, and the Language Swap English - Italian.ggskc component.
In the Project_Files folder, there is a language_swap.p2vr file.
Finally, there is a blank Language_Output folder to hold the test project
Installing the Component
1. Double click on the Language Swap English - Italian.ggskc file
2. You will then be asked where to install the file. You may select an existing category or create a new one. (figure #2)
Note: scroll to the bottom for the 'new' option
Install the Language_url.ggt
1. Copy/drag the language_url.ggt file into the html5 folder in the Html Templates Directory (figure #3)
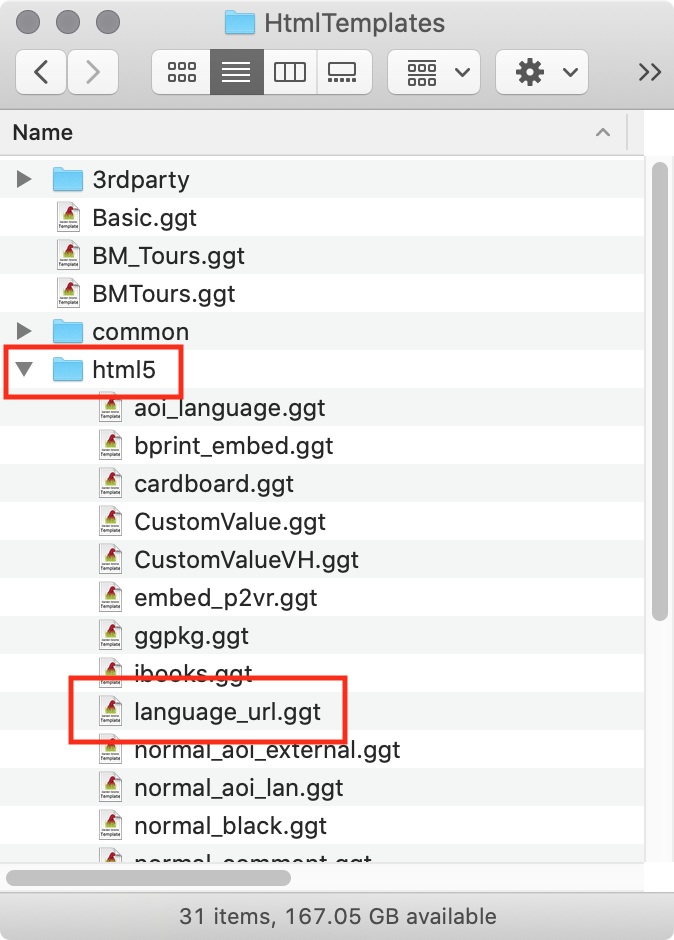
Figure #3: Copy/Drag the file into the html5 folder
If you don't know the location you can;
Open a new Pano2VR project
Select Pano2VR Menu > Preferences > Files > HTML Template Directory: Click on 'Choose' (figure #4)

Figure #4: Location of the HTML Template Directory
3. Close the open project
Create a project with the component
1. Double Click on the language_swap.p2vr file to open the project. This opens the project window with the 6x3-green.png and the two ht_info Point Hotspots (figure #5)

Figure #5: 2 x Point Hotspots
2. Click on one of the ht_info Point Hotspots to see the Point Hotspot - Properties. The one on the left has the Title: Information One and the one on the right Title: Information Two (figure #6)

Figure #6: Point Hotspot Properties: Title
3. Click on the Edit Skin button to open a blank skin
4. Click on the Component toolbox button to open the toolbox (figure #7)
Figure #7: Click on Component Toolbox button
5. Locate the Language Swap component (figure #8)
Note: you can use the tag ‘Language’ to filter searches
Figure #8: Language Swap - English-Italian component
6. Double click the component to add it to the skin (figure #8)
7. Save and name the skin to the Project_Files folder
8. Close the skin
9. Publish the project (Figure #9)
Figure #9: Output Project Window
In the project window we have;
a. Silhouette styled Info buttons with Mouse Over tooltips
b. language selection button
c. variable preview text boxes
Edit Skin Configuration
Note: there are some skin configurations we can change prior to publishing. Obviously the variable previews are only shown when debugging a skin so they will be hidden in the final output
1. In the project window click on the Edit Skin Configuration button
2. Uncheck Show Variable Previews to hide the Variable Text boxes in the output project
3. Set the default language by entering its ID (en or it)
4. Change to Simplex style by checking the Simplex checkbox and unchecking the Silhouette checkbox (figure #10)
Figure #10: Edit Skin Configuration Window
5. Select OK and republish the project (figure #11)
Figure #11: Updated Output Project Window
Modifying the Skin
Note: the following section shows how to modify the skin and add your own translations
1. Open the Skin Editor
2. Open the 'information' container
3. Select info_title
4. In the Properties > Text > Text: click on the Logic Block icon to open the Logic Block (figure #12)
In the Logic Block there 4 logic statements;
One for the Information One Point Hotspot when the selected language is English
One for the Information One Point Hotspot when the selected language is Italian
One for the Information Two Point Hotspot when the selected language is English
One for the Information Two Point Hotspot when the selected language is Italian
The text represents the English and Italian translations used in the text title for both Hotspots
This logic block is then copied and paste into the information > info_text_body and ht_info > tt_information text logic blocks and the text updated as required.
Additional ht_info Point Hotspots can be added to the panoramas and then additional logic statements would be added to the three locations
If you want to use or add different languages then you will need to change the value of the variable op_language in the logic blocks.
Embedding the Project with a default language
If you want to publish the site on a Spanish language website you will want to set the default language to Spanish. This is done via the URL used to reference the tour in the iFrame on the website.
By adding '?lan=it' or '?lan=en' a skin variable is set from the URL.
Open each of these links to see it in operation:
English: https://expedition.photography/language_swap/index.html?lan=en
Italian: https://expedition.photography/language_swap/index.html?lan=it
Summary
If you have any questions or comments you can email me at tony@tonyredhead.com
