In response to a Post by Rajesh in the Pano2VR Forum by using some new features in V7 using Logic Blocks to set "Margins" I’ve come up with the following example for a “Street View” style layout of a map and panorama side by side.
The layout is responsive across Desktop, Mobile including iPad, iPhone and Android.
Note: This example has a simplified skin and only contains elements associated with the functionality of the map. The map used in this example is OpenStreetMap.
Note: Click on any image to enlarge it.
Edit Skin Configuration
There are 3 options when publishing the project. We will start with them all set to false.

Figure #1: Edit Skin Configuration options
Desktop
The initial view shows a typical tour with a full viewport panorama view.
Note: There are 4 nodes in this tour
At the top of the viewport is the title of the tour and a description of the current panorama.
There are “chevron” buttons above the panorama and a “Show Map” button in the lower left corner.
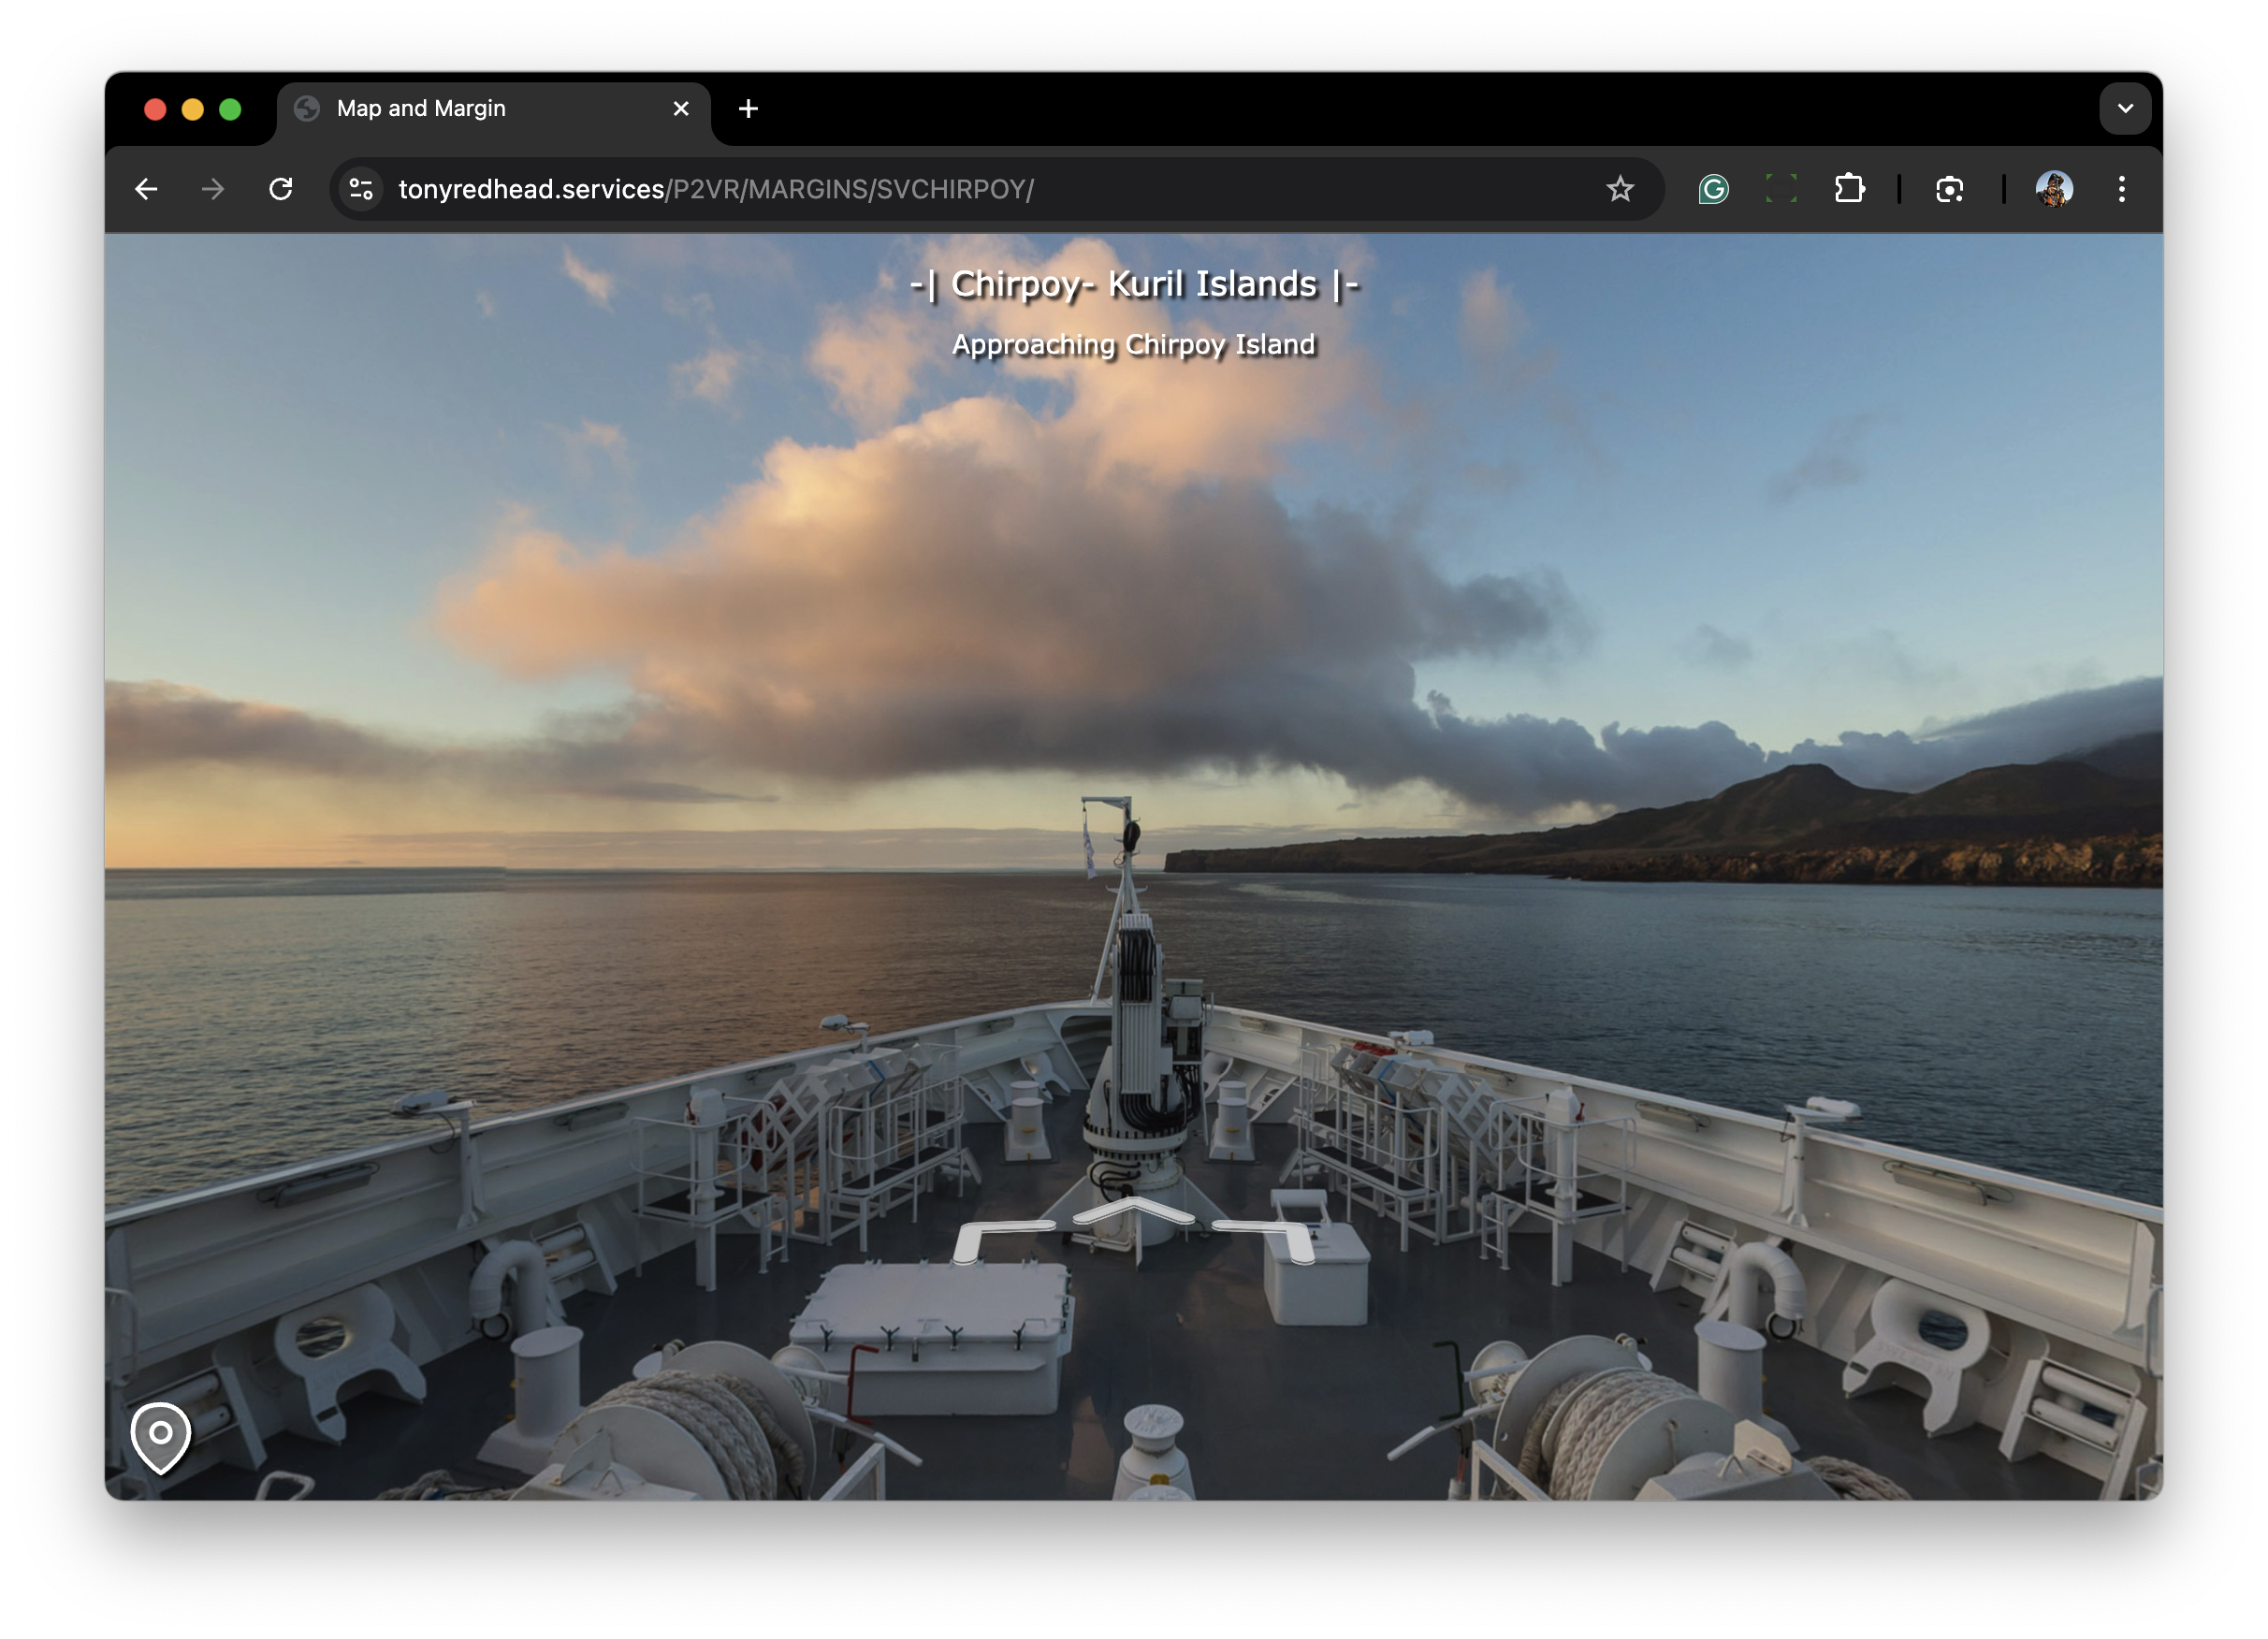
Figure #2: Panorama View of the Street View Style
Mousing over the chevron buttons displays the title of the node associated with the link.
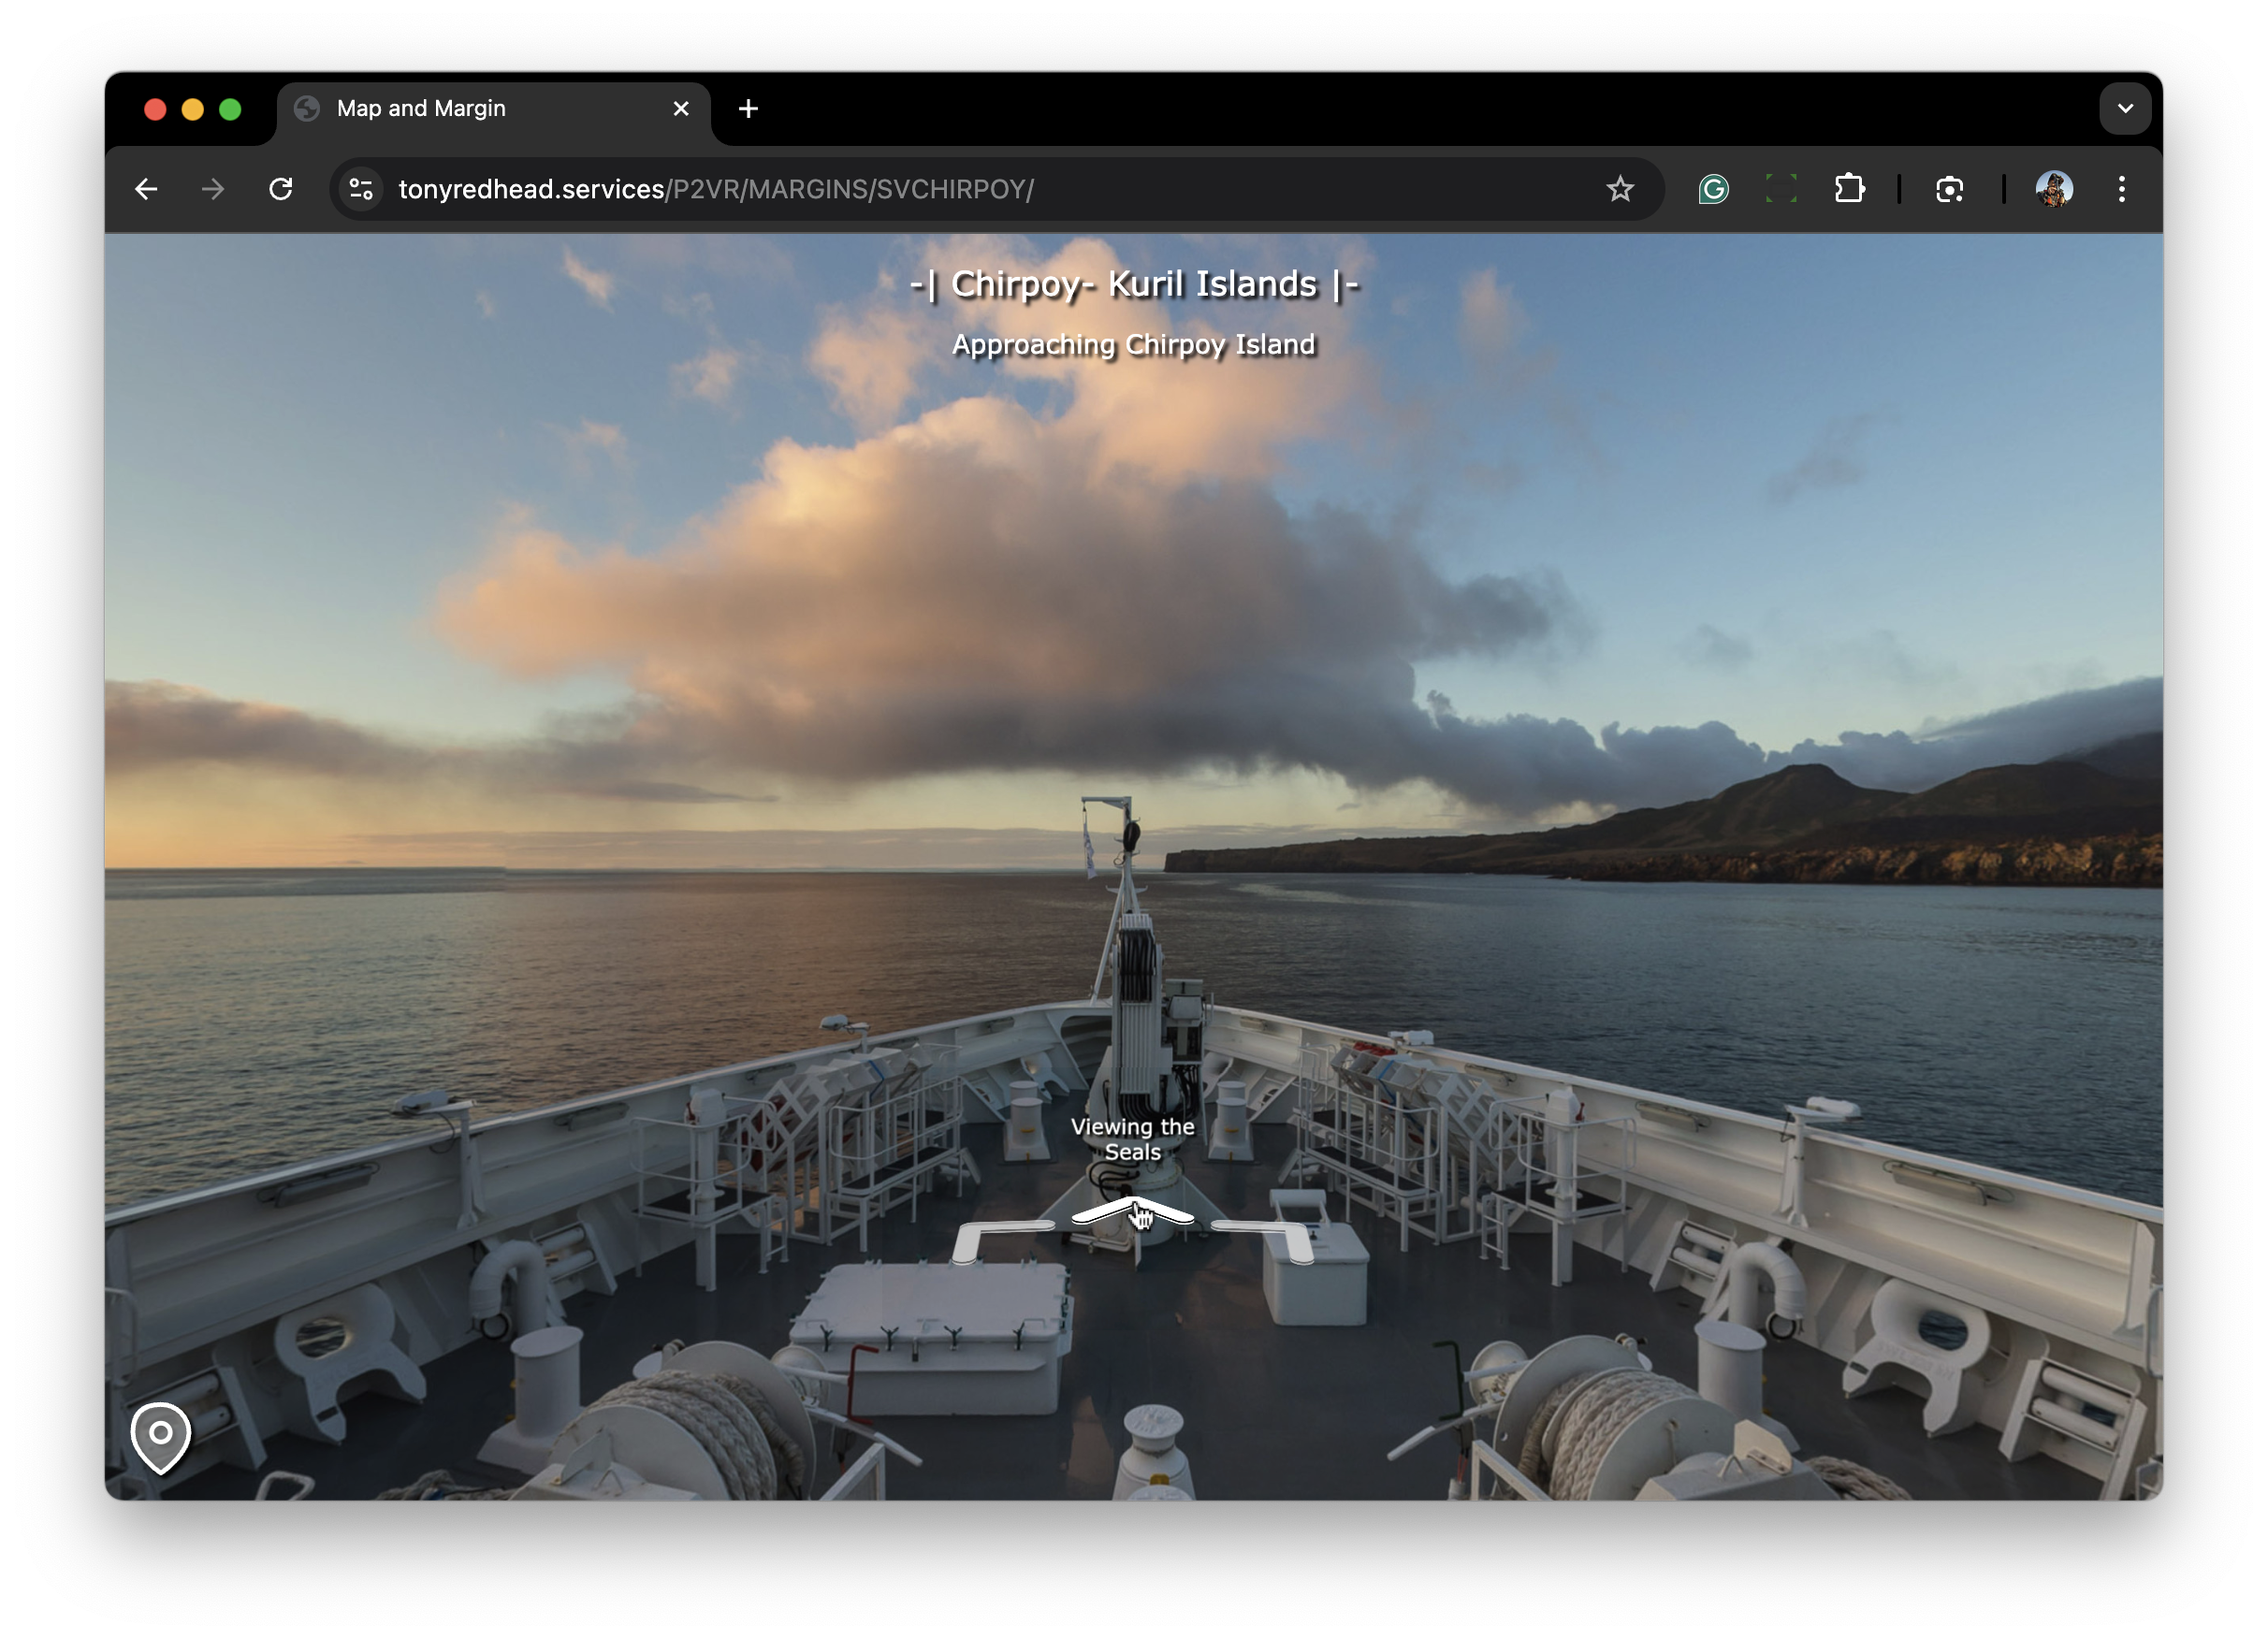
Figure #3: Mouse over chevron reveals the node title
The panorama can be interacted with (pano and zoom).
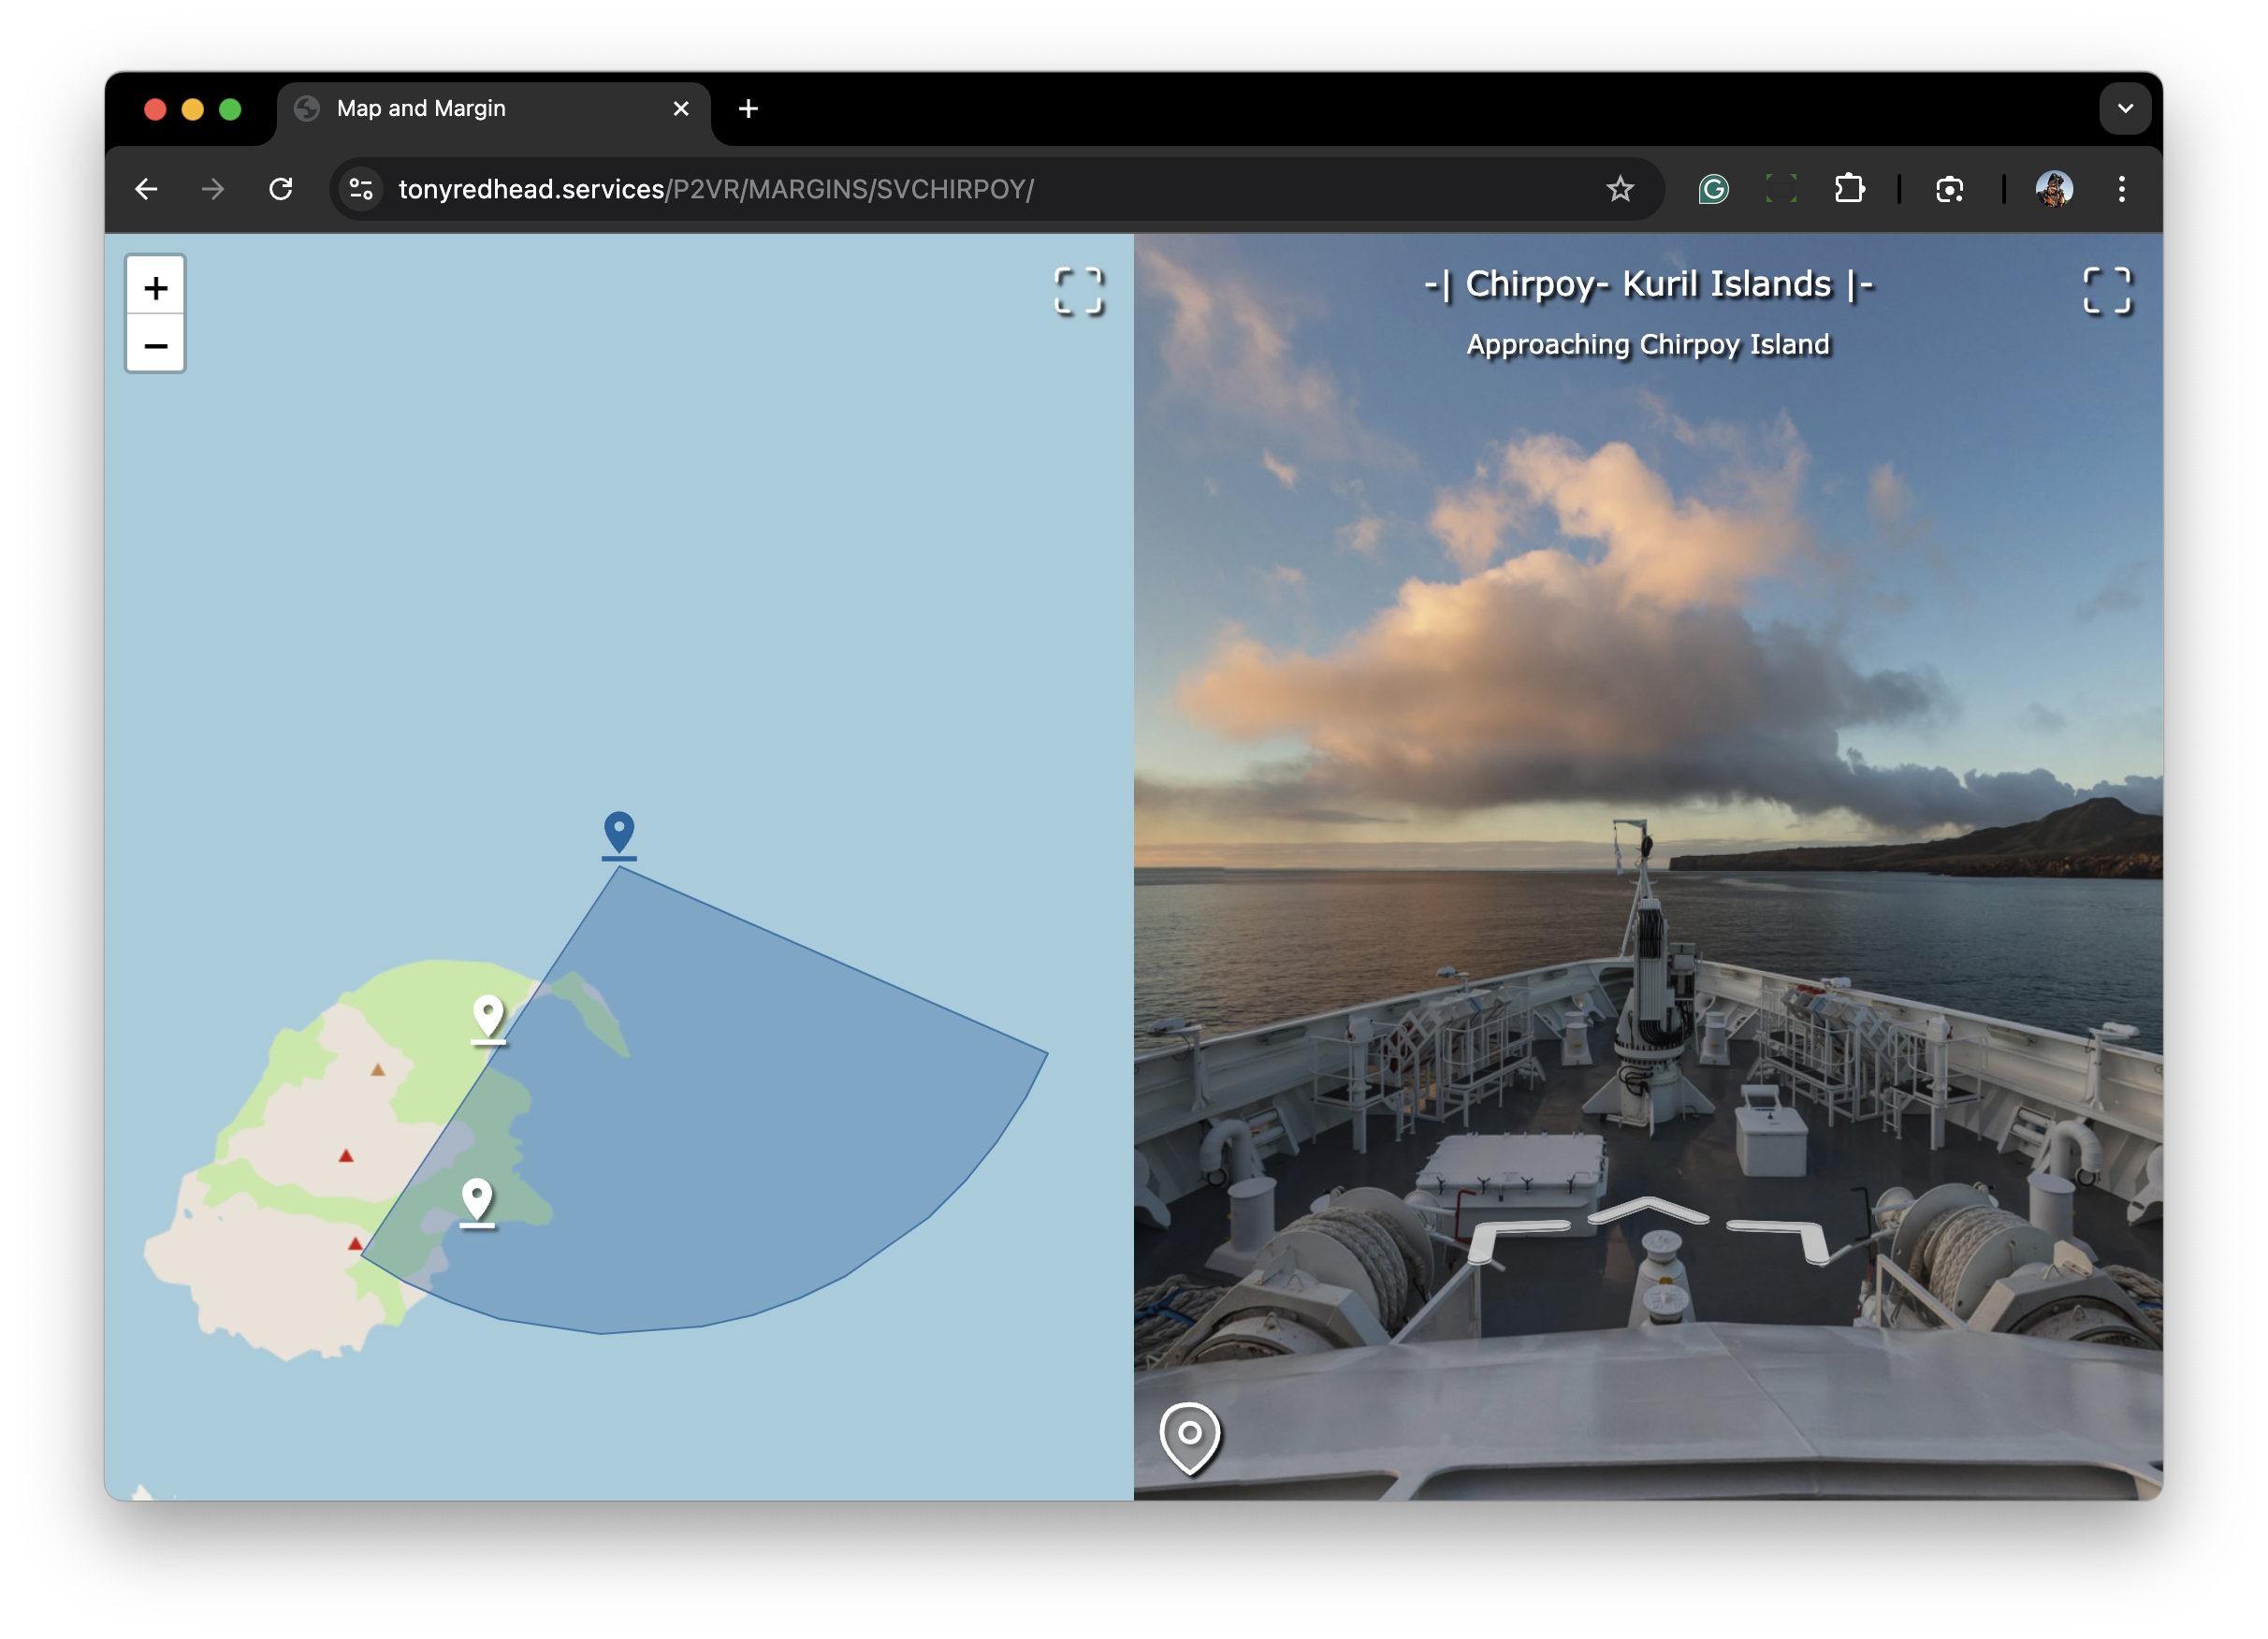
Clicking on the “Show Map” button opens the Google Map displaying pins representing the node hotspots and the node margin is reduced to 50% of the viewport width.
The active node displays a “radar” showing the pan direction of the panorama.
In the top right hand corner of the map and panorama panels is a “Maximise View” button.
Note: as the margin is changed the title/description and the “Show Menu” button have retained their spacial relationship with the panorama view.
Figure #4: Showing the Map in a desktop browser | Landscape Orientation
If the aspect ratio of the browser window is changed to a portrait orientation the map and panorama view are optimised by stacking them on top of each other as opposed to being side by side.
Figure #5: Showing the Map in a desktop browser | Portrait Orientation
Selecting the “maximise” button on the panorama view expands the view to fit the browser viewport.
In the top right hand corner of the viewport is a “minimise” button and the “show/hide map” button is hidden as we are still in the map view.
Figure #6: Maximised Panorama
The panorama can be interacted with (pano and zoom).
Figure #7: Pan and zoom around the panorama
Clicking on the chevron buttons will open a new panorama node.
Figure #8: Change to another panorama node
Clicking on the “minimise” button will restore the panel view of the map and panorama and the map pin will display the updated active node.
Figure #9: Minimised Panorama and updated Google Map showing active pin
Alternatively, the map view can be “maximised” and a new panorama selected by clicking on a different pin.
Figure #10: Maximised Map with pins for panorama selection
“Minimising” the map panel will reveal the selected panorama.
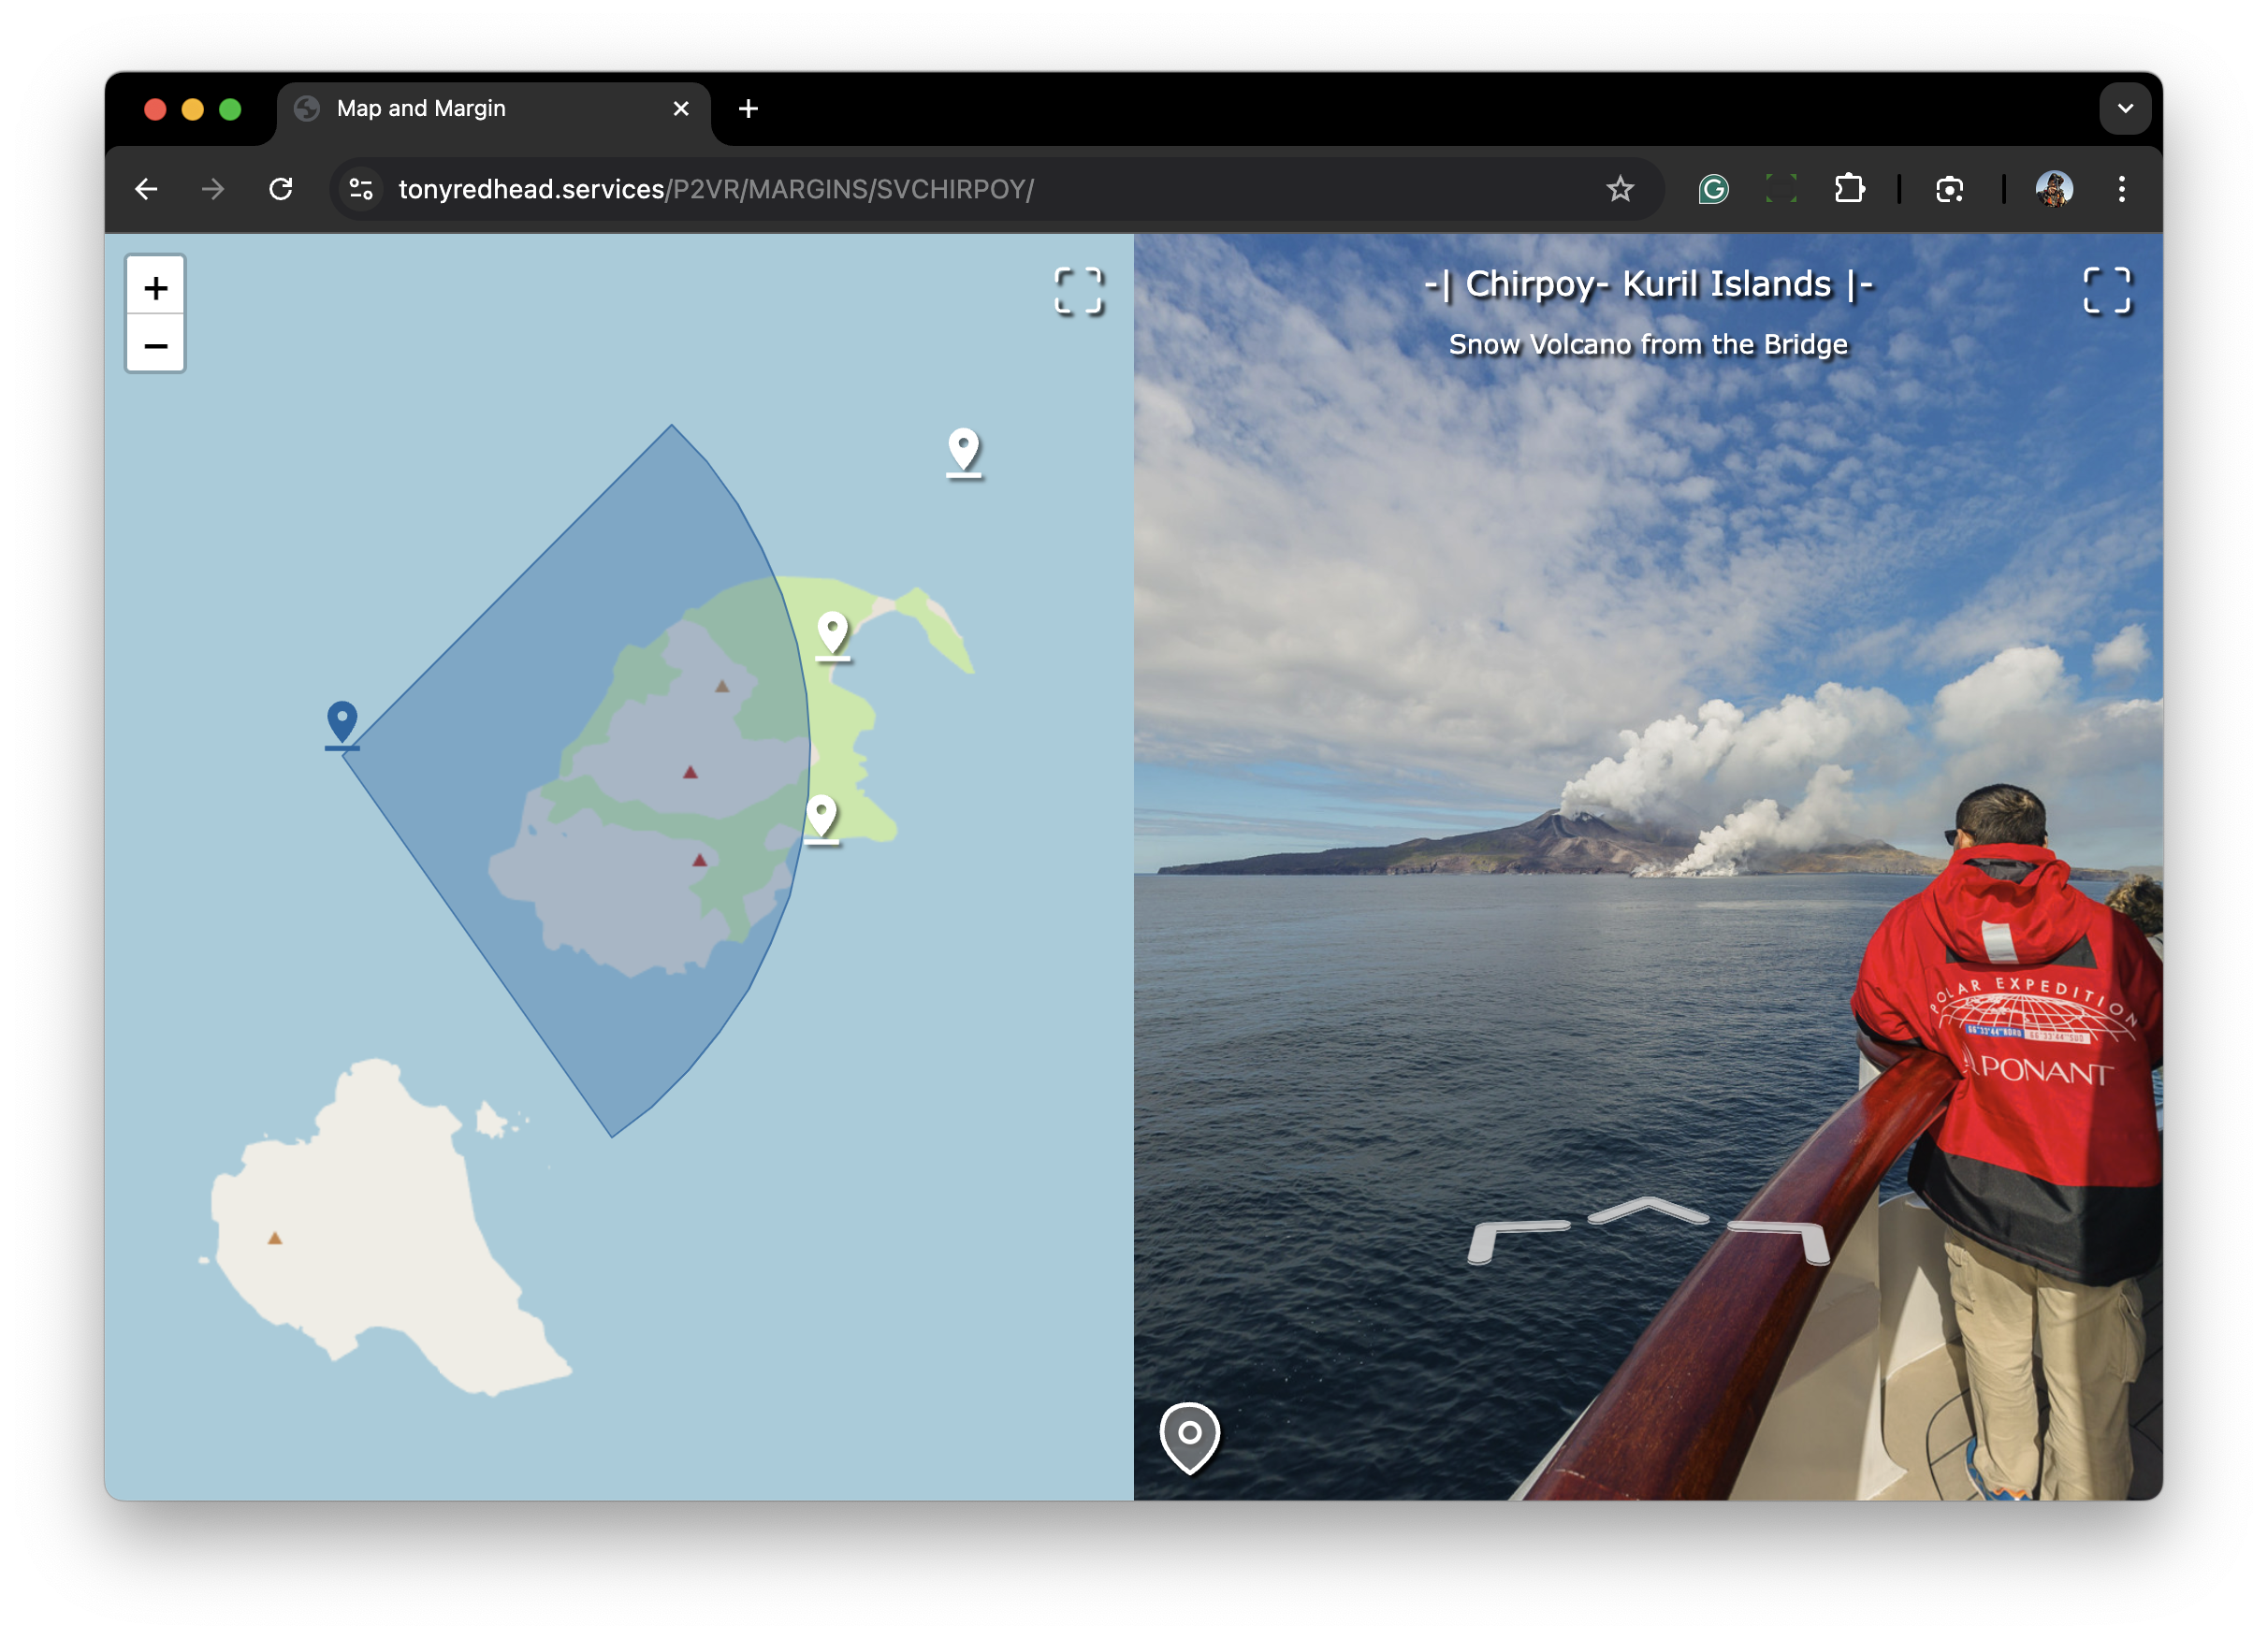
Figure #11: Dual Map/Panorama panels showing updated pin selection and panorama
Note: at any time the browser can be resized and the panels will maintain their current state. ie Map & Panorama /Maximised Map/Maximised Panorama
Figure #12: Map | Panorama | Portrait
Figure #13: Maximised Map | Portrait
Figure #14: Maximised panorama | Portrait
Mobile Devices
Mobile devices use the same functionality as the Desktop browser. The following examples are the iPad Pro (12.9 inch) and iPhone 15 P (using the Apple Simulator)
Figure #15: iPad Panorama View | Portrait
Figure #16: iPhone Panorama View | Portrait
Figure #17: iPad Show Map view | Portrait
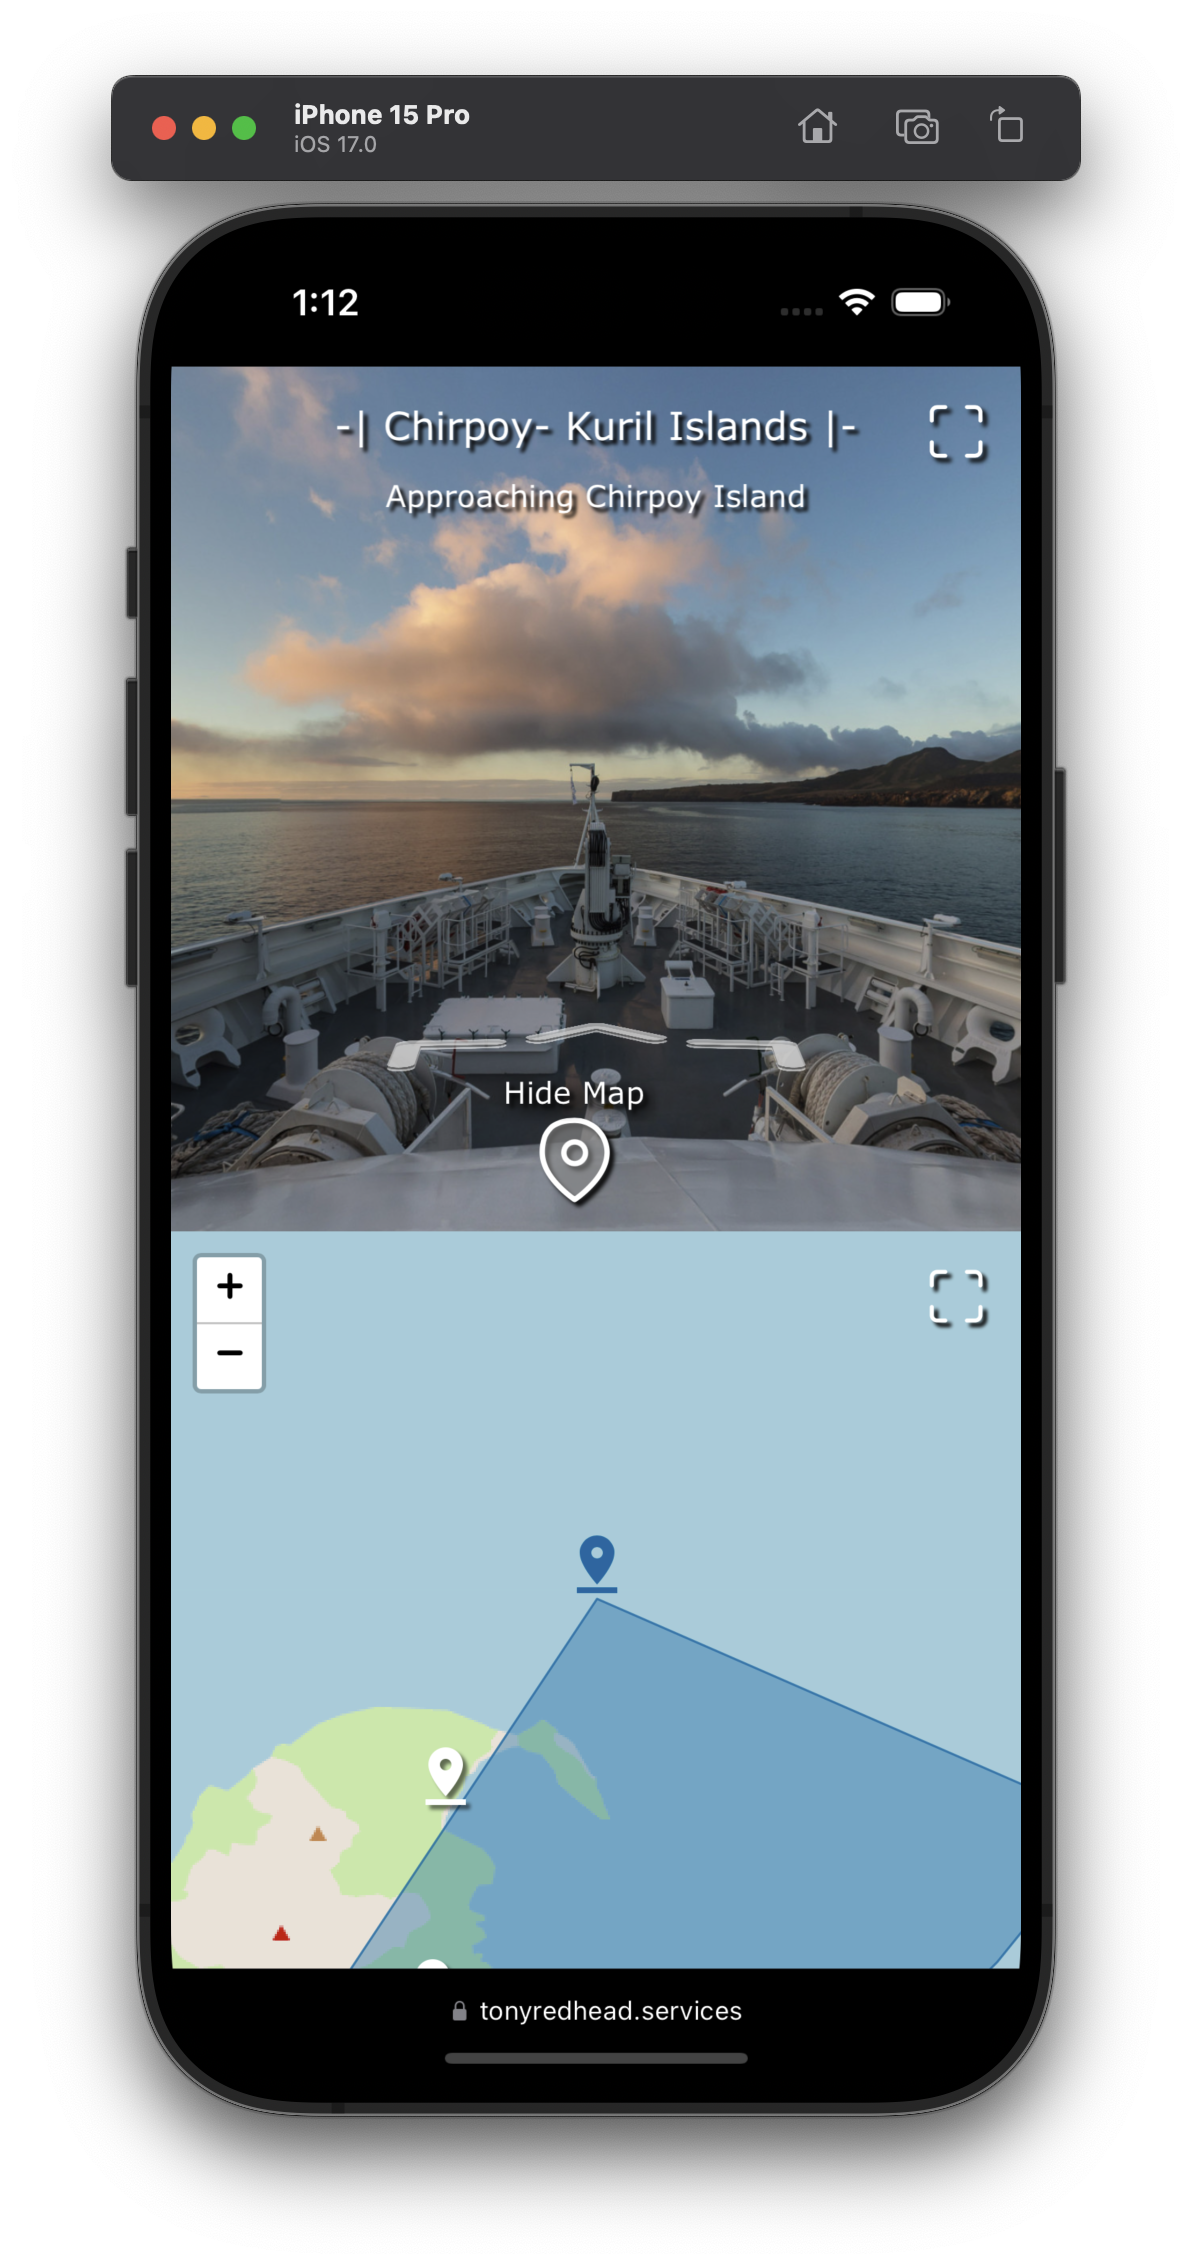
Figure #18: iPhone Show Map view | Portrait
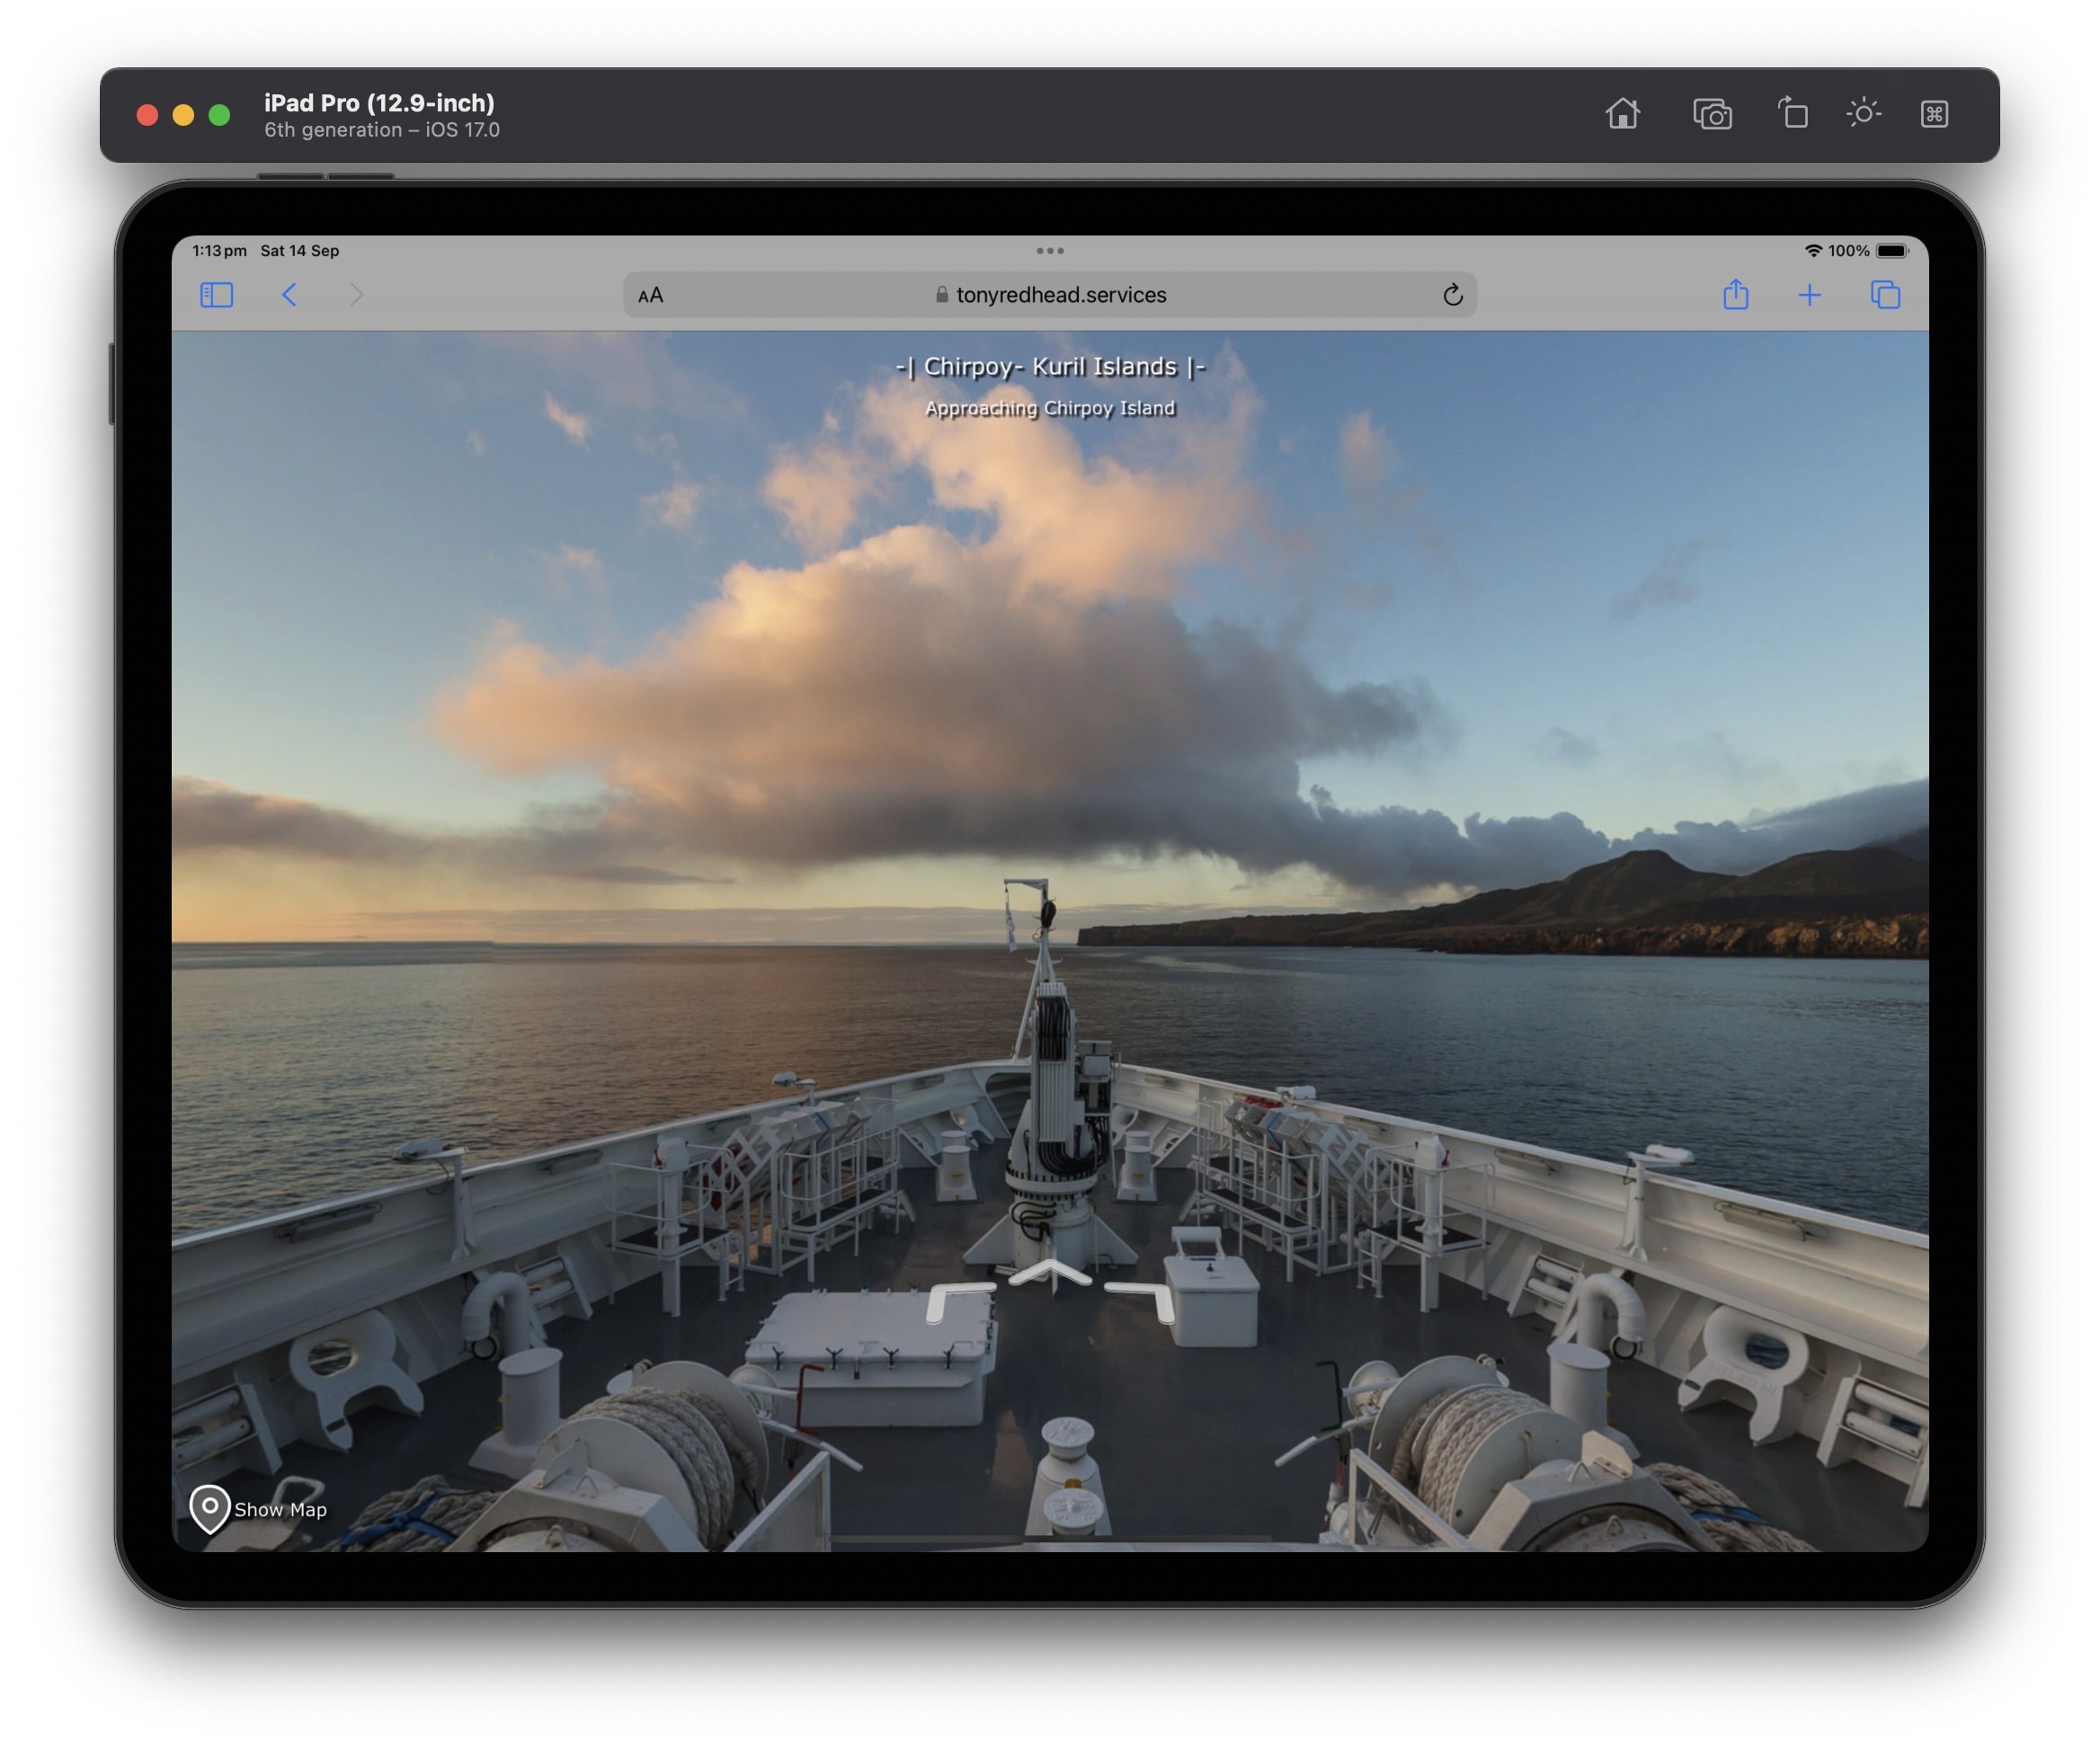
Figure #19: iPad maximised panorama view | Landscape
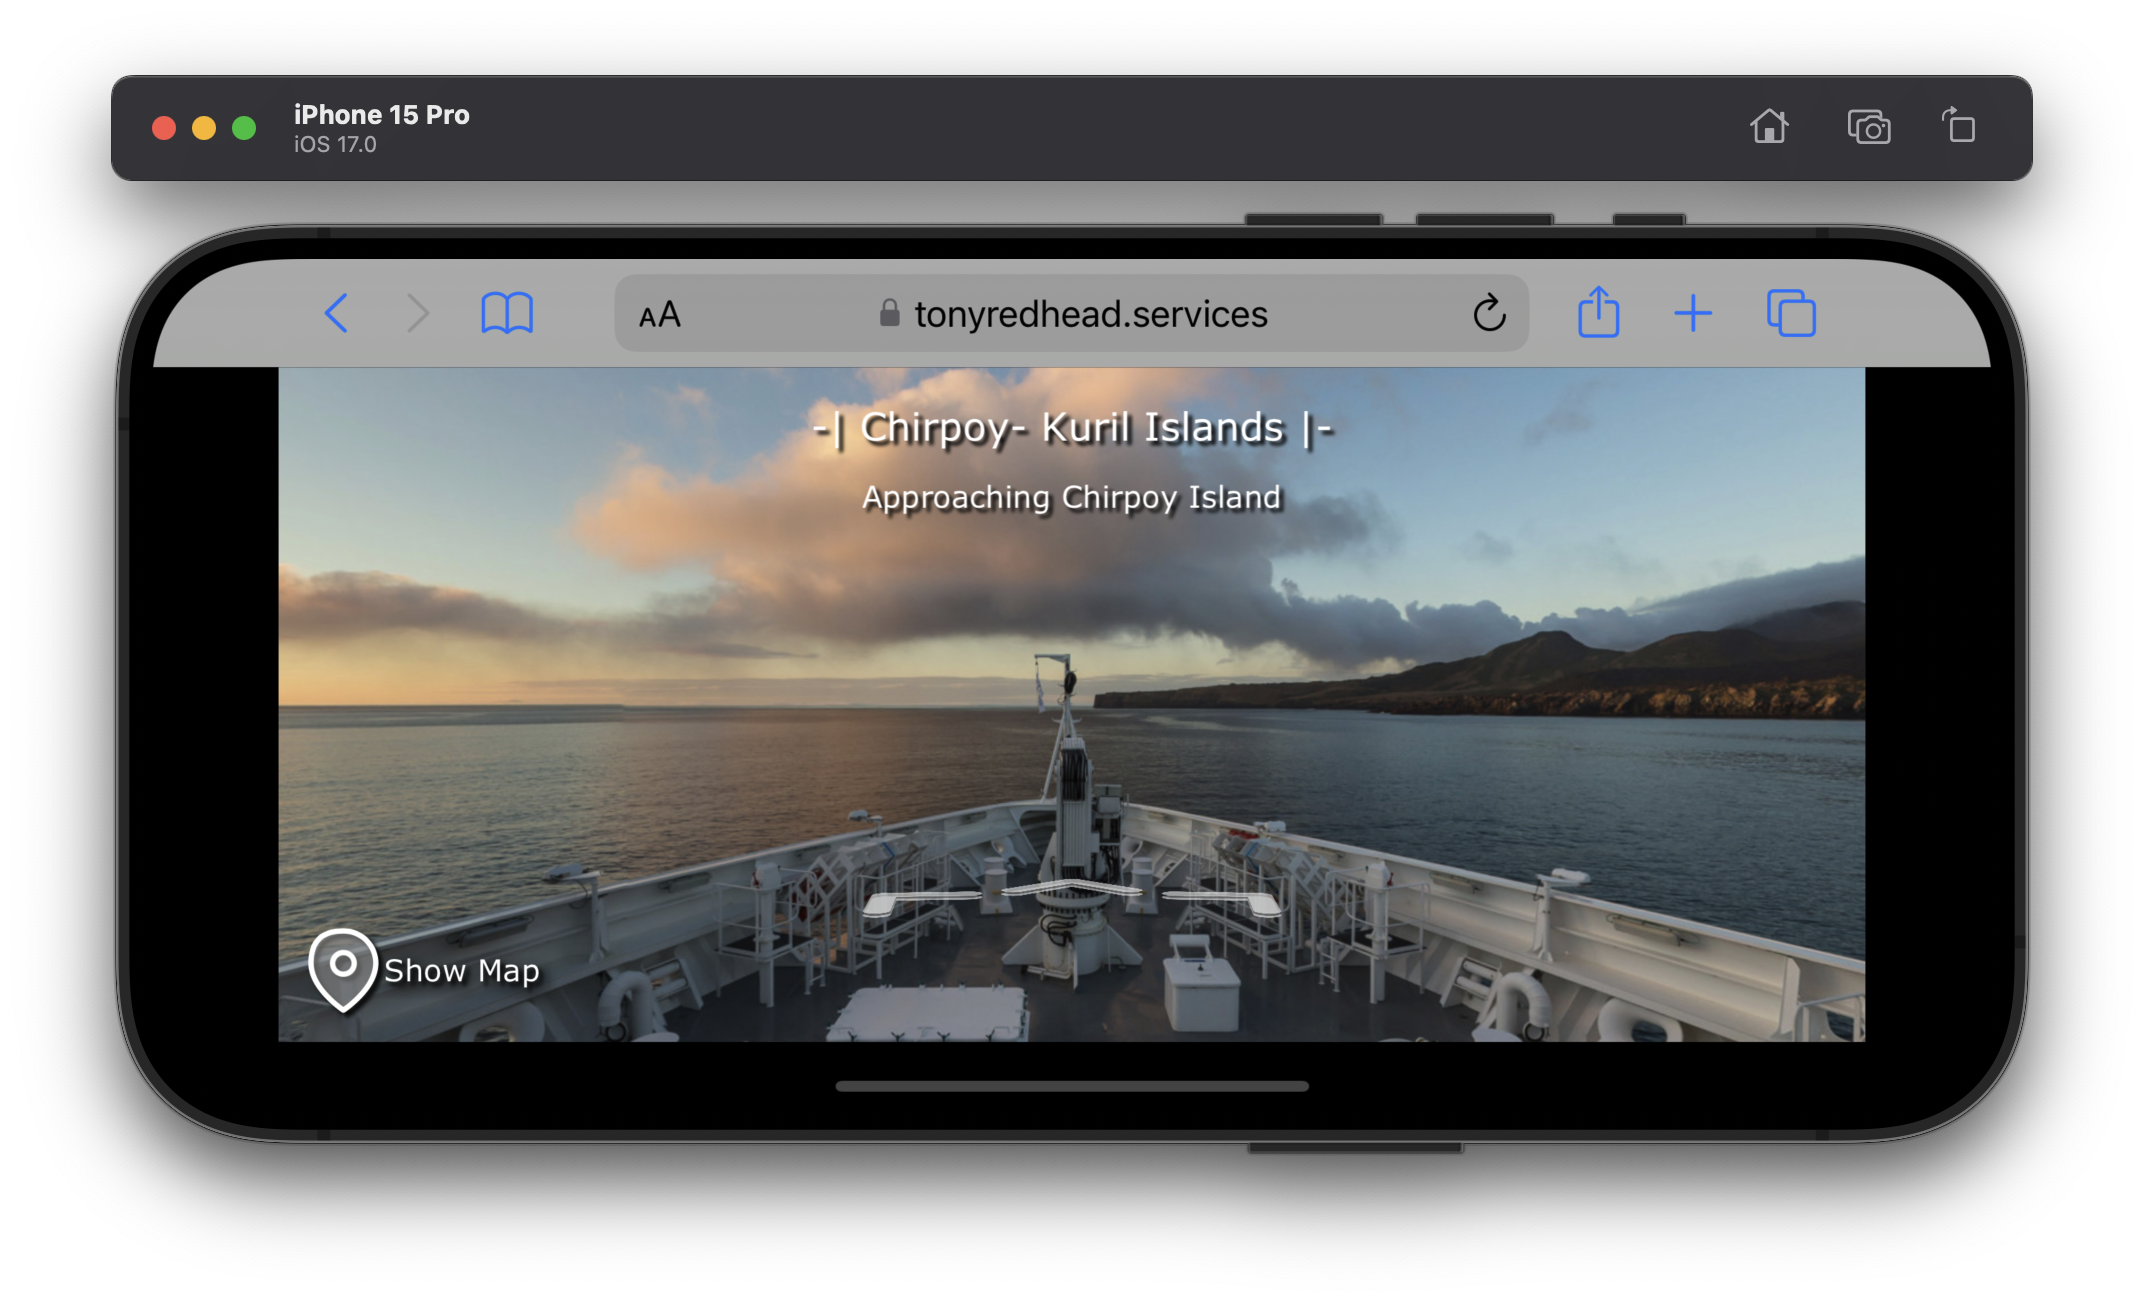
Figure #20: iPhone maximised panorama view | Landscape
Figure #21: iPad Show Map view | Landscape
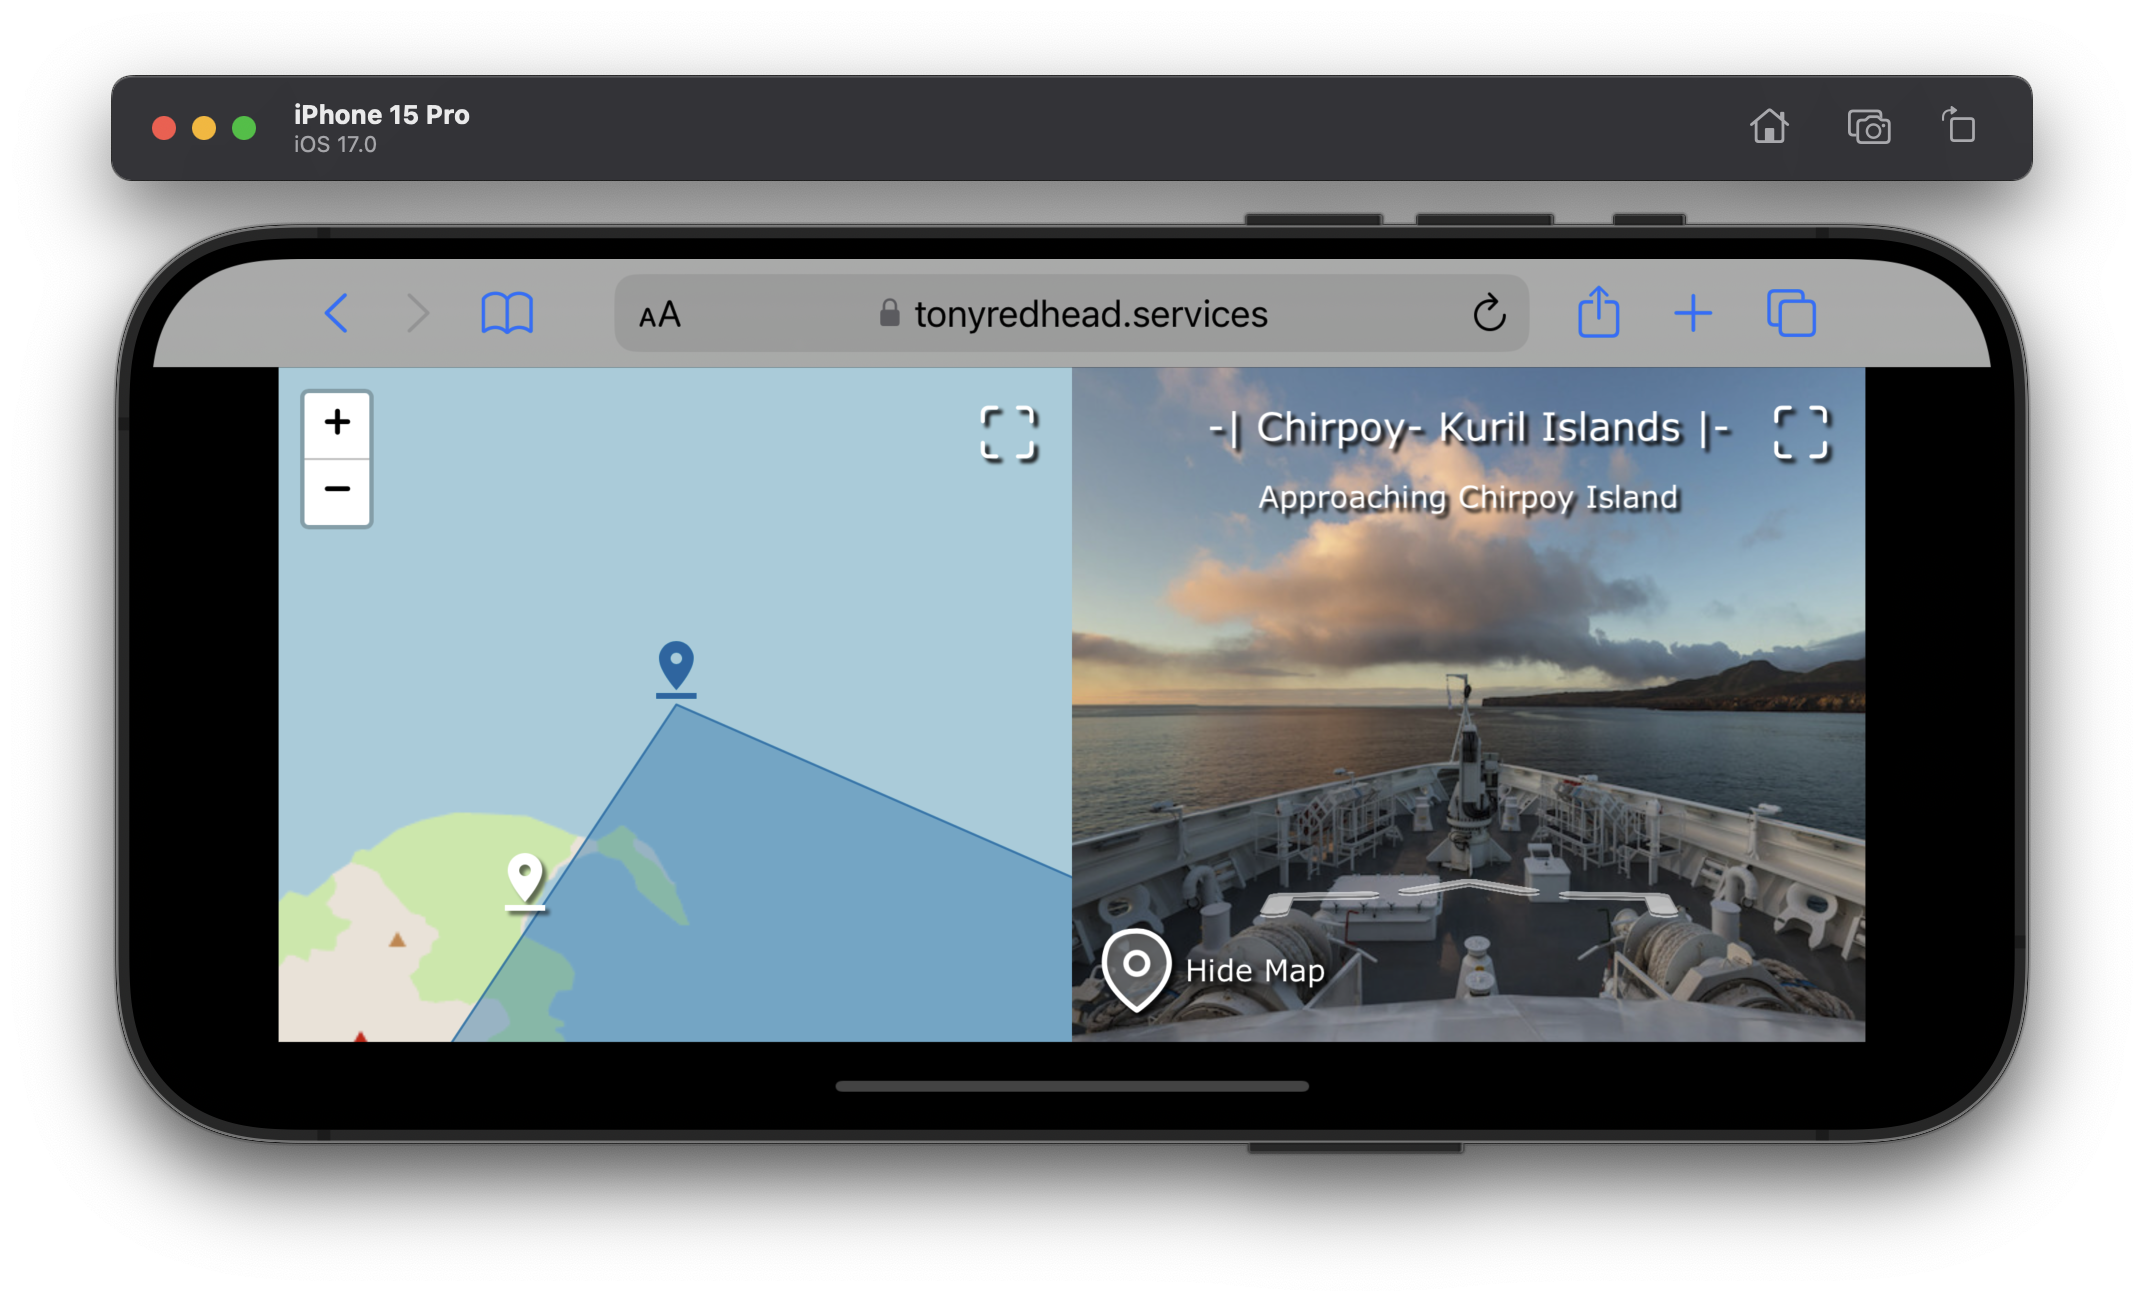
Figure #22: iPhone Show Map view | Landscape
Configuration Settings
#1. Start with Map: The map is open on start
#2. 3D Hotspot Preview/Tool Tip: When the mouse is over the chevron button a thumbnail and title of the location is shown.
#3. Show Variables: Used for development to check the status of variables used within the skin.
Note: If you are interested in obtaining this project and skin it’s available for $50 USD. It includes a document that takes you through setting up the project, map and panoramas as well as fully working version where you can just replace the panoramas and map with your own.
Contact me at tony@tonyredhead.com.
Regards,
Tony
