NOTE: This tutorial has been designed and developed to work on Pano2VR Version 7.1.4
In Replacing the Default Font we will cover the following topics:
Replacing Montserrat Font ⇑
In this tutorial, we will add two new Google fonts that will be used in the Splashscreen Titles. The fonts Skanji and Prata will replace the default Montserrat font.
Note: To see examples of the font updates it would be advantageous, but not required, to have a Splashscreen active in your project.
Tutorial versions that have Splashscreens are;
**RPGTV2024_CLEAN_START >
Versions 2_RPGTV2024_SPLASHSCREEN.p2vr to 7_RPGTV2024_SPLASHSCREEN_VB2FULL.p2vr
or
**RPGTV2024_TAMAN_FESTIVAL >
Versions 1_RPGTV2024_TAMAN_START.p2vr to 12_RPGTV2024_TAMAN_OVERLAPNODES.p2vr
Google Fonts ⇑
As shown below both fonts are available for download from Google Fonts.
Skranji comes in two styles, Regular 400 and Bold 700, while Prata is a single style, Regular 400.
Note: this post is based on the assumption that the reader is familiar with Google Fonts. If not, I recommend viewing Martin Hopkins Pano2VR’s webinar Pano2VR 7 beta - Logic Blocks and Embedded Fonts.
If you follow his webinar you can stop at 3:51 (downloading the font) and continue in this post.
Locate the fonts using google-webfonts-helper
1. Set the “Select charsets” to latin (default)
2. In Skranji “Select styles” select both “regular” and “700”
3. In “Copy CSS” set “Customize folder prefix (optional): to fonts/
4. Click in the CSS code and copy and paste it into a text document

Download the Prata and Skranji zip files into the RPGTV2024_Project > *ASSETS > Fonts folder.
Extract the contents of both zip files and place them in their named folders.
Updating Local Fonts ⇑
In the **UNIVERSAL_SKIN folder, double-click on the UNIVERSAL_SKIN.ggsk to open it.
In the Tree, open the IND_CODE ELEMENTS folder.
Select the code block local_fonts, and in the Properties > Code Elements panel, click the Open Editor button to open the Enter Value window.
In the Enter Value window, scroll to the end of the code and paste in the CSS code copied from the Google Webfonts Helper site (as shown in the Pano2VR Webinar video)
Note: Make sure the url points to “fonts”
Note: when you are finished do not close the window; you will lose the entries. Make sure you click on OK.
You can delete the line font-display: swap from each entry if you want to.
In the Code Element panel, scroll down to Local Files:
At the end of the Local Files: File list, click the “+” button next to the empty file area.
Navigate to the *ASSETS > Fonts > Prata folder and select the prata-v20-latin-regular.woff2 file to add it to the list.
Repeat the last steps and add the Skranji fonts.

Add fonts/ to each of the new entries.
Updating the Font Classes ⇑
The final step is to update the font_classes code block.
In the IND_CODE ELEMENTS folder, select the code block font_classes, and in the Properties > Code Element > Code: panel, click the Open Editor button to open the Enter Value window.
The font_classes code block contains 3 sections;
Red: URL link colors
Green: Splashscreen Titles Classes
Yellow: General Text Classes
Deploying the Prata Font ⇑
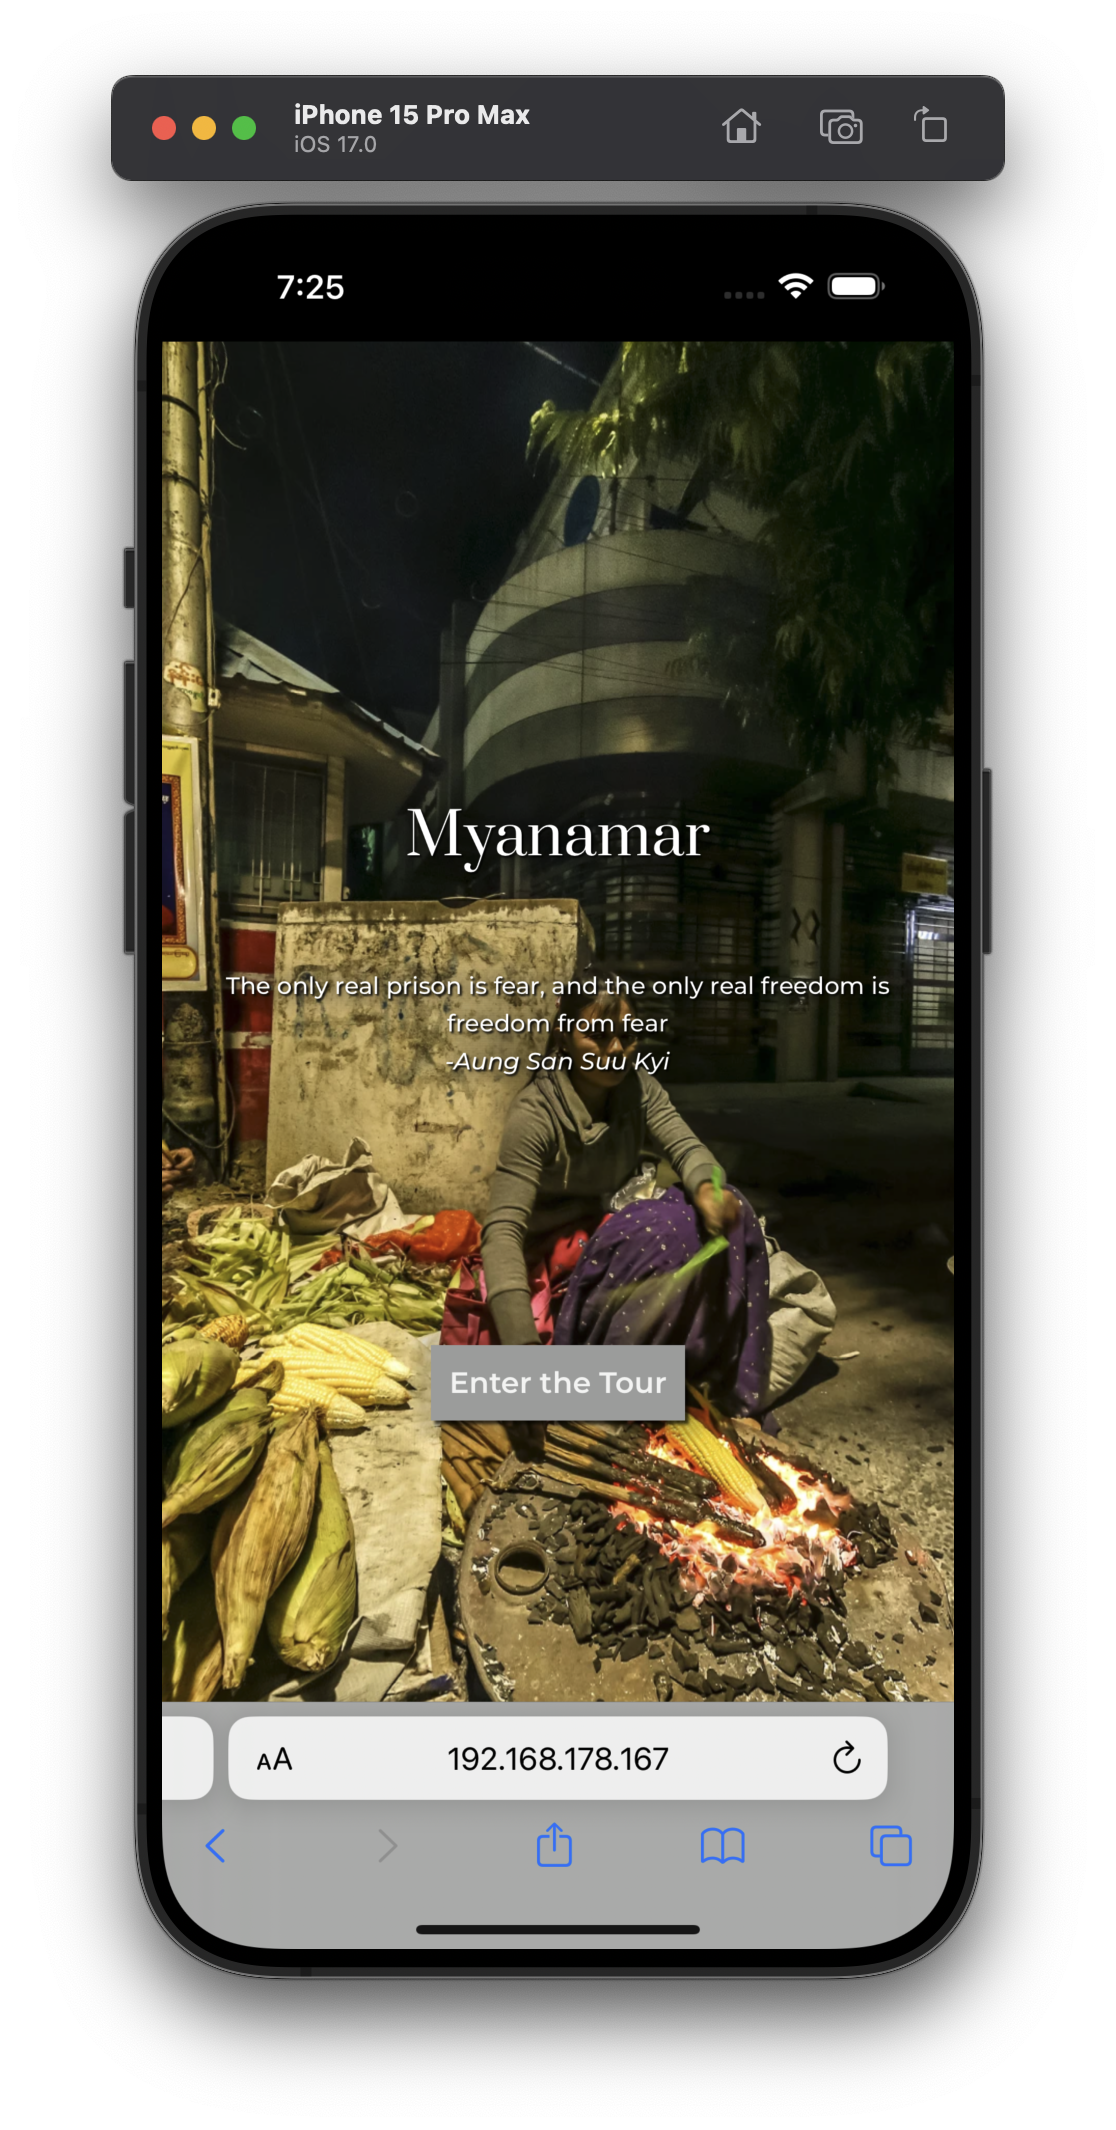
In the first font example, we will change all the Splash and Mobile Rotate Titles to Prata
Replace all of the font family names in the Green area with Prata and change the font weight to 400.

Note: When you are finished do not close the window; you will lose the entries. Make sure you click on OK.
Save the project and output the project. The splash screen should look like the examples below with Prata displayed as the main title font.

Deploying the Skranji Font ⇑
In the second font example, we will change all the Splash and Mobile Rotate Titles to Skranji.
Replace all of the font family names in the Green area with Skrangi and change the .splashtitle font weight to 500.
Note: When you are finished do not close the window; you will lose the entries. Make sure you click on OK.
Save the project and output the project. The splash screen should look like the examples below with Skranji displayed as the main title font.

This brings us to the end of the Adding New Fonts post.
The next post shows how to implement the Mobile Landscape options.
