9 March 2023 Please note: This is an old tutorial that uses droplet functionality no longer available in Pano2VR 6 or 7. You can download Version 5.2.5 of Pano2VR from the Garden Gnome website at https://ggnome.com/pano2vr-download/
You can concurrently run multiple versions of Pano2VR and I have tested this tutorial while running V5, V6 and V7 on an iMac
Overview
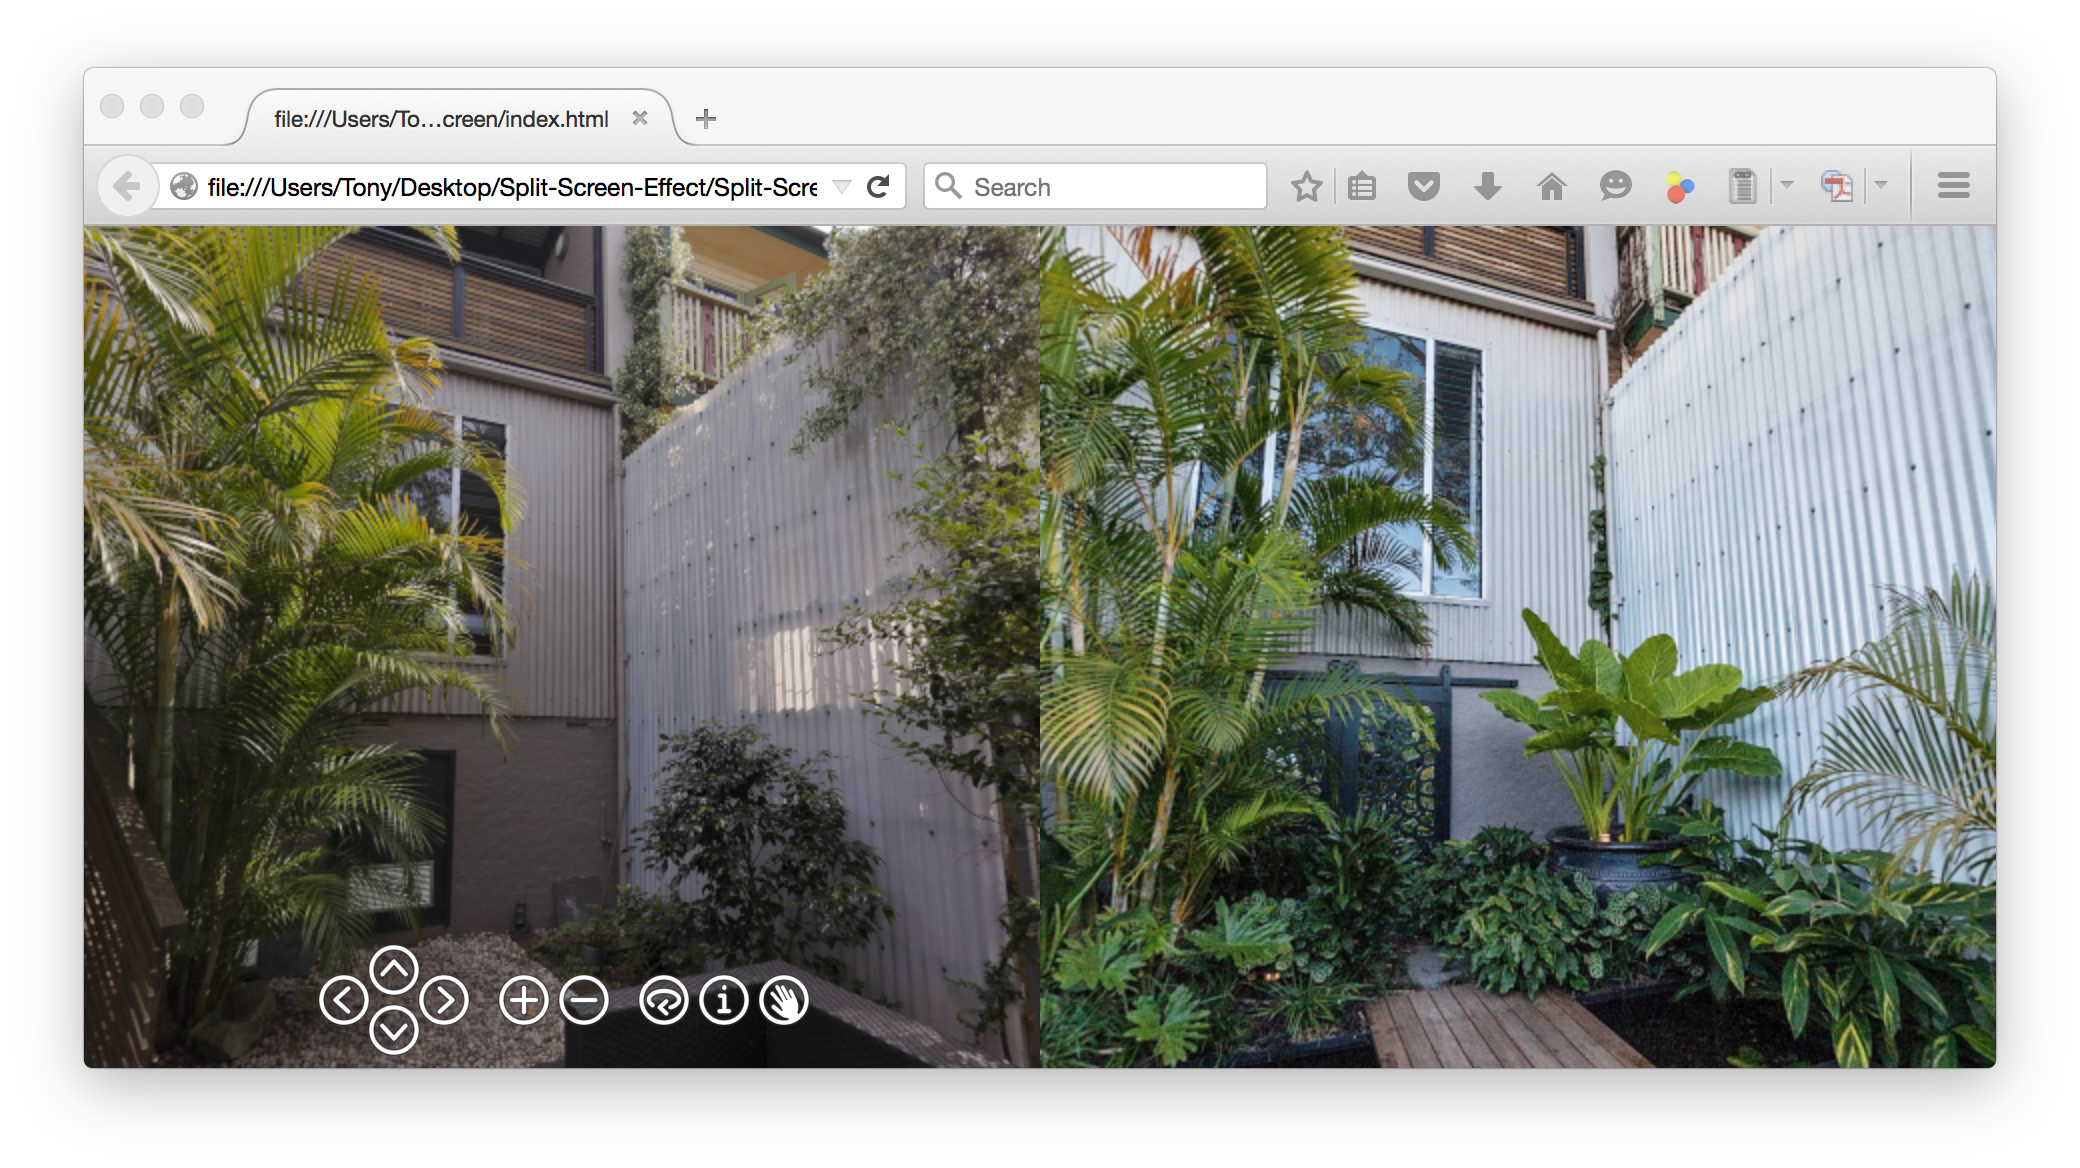
If you need to compare two 360˚ panoramas side-by-side in a screen then this tutorial will provide step-by-step instructions on how to create the files required to achieve the effect. Two panoramas will displayed, the left hand panorama will contain a skin and will control the view of the right hand panorama to match that of the left one.
Click the link to see a standalone example of the Split-Screen Effect, created from the tutorial files.
Tutorial File Download
In the Split-Screen folder you will find two droplets, Left_Pano.app and Right_Pano.app, a Split-Screen folder and an Assets folder. The split-screen folder contains the following items;
1 x index.html file
The Assets folder contains the following items;
Skin
1 x Simplex-NoFull.ggsk
Equirectangular
2 x test images, Left_Pano.jpg, Right_Pano.jgp, that you can use to generate test files.
Download the Split-Screen-Effect zip file
How it Works
The two droplets create an output folder and set of files designated Left and Right. The left version contains a skin with buttons that control the orientation, zoom, auto-rotation and control mode of both panoramas.
The images, xmls, skin.js and pano2vr_player.js files selected from both folders are added to the split-screen folder in the zip download.
Getting Started
Download and unzip the Split-Screen-Tutorial.zip file
Install the Pano2VR skin, Simplex-NoFull.ggsk by copying it to
~/Library/Application Support/GardenGnomeSoftware/Skins/
Tip: You can easily locate and open the folder by launching Pano2VR, going to the Settings/Preferences and selecting the Files tab. Right click on the path and click, Open in Finder or Open in Explorer to open the directory.
Alternatively you can hold down the "Option" key and open the "Go" menu in Finder and click on "Library". This will open a new Finder window that allows you to navigate to the skins folder.
Generating the Files
Using the test files or your own files drag the Left_Pano.jpg onto the Left_Pano.app.
Note: At this point you may be presented with a message that Left_Pano.app can't be opened because it is from an unidentified developer. Select OK. Open your System Preferences, open Security & Privacy. At the bottom of the window you should see the option "Left_Pano.app was blocked from opening because it is not from an identified developer" and a button "Open Anyway". By selecting this button you will enable just this particular app to run. You will need to do this to Right_Pano.app as well.
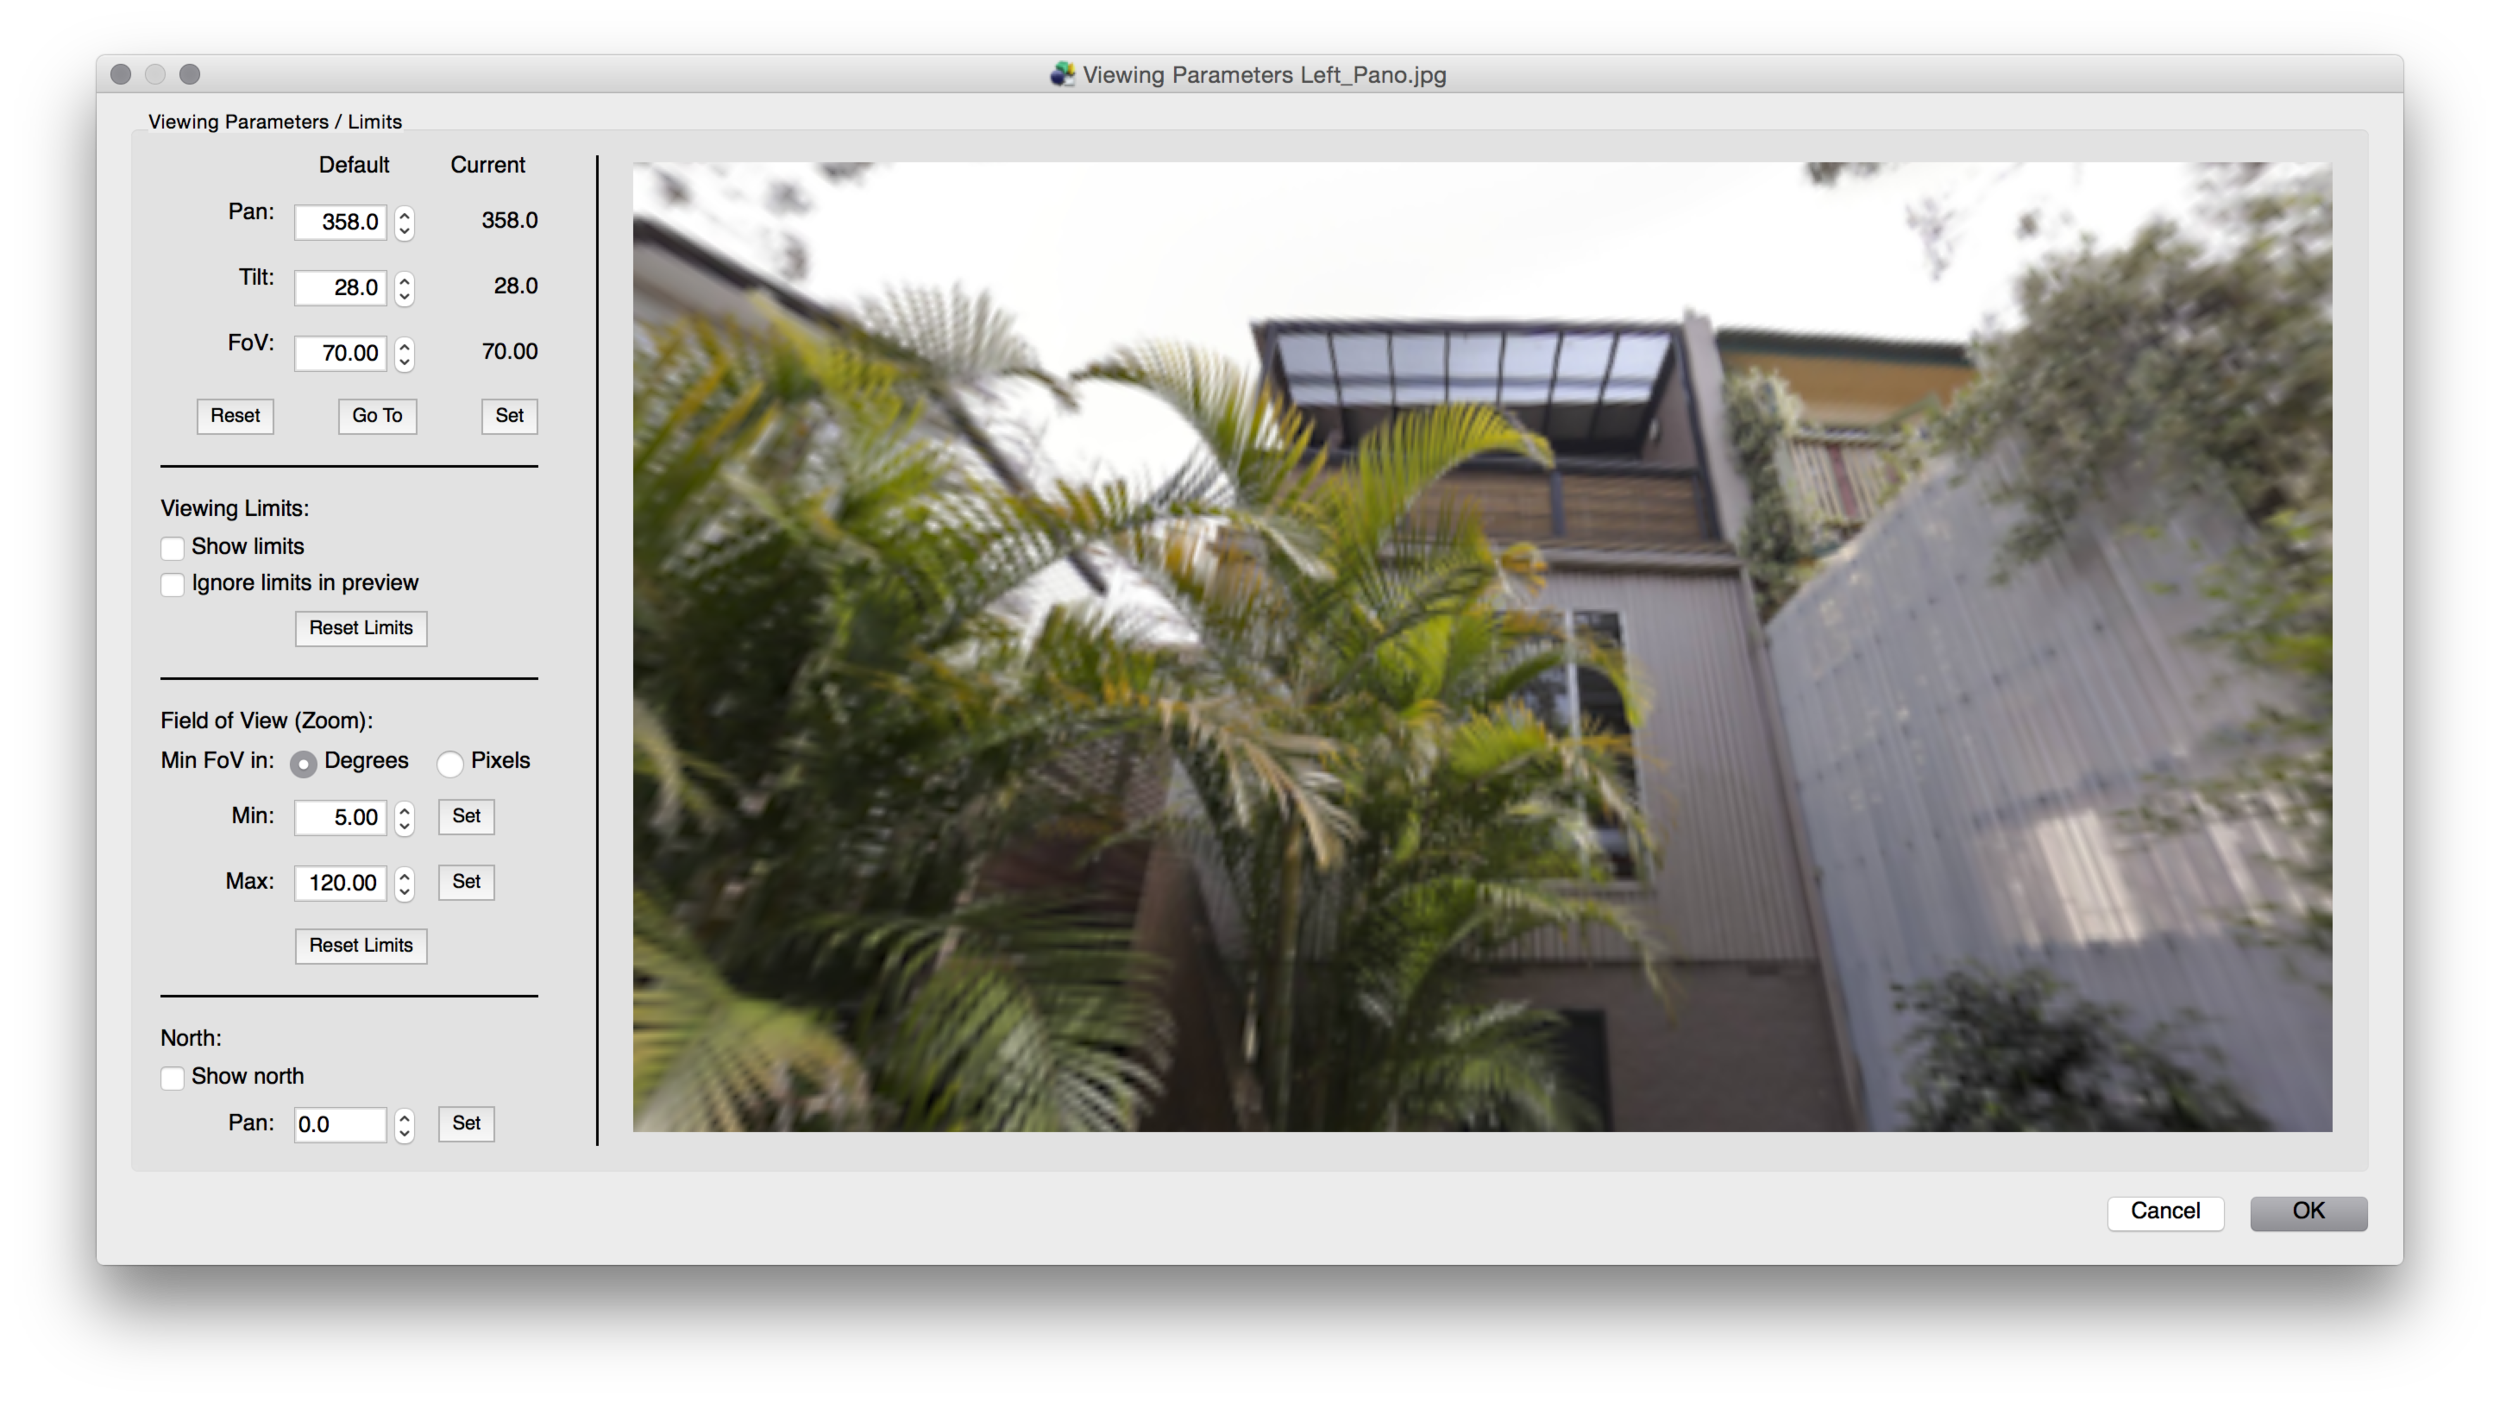
After a few seconds the Viewing Parameters window opens. This window allows you to modify any of the settings in regard to the current view, viewing limits, field of view or North settings. Make any necessary modifications and select OK. The image below shows the settings I've used in the demonstration split-screen-effect.
Note: these viewing parameters will be automatically applied to the Right_Pano image when the page is loaded.
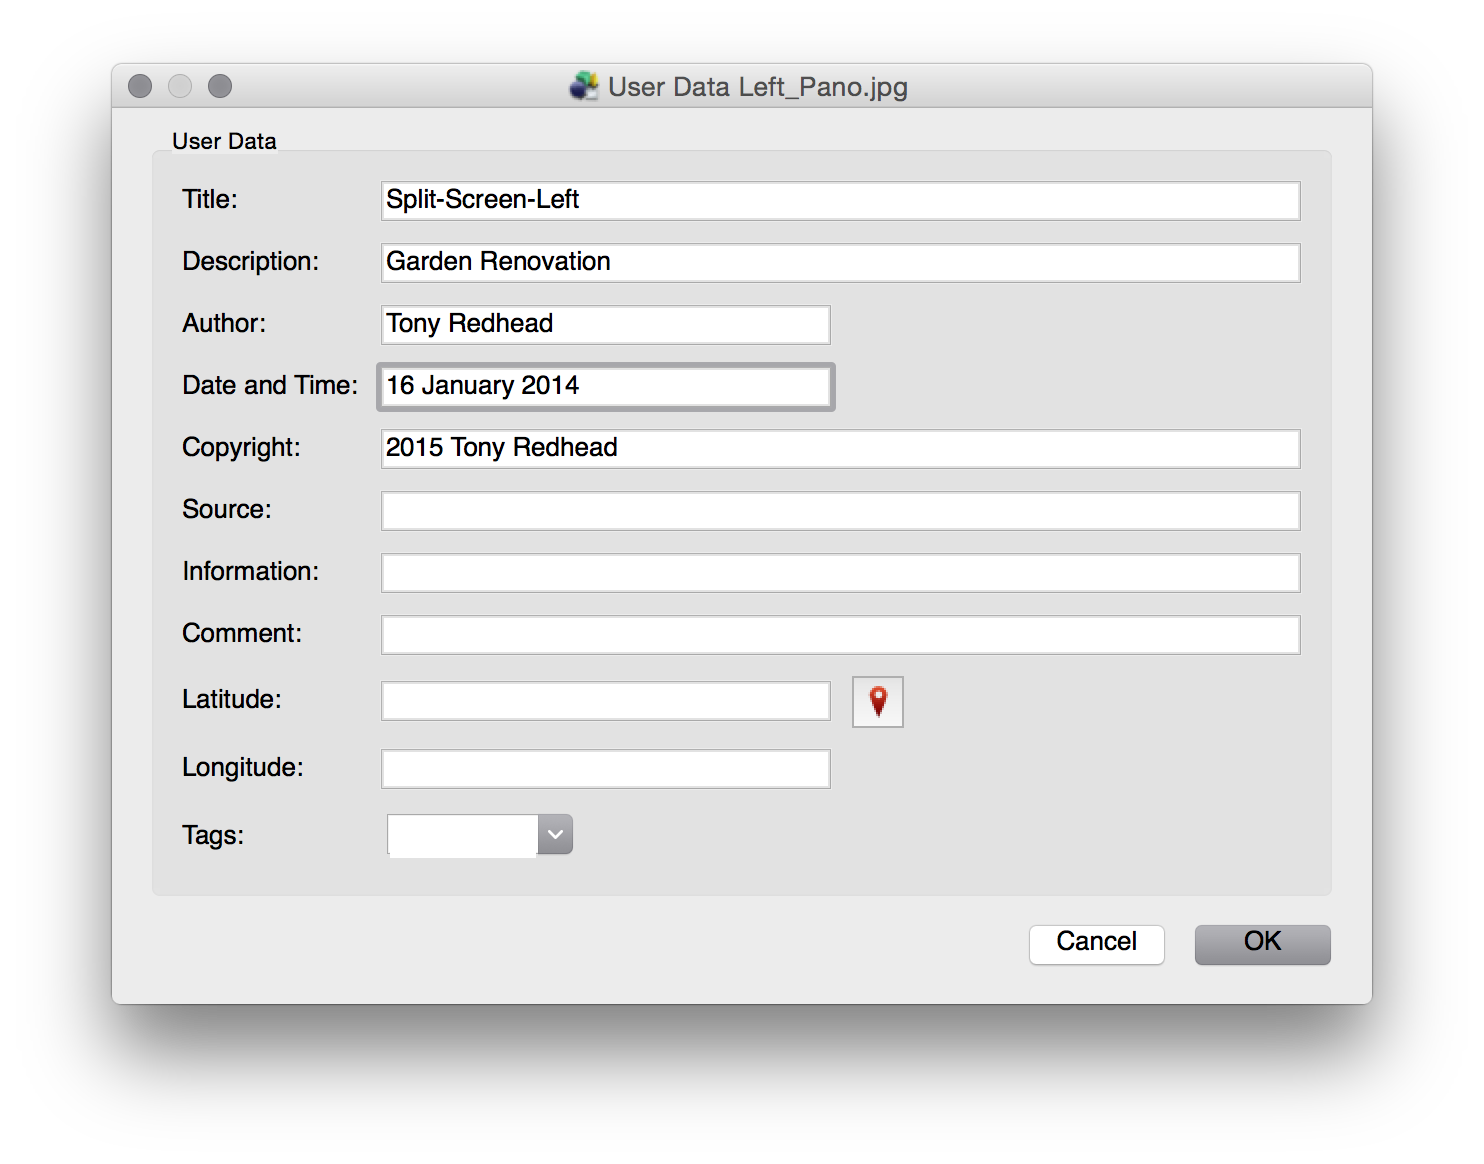
The User Data window opens and you can add in your Title, Description, Author, Date and Time and Copyright information. When you are finished select OK.
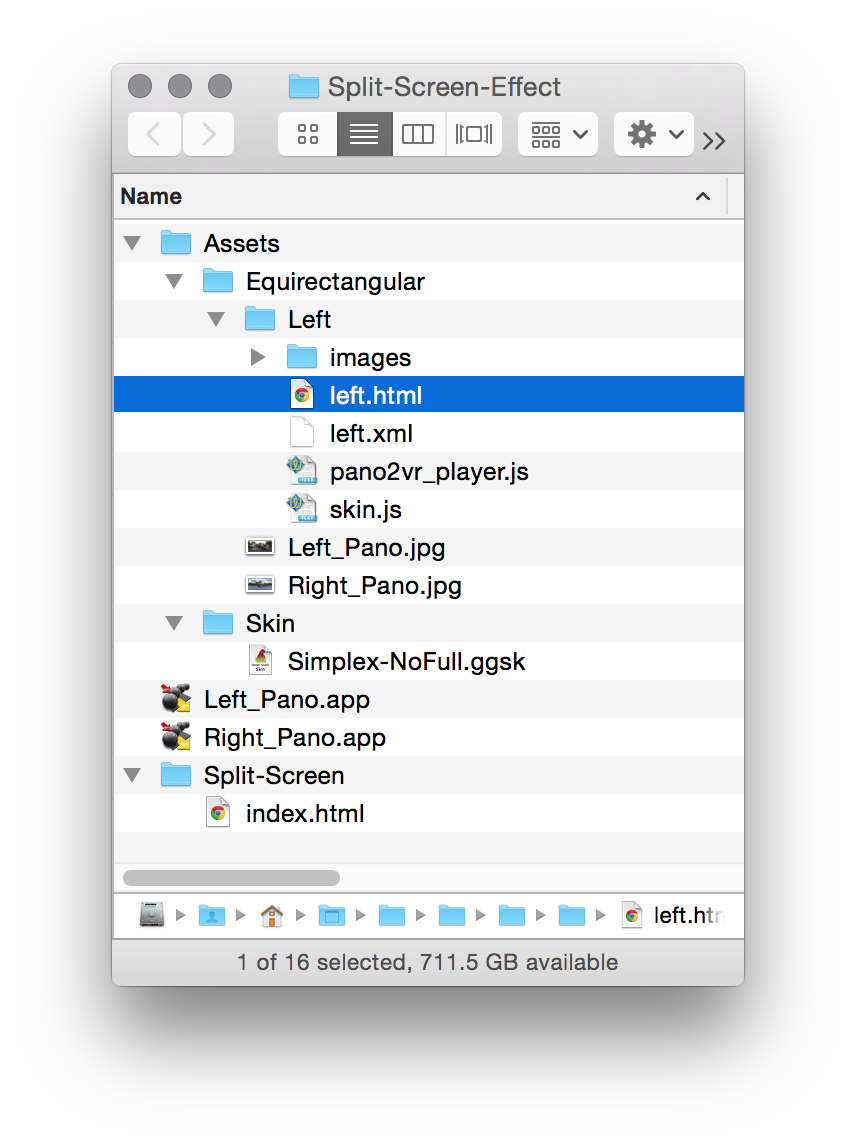
The droplet will create all of the files and put them in a folder named Left in the Assets/Equirectangular folder, shown below, or in the folder where your own files are located.
You can test this output by dragging or opening the left.html file into a browser that doesn't have the Flash plugin installed. In this example I've opened the file into Firefox.
Repeat the following step with the Right_Pano.jpg and drag it onto the Right_Pano.app. As there is no skin shown on the right screen and the panorama uses the attributes defined in the Left Viewing Parameters the app simply exports the files into a folder called Right in the Assets/Equirectangular folder or in the folder where your own files are located.
Creating the Project Folder
The next step is to copy some of the files from the Left and Right folders into the project folder, in this case Split-Screen.
From the Left folder copy the entire Images folder, left.xml, pano2vr_player.js and skin.js files.
From the Right folder only copy the images from inside the Images folder into the Images folder in the project folder and the right.xml.
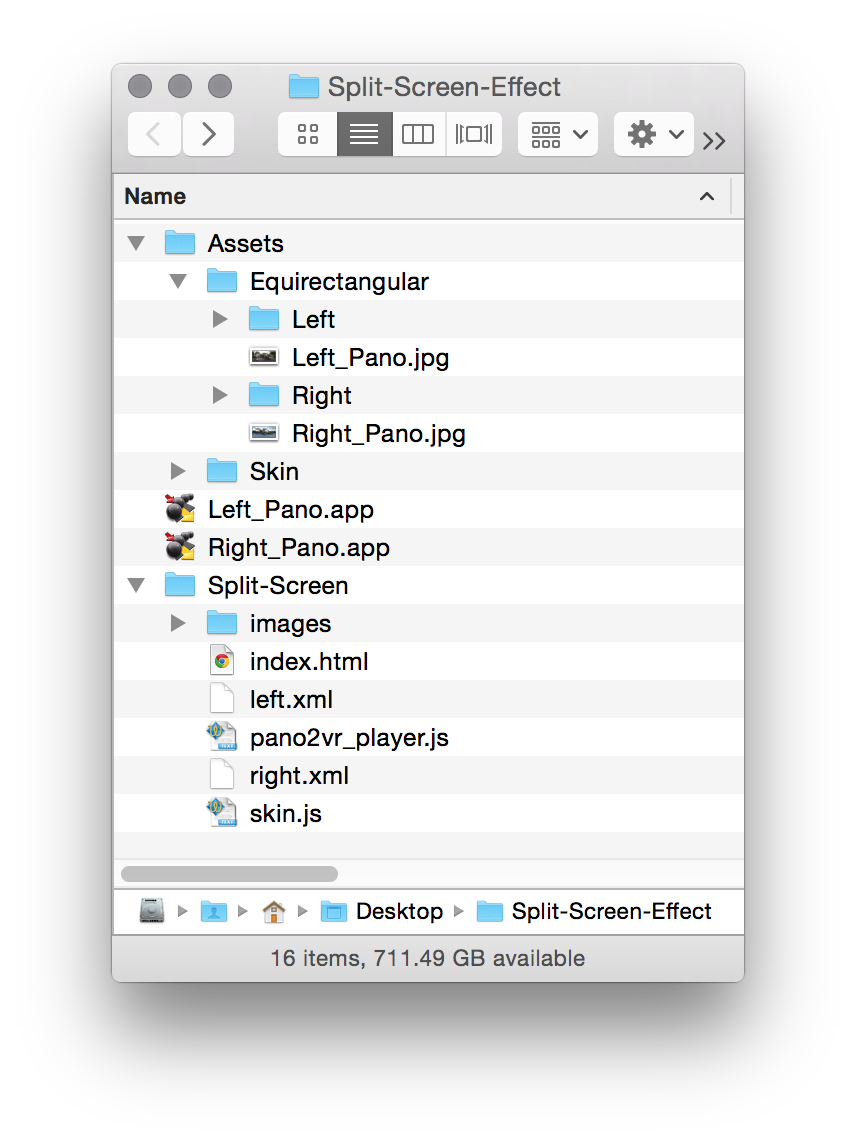
The final project folder should look like Split-Screen below.
Test the result by dragging or opening the left.html file into a browser that doesn't have the Flash plugin installed. In this example I've opened the file into Firefox.
As you move the panorama on the left the right will follow it. Using the controls has the same effect. All that's left is to publish your files. If you come across any issues or have any feedback on this tutorial I'd love to hear it.
Tony

