Overview - Part 1
This tutorial will take you step-by-step through the workflow required to add the RPGT_COMPONENT.GGSKC to an existing Version 7 project and populate it with single image galleries and text popups.
Final Output
The tour below is a sample of the final output from this tutorial.
Tutorial Files
1. Download the zipped tutorial folder and unzip it.
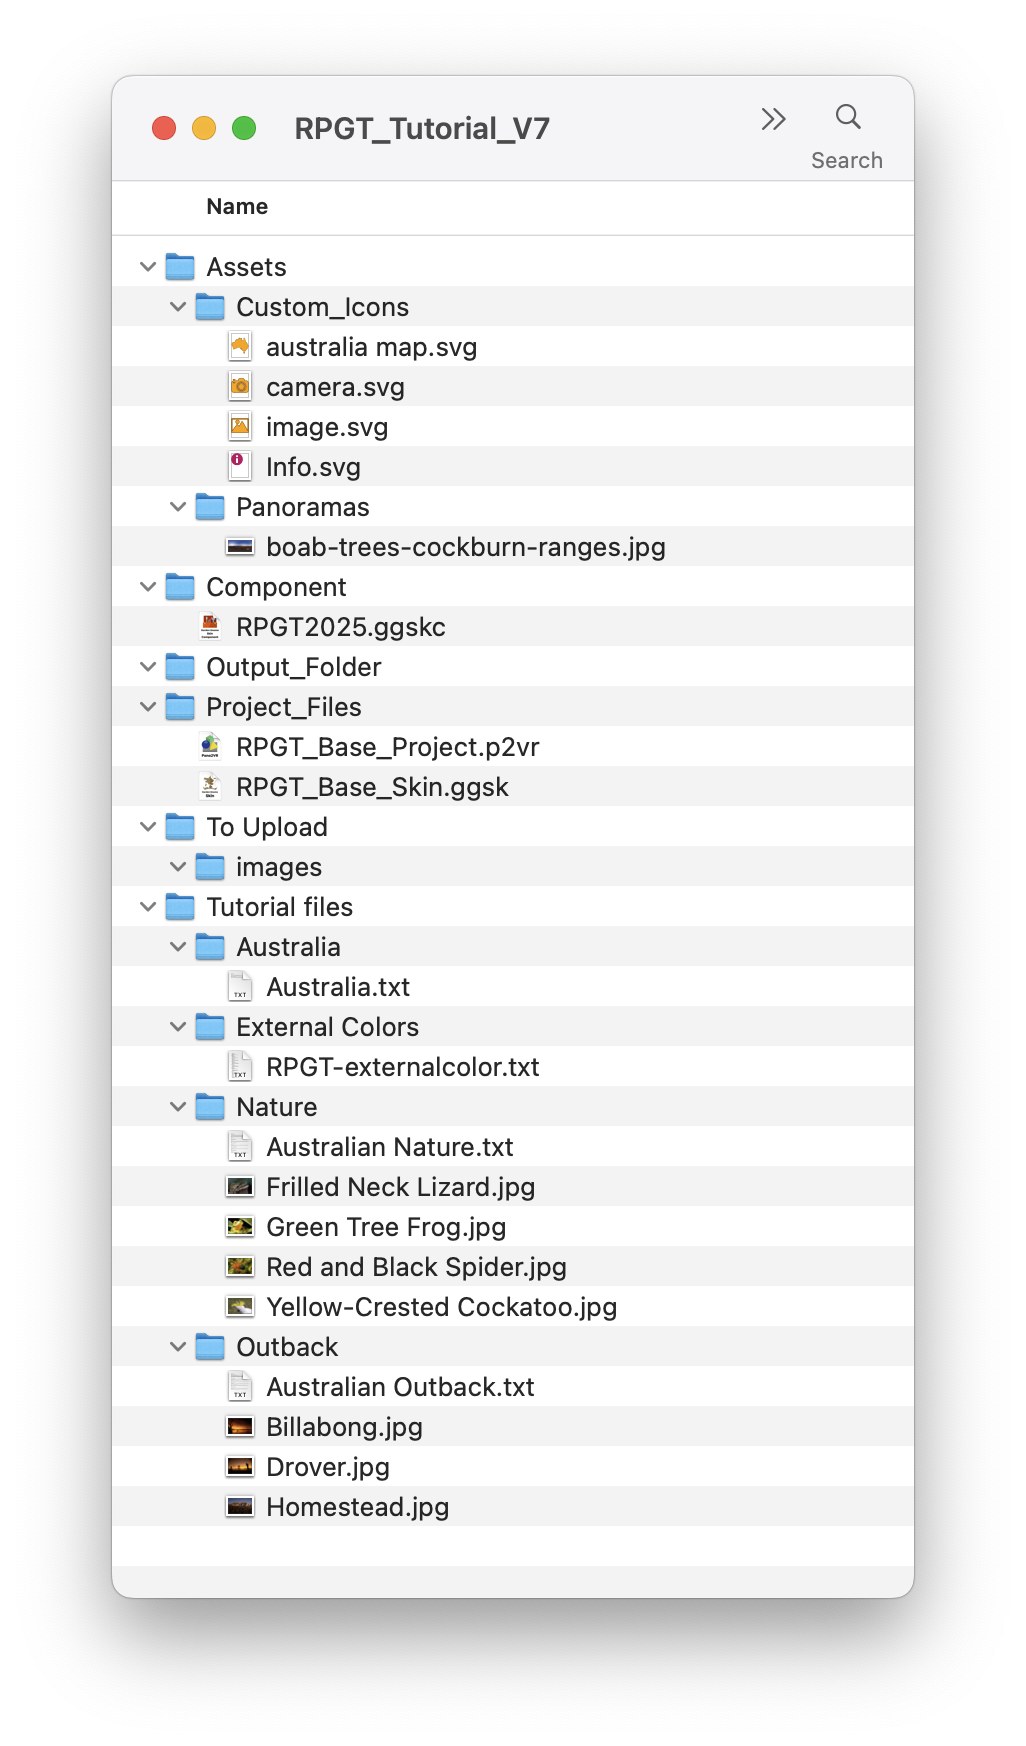
In the tutorial folder, RPGT_Tutorial_V7, there are a number of folders as shown in the image below. Included are Custom icons, Project Files, and Tutorial Files (figure #1)
Note: The equirectangular image, component and project files supplied with this tutorial are copyright Tony Redhead 2025 and not to be sold, used or modified in any way without the express written permission of the author.
Click on any image in the tutorial to enlarge it
This tutorial assumes a basic knowledge of Pano2VR V6
Tutorial Overview
In this tutorial, we will modify the RPGT_Base_Project.p2vr project and skin by:
Installing the Component
Adding the Component to the Current Skin
Installing the Component
1. Locate the component, RGTP_COMPONENT.ggskc, in the Tutorial folder > Component
2. Double click the component to add it to your Component Toolbox
Note: if you aren’t familiar with the use of the Component Toolbox please review the video below.
Adding the Component to the Current Skin
1. Open the project file ‘RPGT_Base_Project’ in Pano2VR V7 (figure #2)
Figure #2: Project window
Note: This is a simple single node tour with a standard Simplex skin
3. Open the Skin Editor
Figure #3: Set Canvas size
Note: you will see a warning icon next to the Controller folder. This will go away once the component is loaded.
5. Open the Component Toolbox by clicking on the Components Toobox icon (figure #4)

6. Locate the folder that you saved the RGTP_COMPONENT into. (figure #5)
Figure #5: Component
7. Double-click the RGTP2025 component to add it to the skin (figure #6)
Figure #6: RGTP2025 component added to the skin
6. Close the Component Toolbox
Note: the location of the component in relation to the canvas should be centered at 0.
7. If it is not, select the component folder and in the Properties > Position panel check the anchor point to centre, and set the X: and Y: positions to 0 pixels (figure #7)

Figure #7: RGTP2025 component centred in the skin
8. Open the Properties > Variables dropdown menu and you can see the variables added by the component (figure #8)
Figure #8: Variables added to the skin
9. Select Save As.. and save the skin into the tutorial folder Project)_Files as RPGT_Component.ggsk
10. Close the skin
11. In the project window click on the Edit Skin Configuration button
12. Check ‘Show Variable Previews (Debug)’ and click on OK to close the window (figure #9)
Figure #9: Check ‘Show Variable Previews (Debug)
Note: This will display a list of variables used within the component and allows us to see if the component is working within the skin. This element is great for debugging as it shows you the state of the variables that affect the component elements. This will be covered in more detail later in the tutorial.
13. Save the project as RPGT_Component.p2vr
14. Output the project
Note: It should look like the example below.
If your output is the same then it’s time to move on to the next step where we will create a Single image gallery popup with a Description and a Text only popup.
Note: if you are interested in using the component please contact me at tony@tonyredhead.com and we can discuss your requirements.
Note: This is the end of Part 1 lets move onto Part 2: Single Image Gallery & Text Popups
