Overview - Part 2
In Part 2, we will;
Add the Image Gallery Hotspot
Adding Files to the “To Upload” folder
Adding the “To Upload” to Assets
Set Skin Parameters
Output the Project
Adding the Image Gallery Hotspot
1. Open the RPGT_Component.p2vr project if it’s not already open
2. Set the Viewer window to Hotspot mode (figure #1)
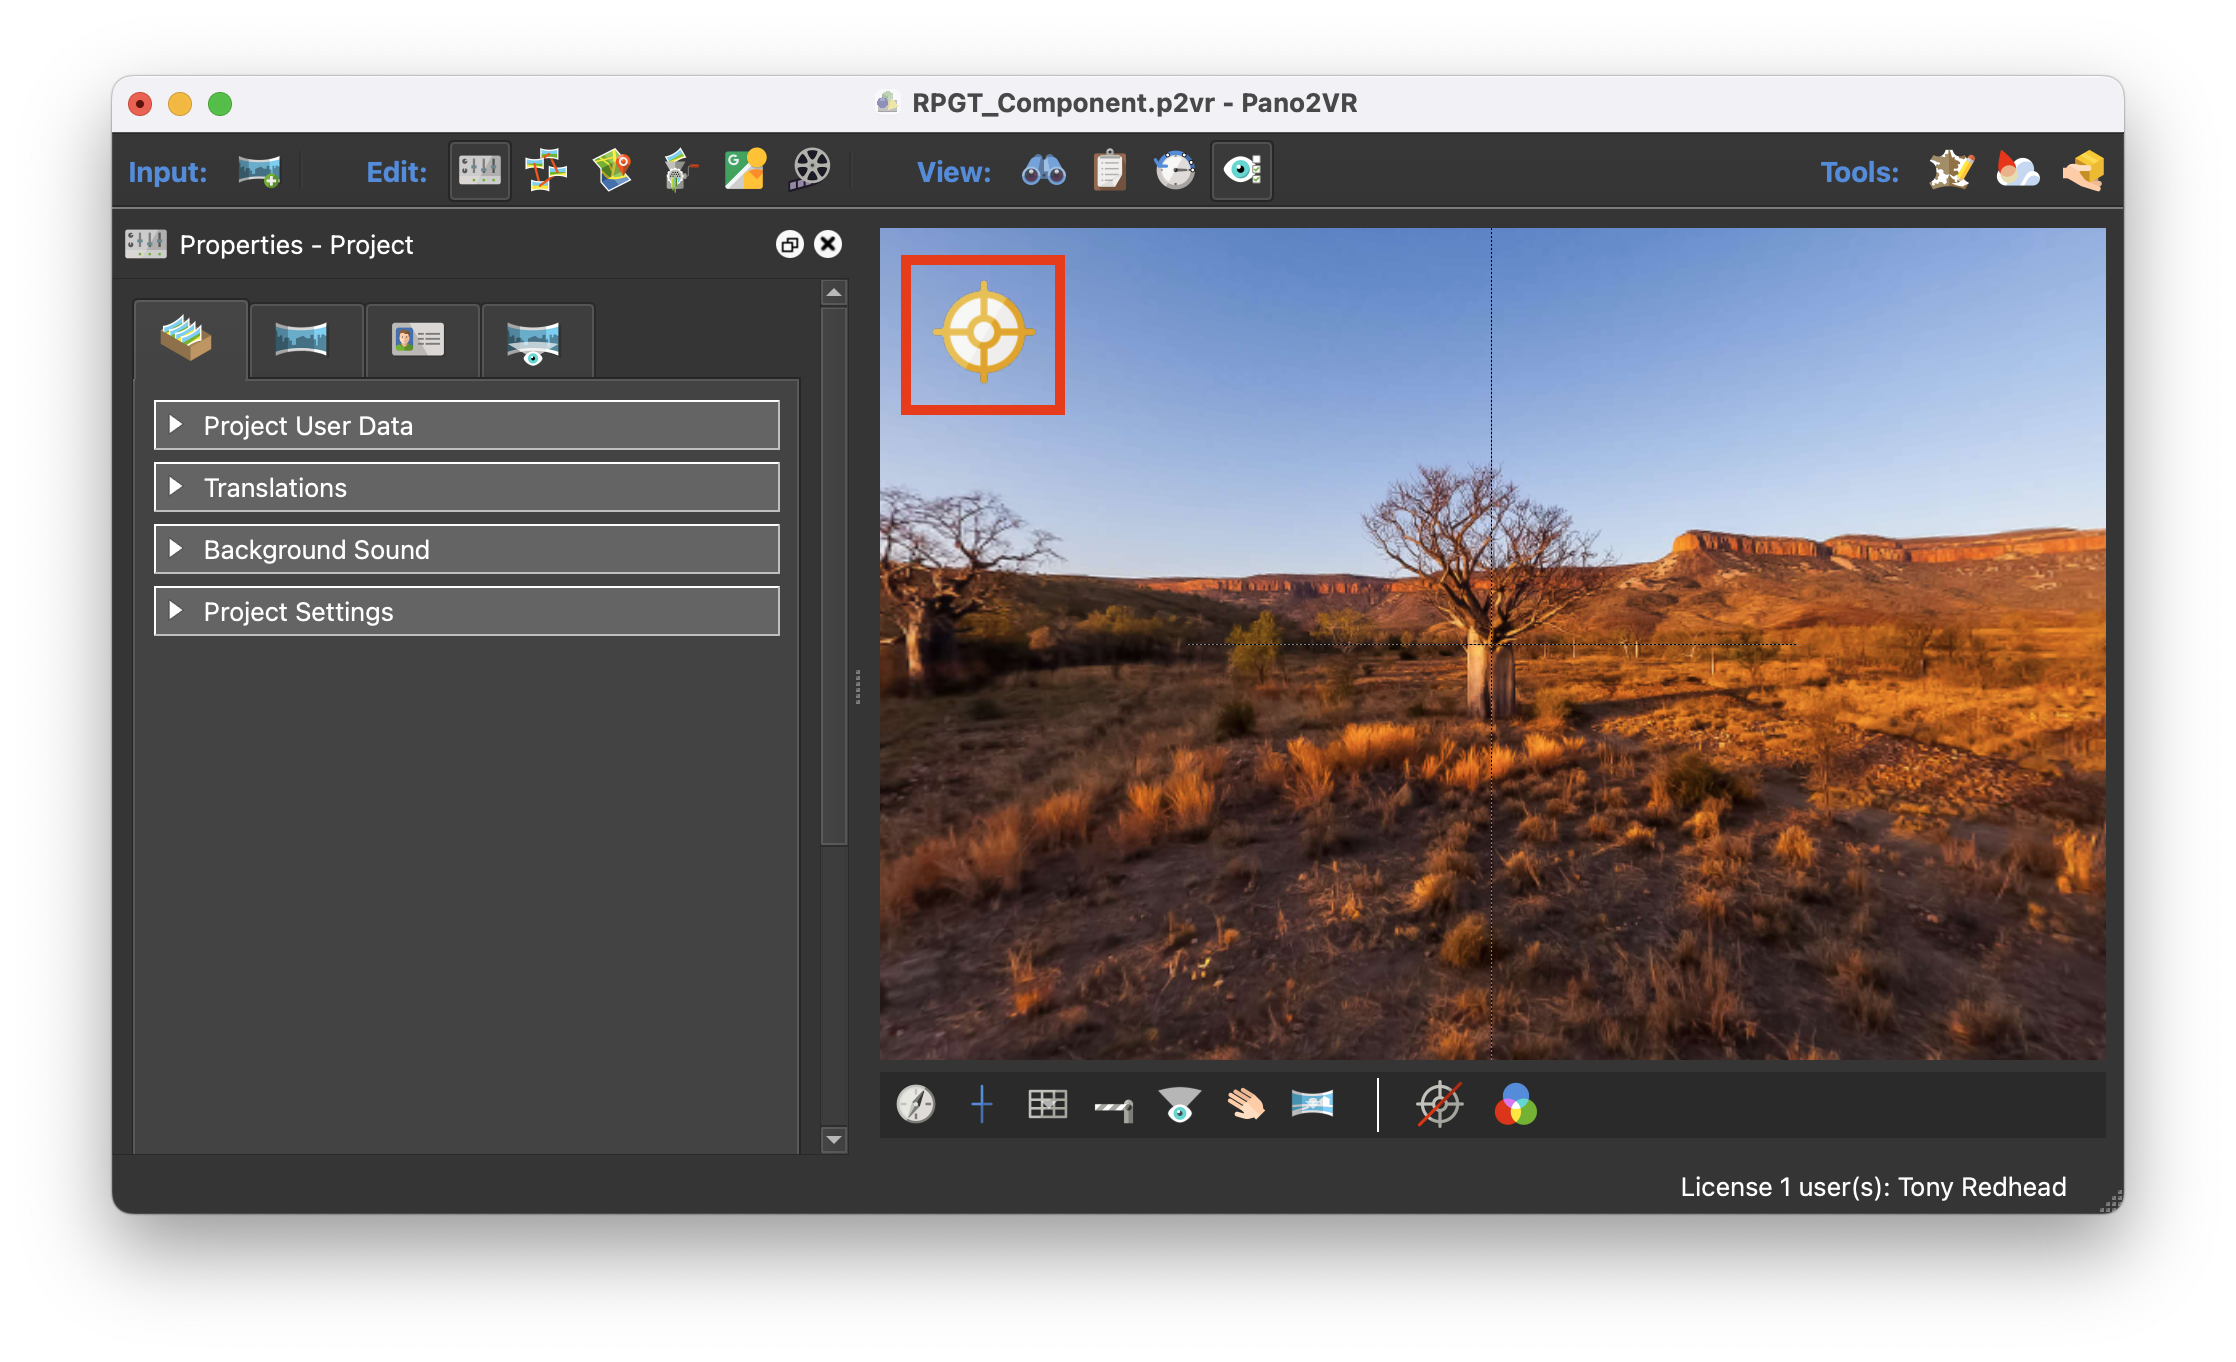
Figure #1: Hotspot mode active in the Viewer
3. Double click in the panorama to set a Point Hotspot (figure #2)
Note: this will also open the Properties - Point Hotspot panel

Figure #2: Point Hotspot added to the panorama
With the Point Hotspot active (red) set the following in the Properties - Point Hotspot panel:
Type: URL
Skin-ID: ht_gallery
Title: Australian Nature
Description: (Open the Tutorial files > Nature > Australian Nature.txt file. Copy and add the data contained within the Gallery Description section) or copy from here.
Australian nature is extremely diverse and interesting, with a number of unique animals living in Australia.
The wildlife in Australia has evolved in isolation and so has a unique and individual appearance. This also means that the animals have adapted well to the varying and often harsh climatic differences around Australia.
Around 55 million years ago Australia belonged to Gondwana (named by Eduard Suess), which was a landmass made up of a number of "todays" countries including most contained within the "Southern Hemisphere" and a few that have moved to the "Northern Hemisphere".
It was almost completely covered in rainforest, although much of this dried out as Australia moved towards the warmer climate.
Link Target: 1 (we will be starting with one image in the gallery)
Target: nature (used to identify elements in the skin and the name of the gallery folder) (figure #3)
Figure #3: Point Hotspot Properties
Adding Files to the “To Upload” folder
Note: the “To Upload” folder will contain the assets we want to use in our Hotspot Popups. Assets are loaded into the project via the Output > Advanced > Assets panel. It is preconfigured to open files from the To Upload > images folder
1. In the Tutorial files > Nature copy the Nature folder into the To Upload > images folder and rename it ‘nature’ (note: lower case) (figure #4)

Figure #4: nature images ready for uploading into the project
2. Re-name the Frilled Neck Lizard.jpg to 1.jpg (figure #5)

Figure #5: Change the Frilled Neck Lizard.jpg name
Adding the “To Upload” to Assets
1. Open the Properties - Web Output panel
2. Open the Advanced dropdown tab
3 . Click on the Assets > “+” button
4. Select “Add Folder” (figure #6)

Figure #6: Add Folder to Assets
5. Browse to the Project folder > To Upload and select the “images” folder
6. Click “Open” to add it to the Assets (figure #7)
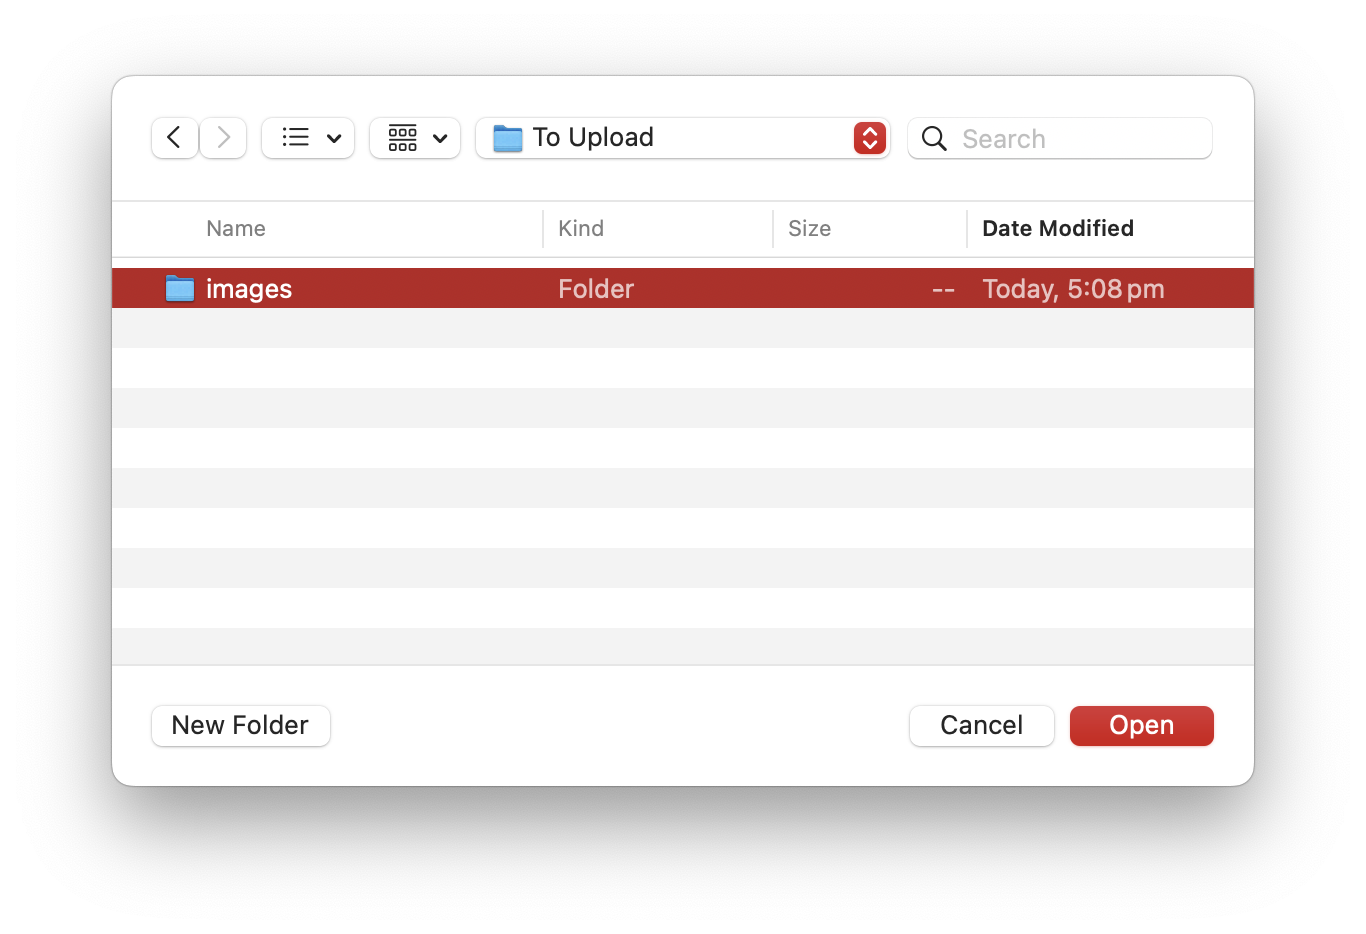
Figure #7: Add the images folder
Note: now folders and files we place in the images folder will be uploaded to and available in the project when it’s published.
Set Skin Parameters
Note: There are a number of skin parameters that allow us to activate global variations in the project before output. Rather than having to go in and change a variable via the skin we can do it in the Edit Skin Configuration window.
1. Open the Edit Skin Configuration window
2. Check the following:
Show Gallery Slideshow
3. Set the following:
Slide Image Type is jpg (no ‘.’)
4. Uncheck the following:
Show Variable Previews (Debug) (figure #8)
Figure #8: Setting the Skin Parameters
4. Select ‘OK’
Output the Project
1. Save the project as RPGT_Gallery1.p2vr
2. Output the project
Note: It should look like the example below
Note: When we mouseover the hotspot we see the name of the Gallery in the tooltip.
Clicking on the icon opens the popup with the title, image and description.
Opening the direct link in an iPad or iPhone we see the responsive popup when we rotate the device to landscape (Figure #4, 5, 6)
Note: This is the end of Part 2 move onto Part 3: Single Image Gallery
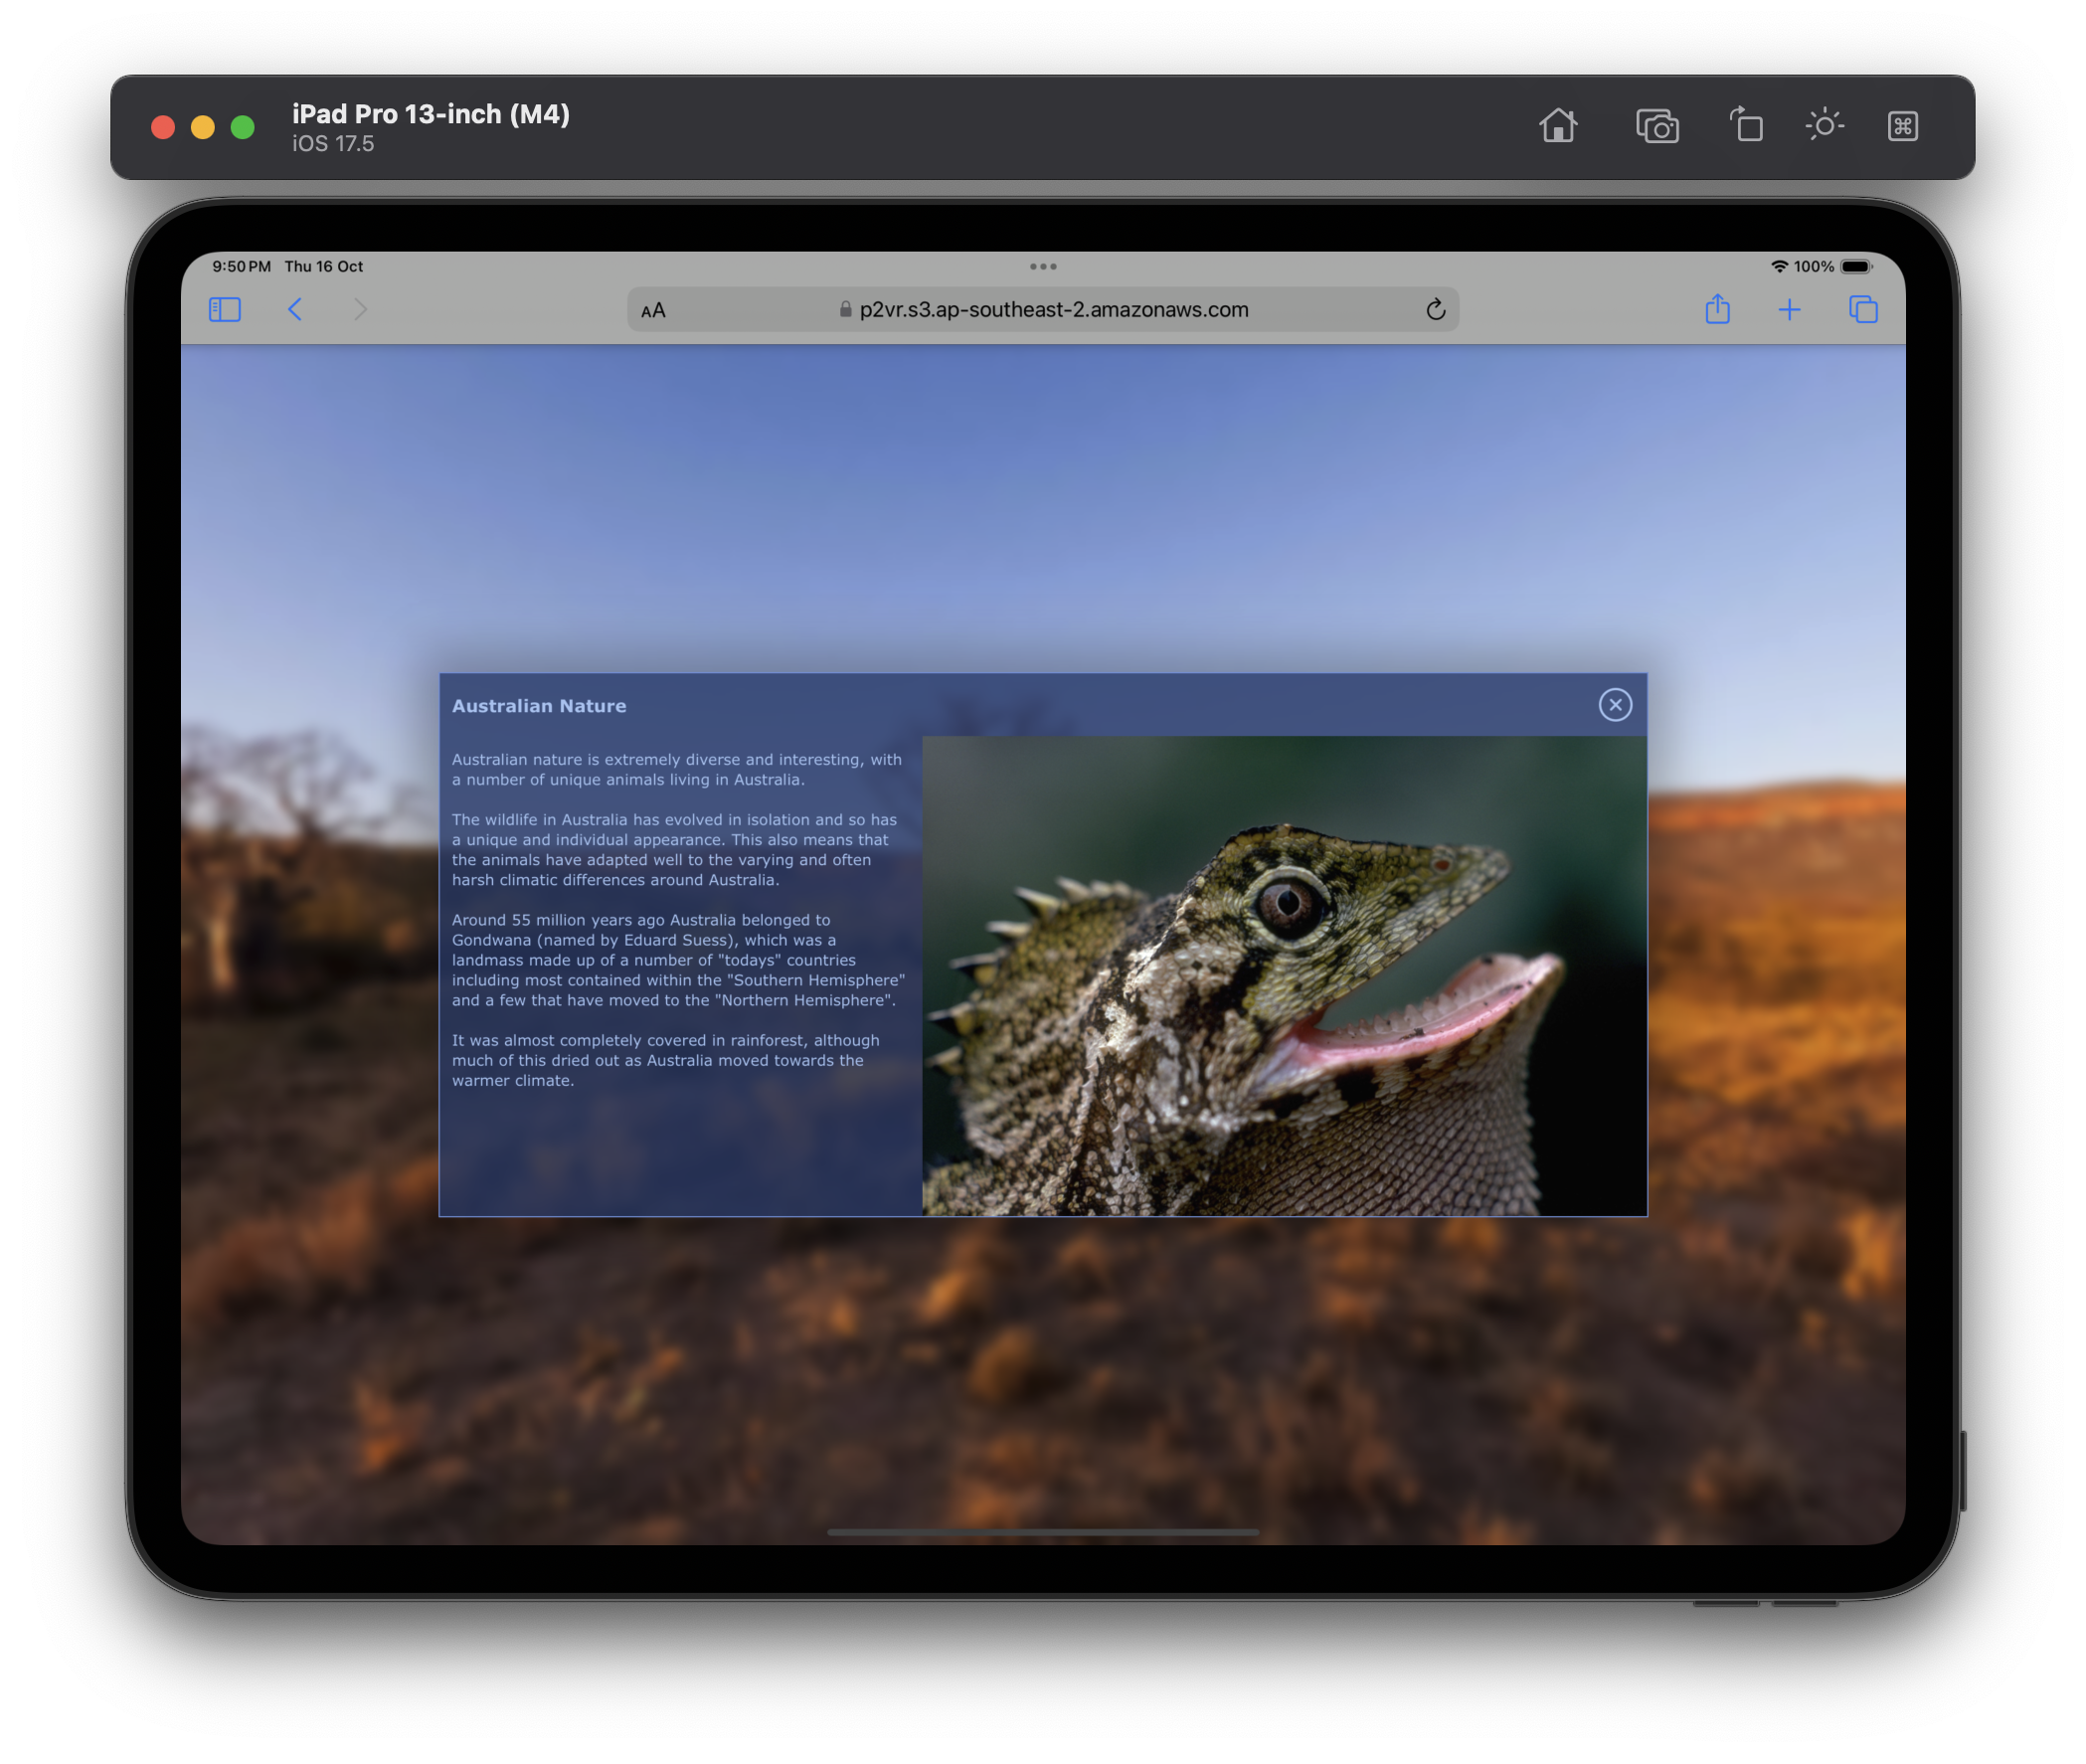
Figure #4: iPad landscape
Figure #5: iPhone Portrait
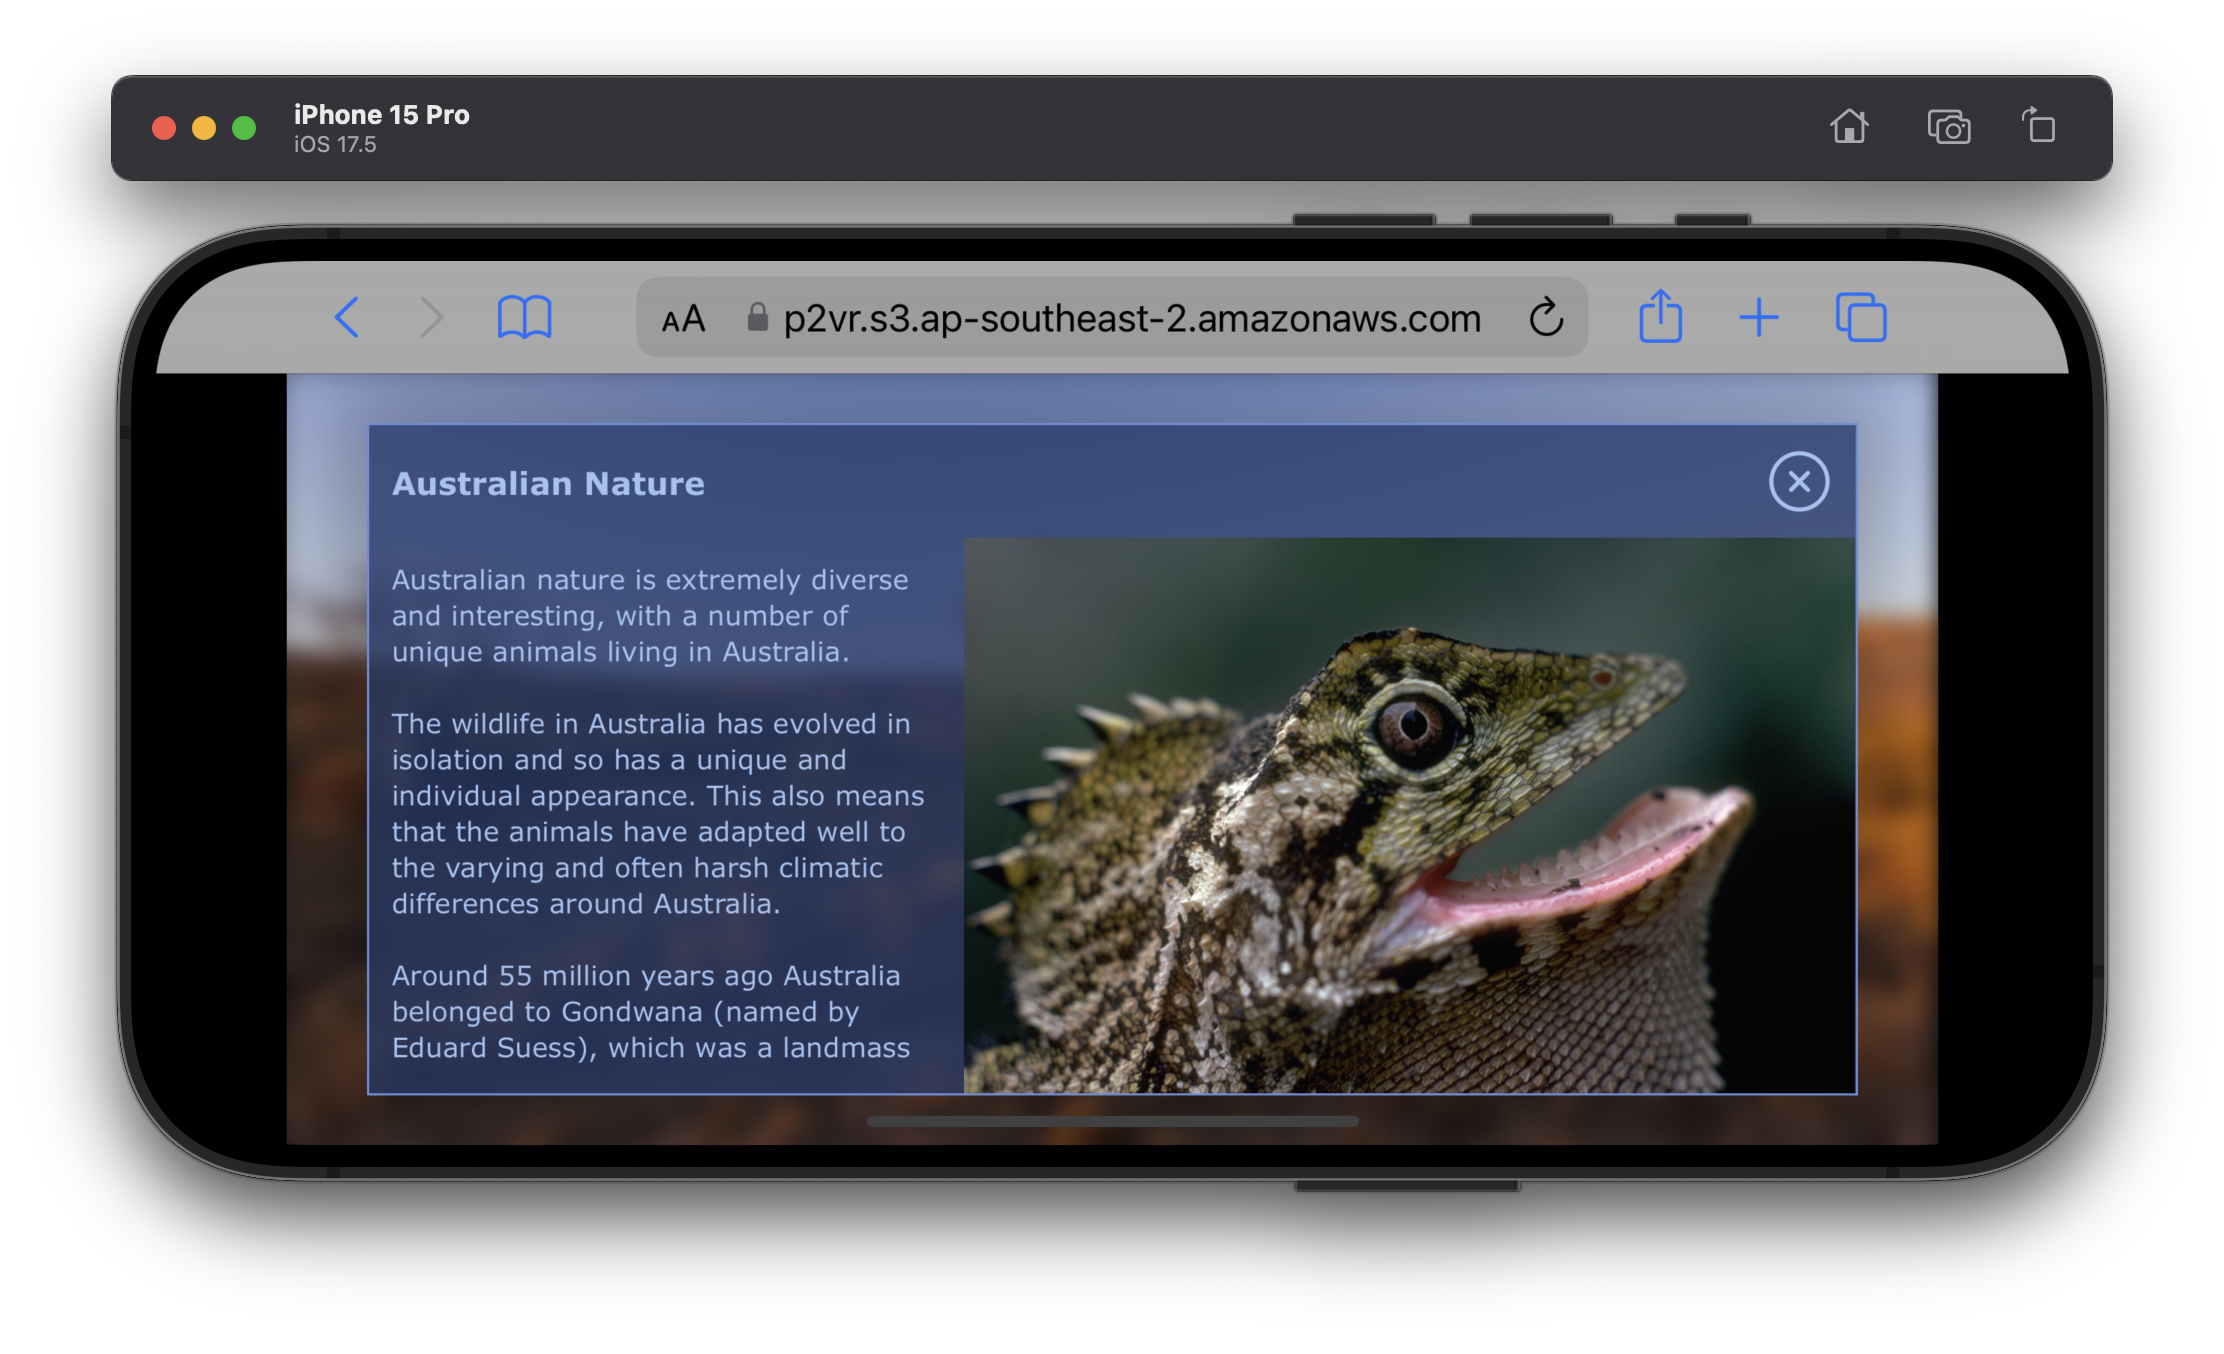
Figure #6: iPhone Landscape
Note: This is the end of Part 3 move onto Part 4: Multi-Image gallery with Description
