Overview
Sometimes your client and/or project requires not only an offline project but also one that doesn’t require a web browser when outputting to HTML5.
So, here’s a tip that helps tremendously with these situations. It utilizes a JavaScript platform, called NW.js, and just using a bit of code, you can turn your project into a stand-alone player that will work on Windows 10.
This “Pano2VR” tutorial shows you how to Create a Desktop app suitable for use on Windows 10 and works with both Pano2VR and Object2VR projects. The tutorial is based upon the original published by Garden Gnome Software on their website at https://ggnome.com/doc/tip-desktop-app/.
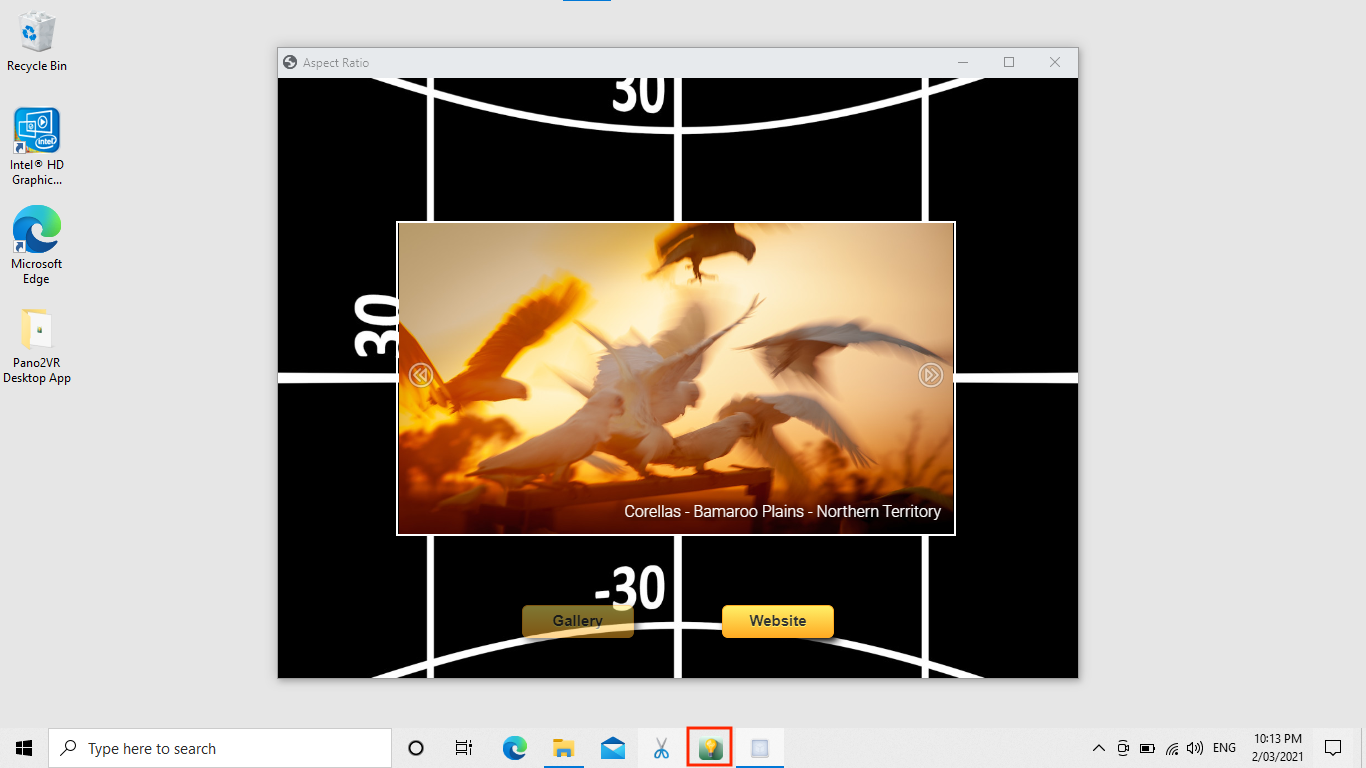
The finished app playing in Windows 10 Home (figure #1)
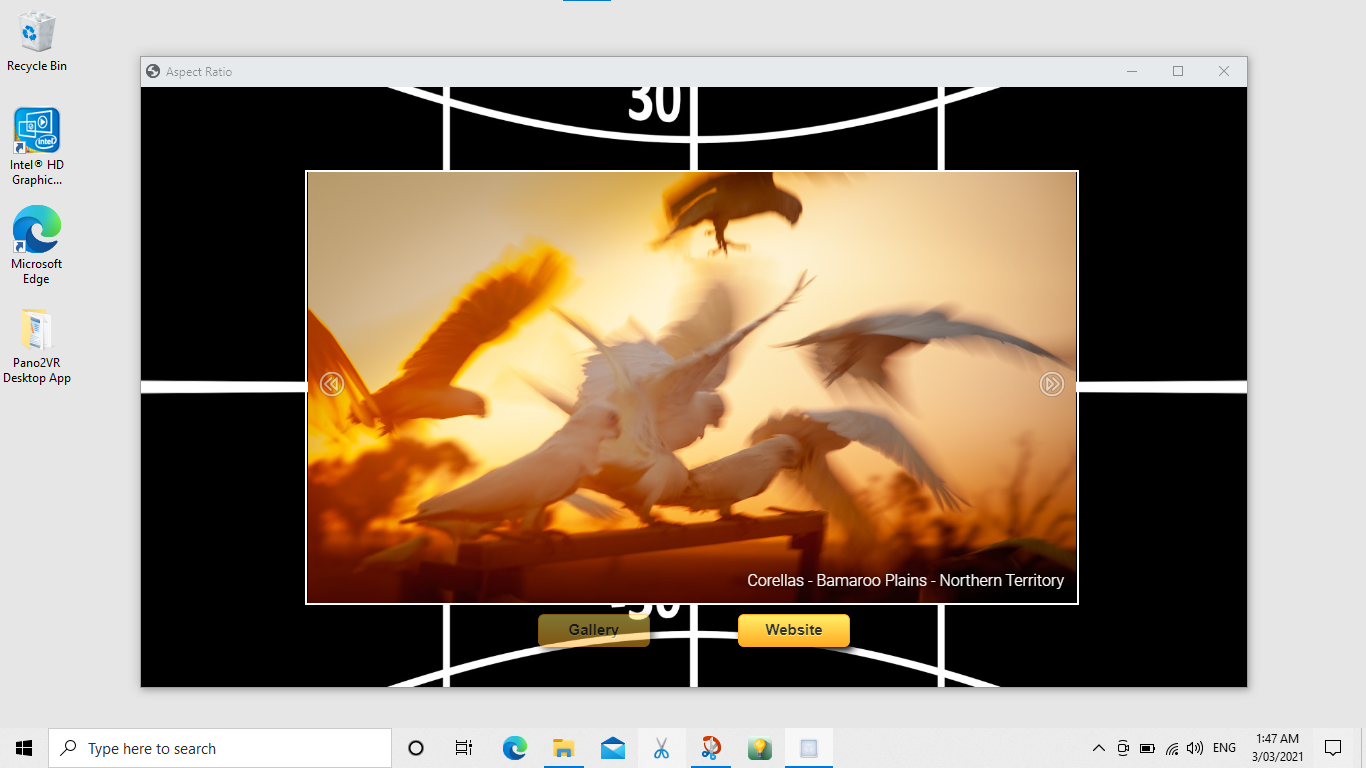
Figure #1: Desktop App running in Window 10 Home (custom icon in the taskbar)
Tutorial Files
In the tutorial folder, Desktop Application, there is an Asset Folder with a Pano2VR output “Test_Project’ and a Lightbulb_b512.png file.
Note: the Test_Project is the final result of the Maintaining the Aspect Ratio of an iFrame tutorial. Check it out if you would like to see how it’s built.
Project Overview
In this tutorial, we will use the sample project and create an app that can be used on a Windows desktop to open the project. Over the course of the tutorial we will;
Download 3 Zip files
Set up the Application and add the relevant files
Configure the .json file
Test the App
Add a Custom Icon to the App
Change the name of the App
Note: this tutorial assumes a basic knowledge of Pano2VR V6
Note: click on any image in the tutorial to enlarge it
Getting Started
1. Download the zipped tutorial folder here into your Downloads folder
2. Download the package.zip from the Garden Gnome Software website into the Downloads folder
3. Navigate to the NW.js website at https://nwjs.io and download the v0.51.2 Normal version for Windows(figure #2)

Figure #2: Download the NW.js software zip
Note: at this point you should have all 3 zip files in your downloads folder (figure #3)
Figure #3: 3 Zip Files downloaded
4. Create a new folder on the desktop and name it Pano2VR Desktop App
5. Extract the contents of each zip file to the Pano2VR Desktop App folder (figure #4)
Figure #4: extracted zip files
Putting the Pieces Together
1. Drag the Test_Project folder from the Desktop Application/Assets folder into the nwjs-v0.51.2-win-x64 folder (figure #5)
Figure #6: Test_Project folder in nwjs-v0.51.2-win-x64 folder
2. Drag the package.json file into the nwjs-v0.51.2-win-x64 folder (figure #6)
Figure #4: package.json file in the nwjs-v0.51.2-win-x64 folder
3. Right-click on the package.json file and open with WordPad (figure #5)
Figure #5: Open the package.json in WordPad
Note: you can use any text editor just make sure it’s set to Plain Text.
Note: this file is used to describe the project; it tells the application what file to open, the window size, etc via the 5 properties below;
name – Add the project’s name.
main – Add the project’s HTML file; for example, index.html.
frame – App’s outside frame. true = visible. false = not visible.
toolbar – Displays a toolbar when set to true. We set ours
to false.
width & height – Adjust the window’s size. (figure #6)
Figure #5: package.json properties
3. Add a new name for the project (in my case I will call it Aspect Ratio but you can name it anything)
4. Add the path Test_Project/index.html in the section “main"“:
Note: we can leave the other fields as default. In regard to the width and height the launched app can be rescaled to any ratio and opened in fullscreen. (figure #6)
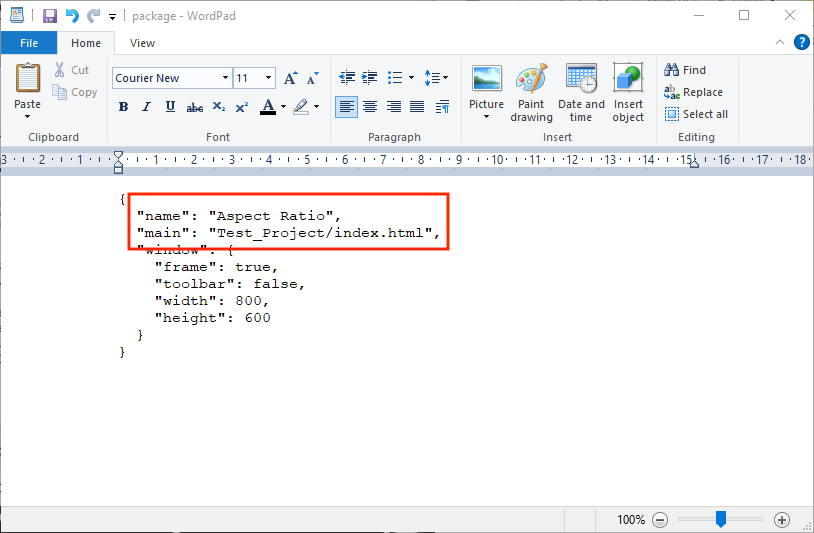
Figure #6: name and main updated
5. Save the updated JSON file (figure #7)
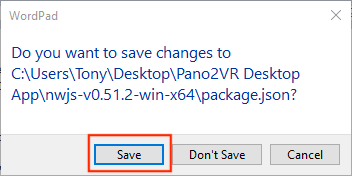
Figure #7: Save the .json file back into the nwjs-v0.51.2-win-x64 folder
Testing the App
1. Double click the NW.exe to launch the App (figure #8)
Figure #8: Launch the nw.exe
Note: if you see this system message click the link ‘More info’ to continue (figure #9)
Figure #9: More info
Note: then click ‘Run Anyway’ (figure #10)
Figure #10: Run anyway
Note: the application launches and the fully functioning Pano2VR project is displayed on the Windows desktop (figure #11)
Figure #11: Fully functional Pano2VR project running on the Windows desktop via the nw.exe
2. Rt click to create a shortcut and drag it onto the Windows desktop (figure #12)
Figure #13: shortcut
Create a .ico Icon
Note: before we can add the icon we need to create an .ico (Windows Icon format) graphic
1. Navigate to the CloudConvert website at https://cloudconvert.com/png-to-ico (figure #13)
Figure #13: CloudConvert - PNG to ICO
2. Click on Select File and load the Lightbulb_512.png file from the Desktop Application/Assets folder (figure #14)
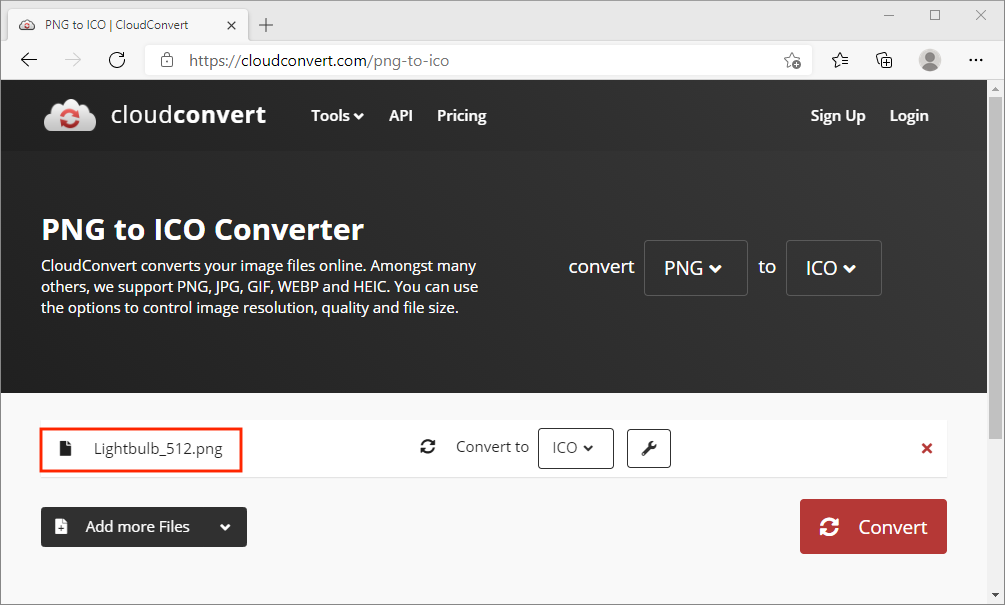
Figure #14: Lightbuld_512.png loaded
3. Click the Convert button (figure #15)
Figure #15: Click Convert
4. When the conversion is finished click on Download button (figure #16)
Figure #16: Download the converted file
5. Save the file in the Pano2VR Desktop App folder (figure #17)
Figure #17: ico file saved to Pano2VR Desktop App folder
Add the Icon to the Shortcut
1. Right click on the nw-shortcut and select Properties from the dropdown menu (figure #18)
Figure #18: nw-shortcut properties
2. From the Shortcut tab select Change Icon (figure #19)
Figure #19: Select change icon from the shortcut tab
3. From the Change Icon window select Browse (figure #20)
Figure #20: Browse for file
4. Select Lightbulb_512 from the Pano2VR Desktop App folder and click on Open (figure #21)
Figure #21: Open the Lightbulb_512 icon file
5. Select OK from the Change Icon window (figure# 22)
Figure #22: Click on OK
6. Click on OK to close the nw-shortcut properties window (figure #23)
Figure #23: Click on OK
7. Change the name of the nw-shortcut (I’m going to name mine Pano2VR Tutorials) (figure #24)
Figure #24: New icon and new name
8. Right click on the app and select Pin to Taskbar from the dropdown menu (figure #24)
Figure #32: The desktop app in the Applications folder
Congratulations: You have successfully created a standalone app for a Windows desktop you can now launch it from the taskbar
Summary
I hope you have enjoyed the tutorial and it has helped you to achieve the best possible project outcome. If it has please take a second to consider a donation so that I can continue to add more tutorials.
