Managing Textbox Button Colors & Actions

Managing Textbox Button Colors & Actions

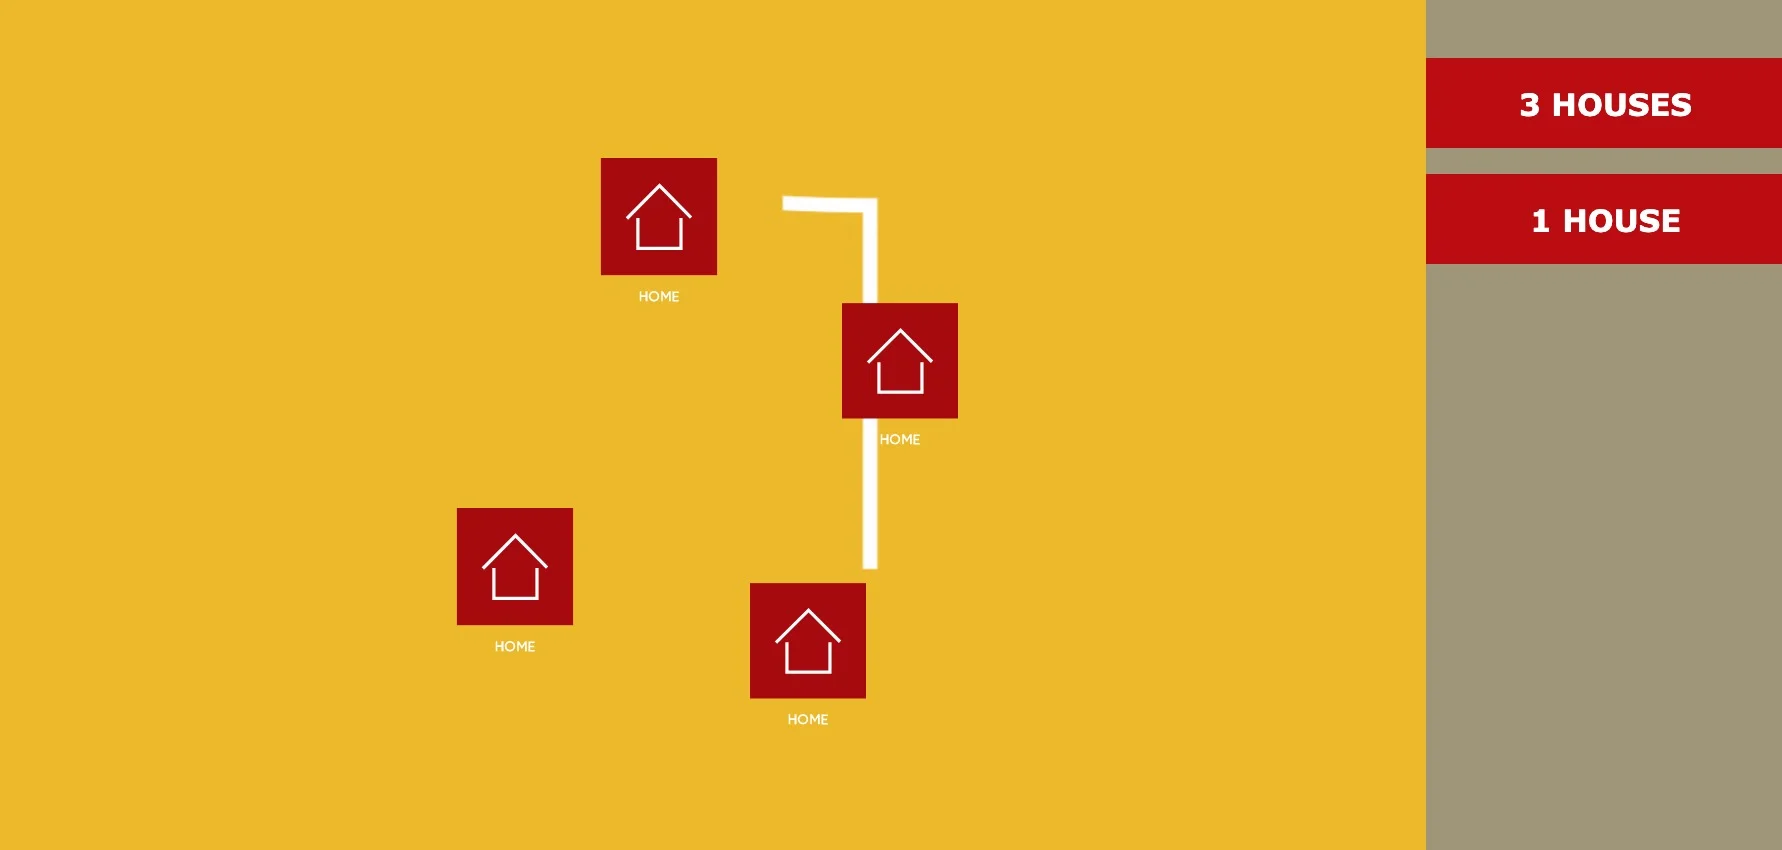
This “Pano2VR” tutorial show you how to manage textbox button colors and actions using variables in response to a question posted by Andre De Trua on the Pano2VR Users Group page in Facebook. What Andre wanted to achieve were text field buttons that had different states and actions as follows;

a. Mouseover the button changes the color of the text and the background button color
b. Mouseclick the button makes it active, changes the color and shows several icons
c. Mouseclick the button again deactivates it, hides the icons and resets the colors
d. With one button active clicking another button makes the new button active, changes the color and adds additional icons
e. Clicking an active button deactivates it without affecting any other active buttons

Note: this tutorial is designed for Pano2VR V6.0.6

Styling Text with CSS and Local Fonts - V6

Styling Text with CSS and Local Fonts - V6

When developing virtual tours for clients there is often the need to create unique user interface elements (skins) that on many occasions may require the use of a custom font. 

The best way to ensure consistency across browsers is to use a Local Font file and CSS to style the text. In this tutorial I'm going to style the text on a button and a popup information block using the local font file/css method.

In this tutorial we will… 

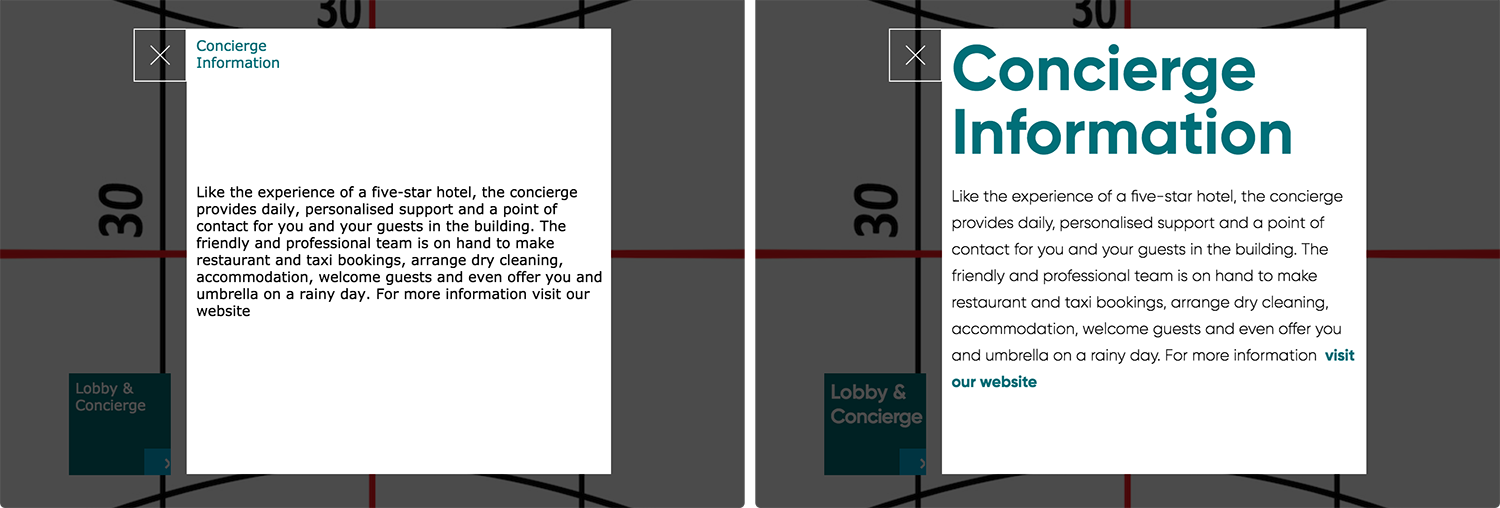
  • Modify a CSS file to style both the text for the button name, the header and body in a popup window

  • Update the skin to style the text & add .woff fonts to the Output folder

  • Link to the CSS file to the HTML5 template

  • Fine tune the line spacing, kerning and add a website link

Note: this tutorial is designed for Pano2VR Release versions 6+. In the Beta versions the options have changed.

In Pano2VR 6.0 you have the CSS in the HTML page so there you need to use the disable fonts in the template.

Pano2VR 6.1 the CSS for the fonts are in the skin editor. To this end, there is no disable fonts checkbox in the Template anymore.

Universal Floating Nadir Logo

Universal Floating Nadir Logo

This tutorial follows on from the Floating Nadir Logo tutorial and provides a step-by-step workflow to apply the floating nadir logo on every node of a virtual tour using the Master Node option in Pano2VR. . In this tutorial we will;

Adding two additional panoramas to the project

  • Opening the Master Node

  • Copy and pasting the Point Hotspot to the Master Node

  • Publishing the project

Polygon Hotspots & Information Popups

Polygon Hotspots & Information Popups

Using Point Hotspots to deliver contextual content is a great way to make your Virtual Reality tours more interactive and provide an enhanced experience for the viewer. However a point hotspot is as its name implies a ‘point’ in some projects you may want to highlight and identify particular objects by their shape.

This tutorial shows how to use a single skin component to show a polygon hotspot description in a information popup box when any of the polygon hotspots are clicked.

Background Sound Playing across Specific Nodes - Volume Control & Pause

Background Sound Playing across Specific Nodes - Volume Control & Pause

This tutorial expands on the ‘Background Sound Playing across Specific Nodes’ tutorial and adds a volume control component and a pause button.

Note: In order to follow this tutorial you must complete the original tutorial that is linked above

The tutorial contains step-by-step instructions on how to add a volume component to your library and then use it in a skin. We also look at extracting some elements from a Pano2VR skin and adding them as a component to be used as a pause/play button that will pause the sound in a node with the ‘sound’ tag and restart it again.

Background Sound Playing across Specific Nodes

Background Sound Playing across Specific Nodes

This tutorial has been developed in response to a post on the Pano2VR forum in which the question, “I would like to insert a sound only to some panoramas in sequence. The other panoramas of the tour must be without sound. The sound should not start again with each panorama of the sequence but continue from the previous one” was asked.

The tutorial contains step-by-step instructions on how to add a ‘Background’ sound and have it play across defined nodes of the tour.

Auto Resizing PDF in a Hotspot Popup

Auto Resizing PDF in a Hotspot Popup

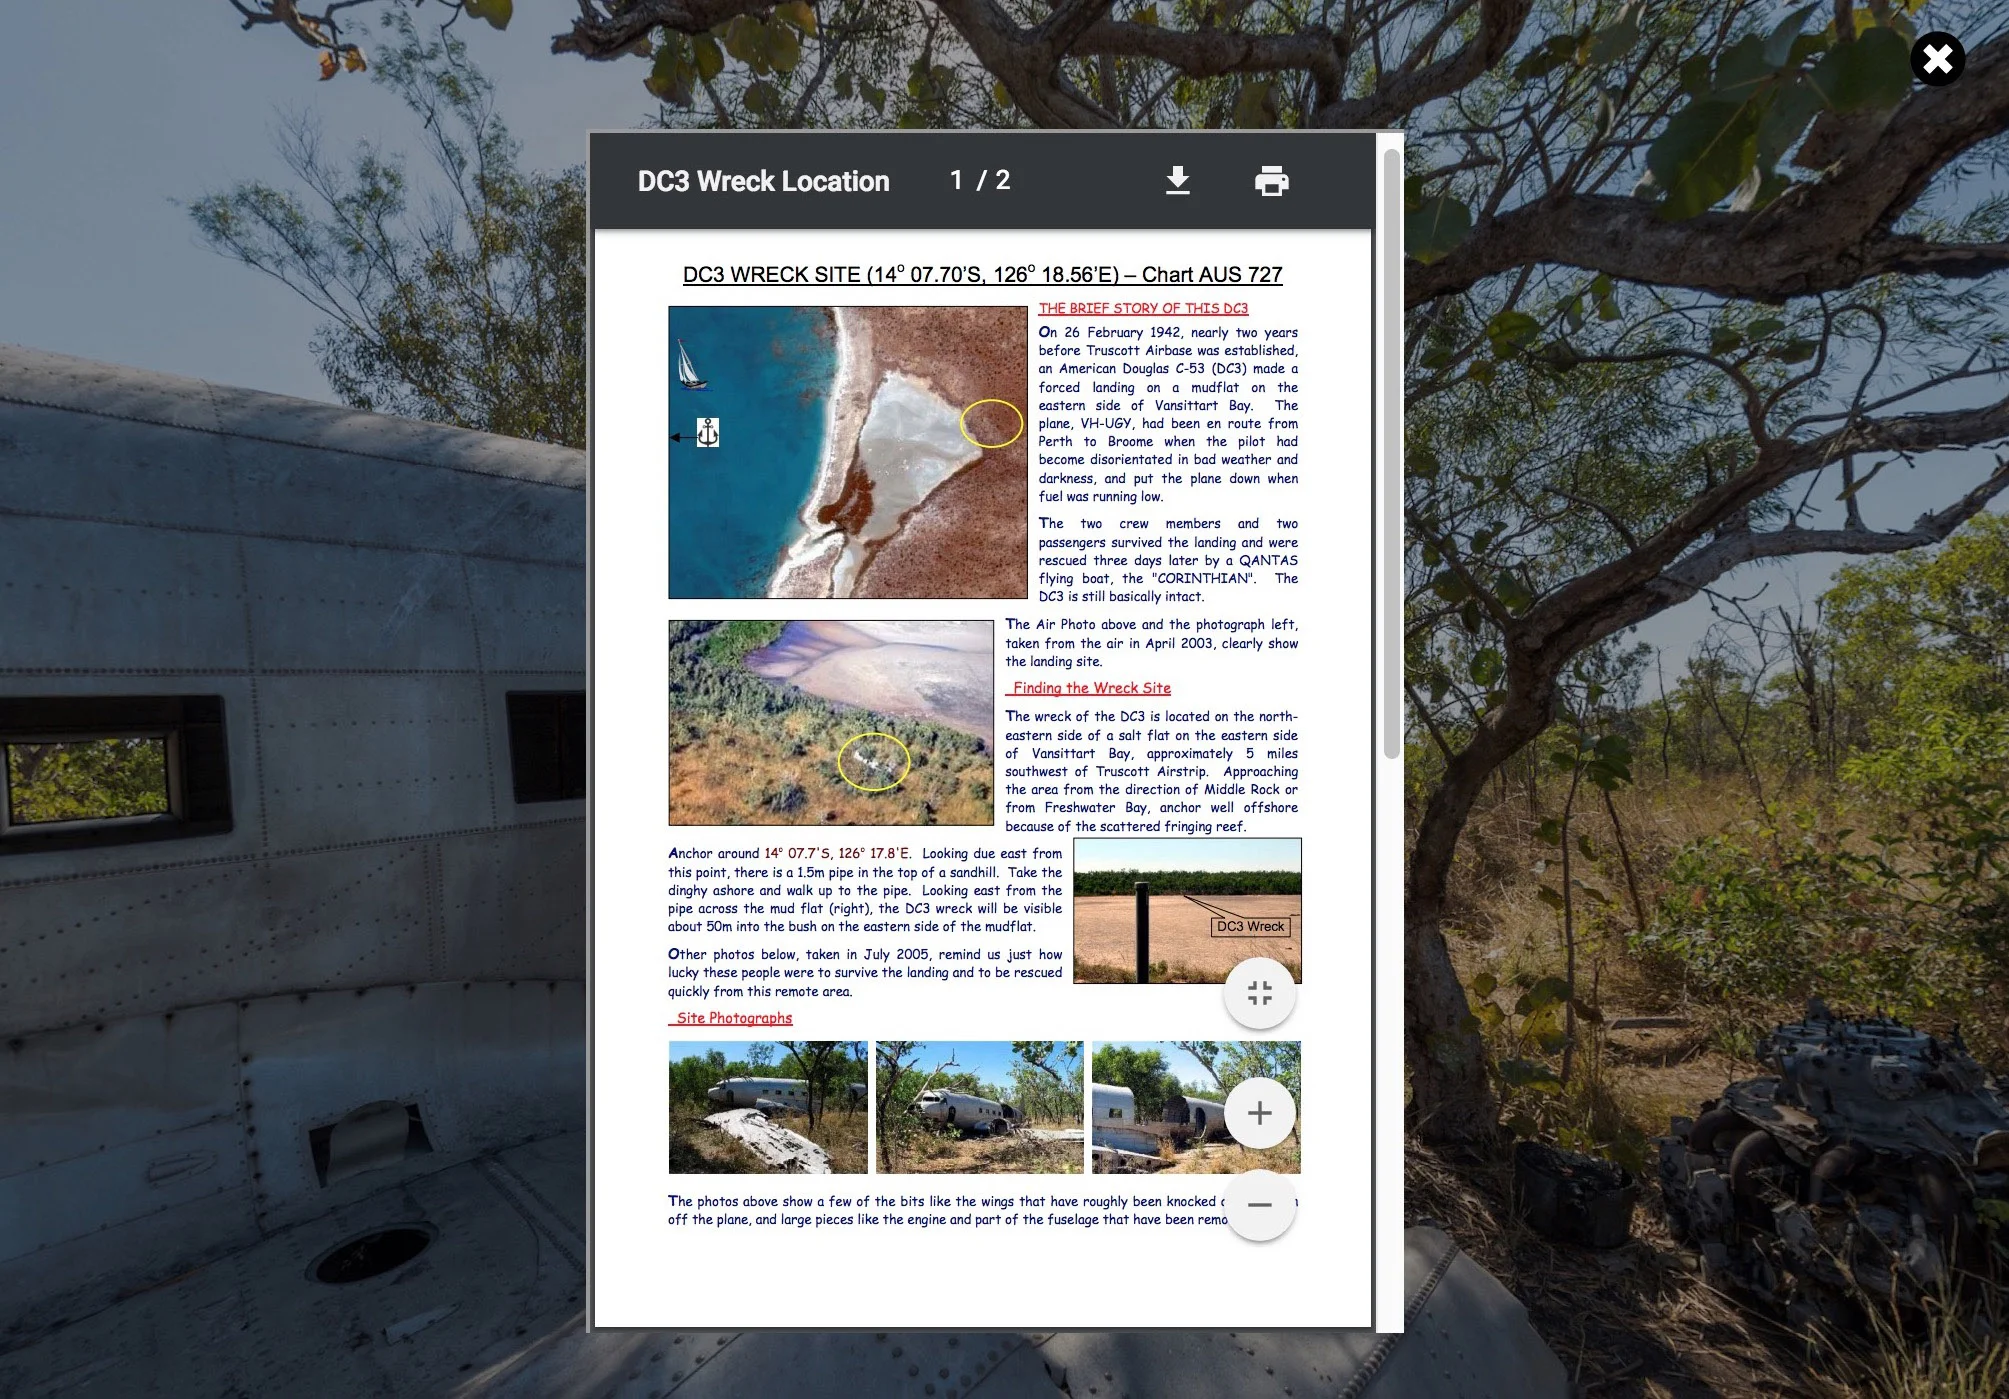
This tutorial provides a step-by-step instructions on how to open an Adobe PDF file into a hotspot template and have the popup and PDF scale as the browser window is resized.

Update 15/10/18: A solution for this issue has been provided at the end of the tutorial

Update 14/05/20: I’ve added additional information regarding use on Mobile Devices at the end of the tutorial under the section; Addendum #1: Displaying the PDF on Mobile Devices

P2VR Fullscreen Image Viewer - Multiple Images & Thumbnails - Part 1

P2VR Fullscreen Image Viewer - Multiple Images & Thumbnails - Part 1

This two part tutorial starts where P2VR Fullscreen Image Viewer - Part 2 finished and expands on the single image viewer by showing how to create and manage a viewer that has multiple images contained within it and displays preview thumbnails of the images associated with each hotspot.

This is Part 1 of the tutorial we will modify the 'Flat Image' Pano2VR project from the ‘P2VR Fullscreen Image Viewer’ tutorial by;

  • importing two additional flat images

  • setting uniform viewing parameters across the nodes

  • enabling Direct Node Access

  • creating the thumbnail images

  • generating the 'flat image' output

Part 2 of the tutorial can be found here

P2VR Fullscreen Image Viewer - Multiple Images & Thumbnails - Part 2

P2VR Fullscreen Image Viewer - Multiple Images & Thumbnails - Part 2

This two part tutorial starts where P2VR Fullscreen Image Viewer - Part 2 finished and expands on the single image viewer by showing how to create and manage a viewer that has multiple images contained within it and displays preview thumbnails of the images associated with each hotspot.

This is Part 2 of the tutorial in which we modify the 'Equirectangular Image' Pano2VR project from the ‘P2VR Fullscreen Image Viewer’ tutorial by;

  • add additional 'point hotspots' for the new images

  • add additional content to the  'Properties - Point Hotspot'

  • create a 'hotspot_preview' folder and elements in the skin that manages the thumbnail and title previews

  • change the hotspot icon

  • generate the 'equirectangular' output and review the final project

  • fix a preview thumbnail issue in the Firefox browse

Part 1 of the tutorial can be found here

P2VR Fullscreen Image Viewer - Part 1

P2VR Fullscreen Image Viewer - Part 1

This, two part tutorial, shows how to create a project that contains an image viewer that can be opened via a hotspot. The image viewer zooms to fullscreen and displays an image that can be zoomed in to and out of and panned around using both mouse and touch.

No external applications are required and the whole tutorial is built using the tools within Pano2VR. There is a downloadable ‘Tutorial Folder’ with sample equirectangular and flat images and a skin component to provide the zoom and pan tools for the image.

A shout-out to  Jaroslav Pindora's solution to the hotspot image zoom and pan using just the tools within Pano2VR.

P2VR Fullscreen Image Viewer - Part 2

P2VR Fullscreen Image Viewer - Part 2

This, two part tutorial, shows how to create a project that contains an image viewer that can be opened via a hotspot. The image viewer zooms to fullscreen and displays an image that can be zoomed in to and out of and panned around using both mouse and touch.

No external applications are required and the whole tutorial is built using the tools within Pano2VR. There is a downloadable ‘Tutorial Folder’ with sample equirectangular and flat images and a skin component to provide the zoom and pan tools for the image.

A shout-out to Jaroslav Pindora (P2VR Facebook User Group) solution to the hotspot image zoom and pan using just the tools within Pano2VR.

Hotspot Fullscreen Image with Zoom and Pan

Hotspot Fullscreen Image with Zoom and Pan

Pano2VR provides a very comprehensive Skin Editor that allows a user to create unique interactive environments. However there may be occasions when you need to integrate external applications to extend the program and there are a number of ways to do so in Pano2VR.

This tutorial show you how to create a point hotspot and integrate a third party image viewer application that opens an image that fills the current screen. Once the image has opened the user can then zoom in and out of the image and pan around it using a mouse or by touch on a mobile device.

Zooming Popup with Reveal Text Overlay - Part 1

Zooming Popup with Reveal Text Overlay - Part 1

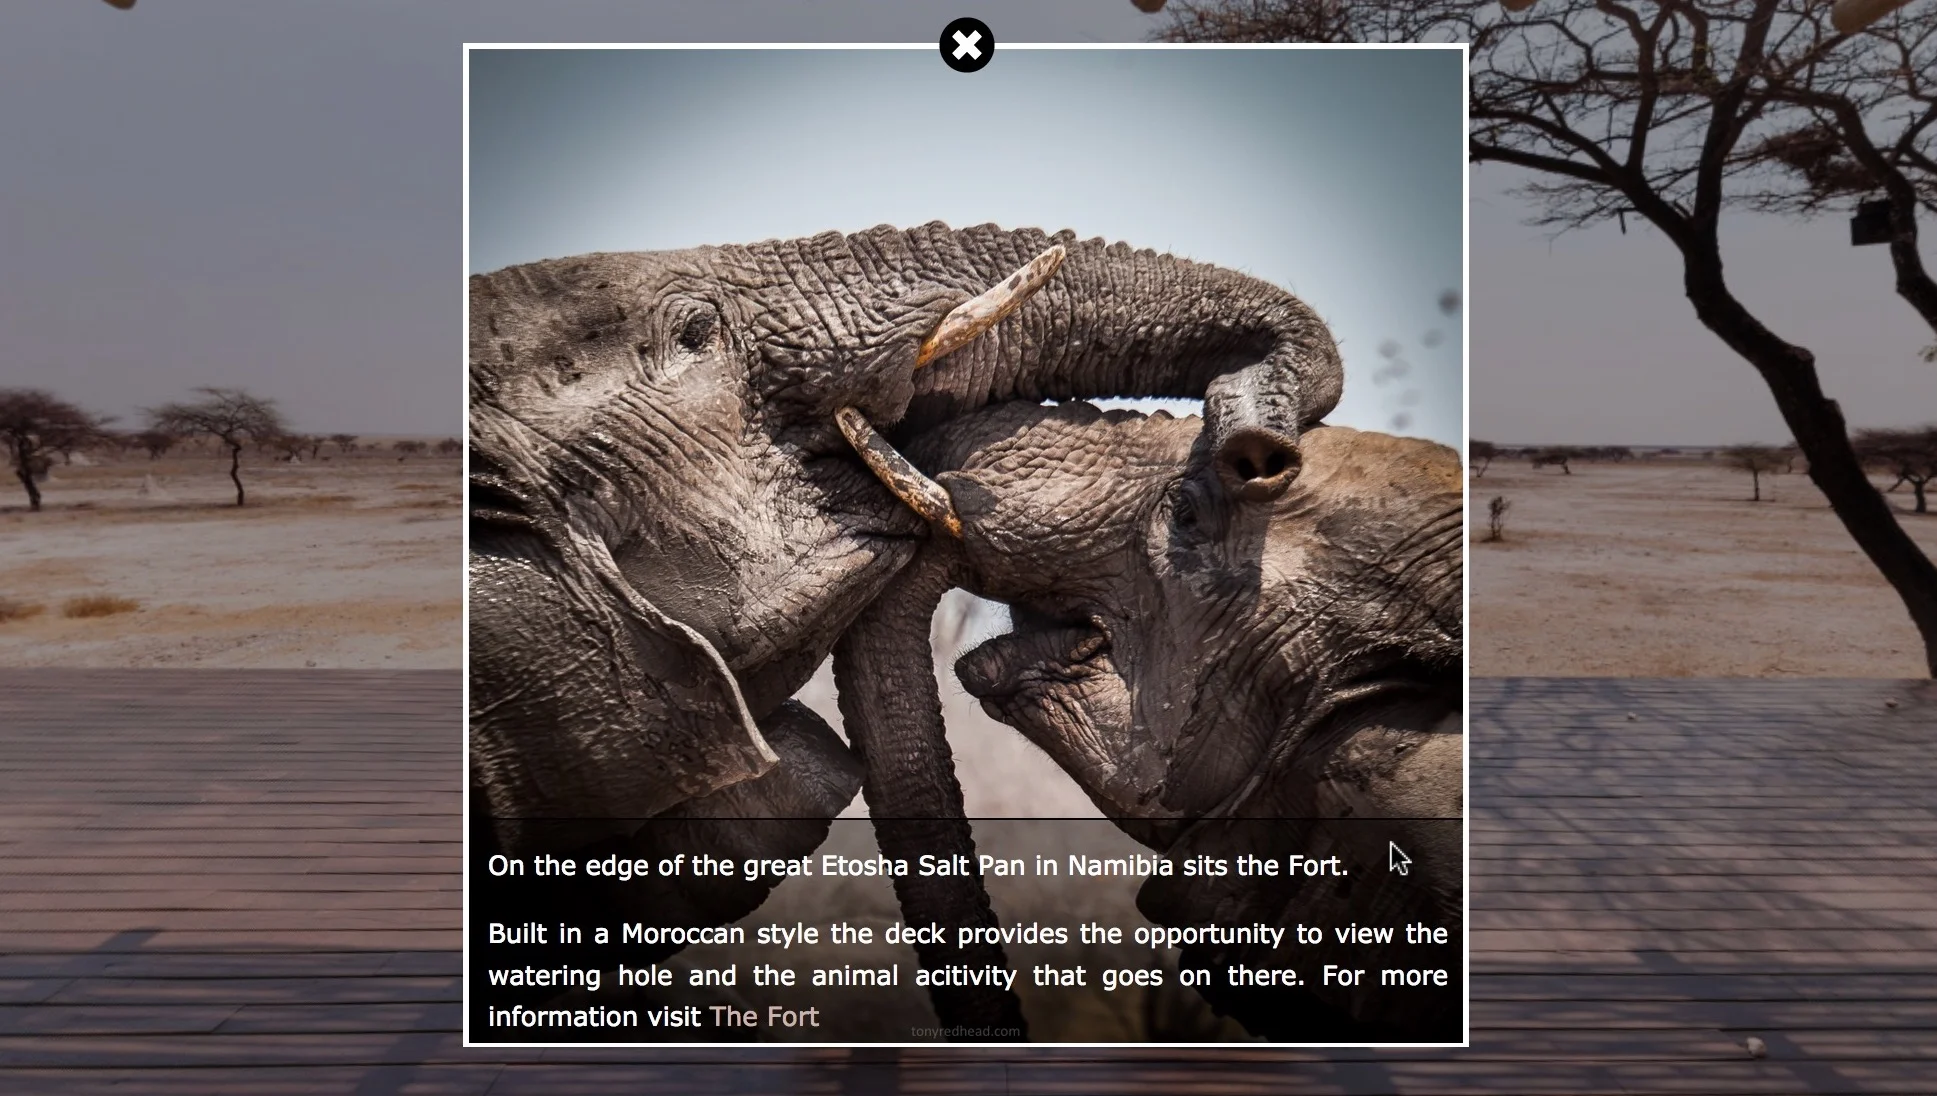
Using Point Hotspots to deliver contextual content is a great way to make your Virtual Reality tours more interactive and provide an enhanced experience for the viewer. One of the most effective options is to zoom up an image based on a mouse click. This option can highlight and provide information on specific areas of your panorama. This long form step-by-step tutorial takes you through building the image file, adding in zoom capabilities and a mouse over text reveal. This tutorial is presented in two parts, this is Part 1

Zooming Popup with Reveal Text Overlay - Part 2

Zooming Popup with Reveal Text Overlay - Part 2

Using Point Hotspots to deliver contextual content is a great way to make your Virtual Reality tours more interactive and provide an enhanced experience for the viewer. One of the most effective options is to zoom up an image based on a mouse click. This option can highlight and provide information on specific areas of your panorama. This long form step-by-step tutorial takes you through building the image file, adding in zoom capabilities and a mouse over text reveal. This tutorial is presented in two parts, this is Part 2

Hotspot Templates and iFrames

Hotspot Templates and iFrames

Using Point Hotspots to deliver contextual content is a great way to make your Virtual Reality tours more interactive and provide an enhanced experience for the viewer. The most convenient way to create and deliver the content is by employing .html files and iFrames within the hotspots. Rather than create and manage multiple hotspots this tutorial shows how to use a single point hotspot template and external .html files with multiple hotspots.

Note: this tutorial has been updated to resolve an issue with Garden Gnome Package Outputs not loading the external .html files. You can find the new tutorial here.

An Unexpected Benefit of Multi-Resolution in Pano2VR projects - Part 1.

An Unexpected Benefit of Multi-Resolution in Pano2VR projects - Part 1.

This tutorial takes you, step-by-step through the process of calculating your multi-resolution tile and level sizes to create the perfect set of tiles for your project. We hope you will never need it but we look at extracting the high resolution tiles, renaming them and finally re-assembling them to restore your equirectangular image.

This tutorial is broken down into 3 parts, this is Part 1: Creating the Tile Size and Levels. The other parts are;

Part 1: Creating the Tile Size and Levels
Part 2: Extracting and renaming the Tiles
Part 3. Reconstructing the Panorama

An Unexpected Benefit of Multi-Resolution in Pano2VR projects - Part 2.

An Unexpected Benefit of Multi-Resolution in Pano2VR projects - Part 2.

This tutorial takes you, step-by-step through the process of calculating your multi-resolution tile and level sizes to create the perfect set of tiles for your project. We hope you will never need it but we look at extracting the high resolution tiles, renaming them and finally re-assembling them to restore your equirectangular image.

This tutorial is broken down into 3 parts, this is Part 2: Extracting and Renaming the Tiles. The other parts are;

Part 1. Create the Tile Size and Levels
Part 2: Extracting and renaming the Tiles
Part 3. Reconstructing the Panorama